Backyard Rice Growing Planner
Your Growing Plan
Timeline
Estimated Harvest:
Growing Days: days
Drain Water By:
Suitability Score
Match Rating:
Difficulty:
Recommendations & Tips
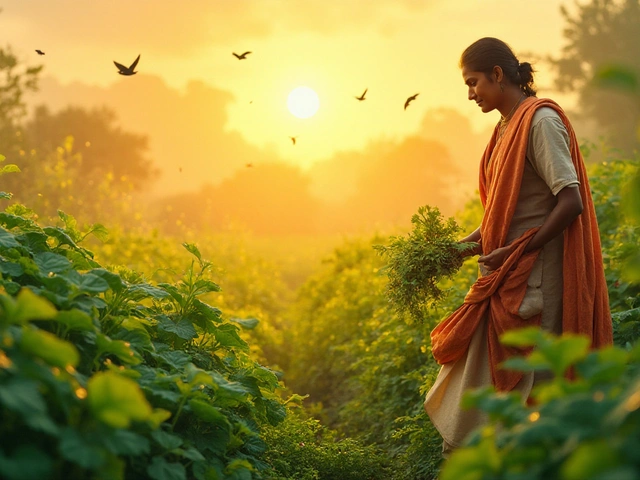
Imagine walking through your garden and seeing golden stalks of grain swaying in the breeze. It sounds peaceful, doesn't it? But if you’ve ever looked into rice cultivation is the agricultural practice of growing Oryza sativa or Oryza glaberrima for human consumption. This crop feeds more than half the world's population and requires specific water management techniques., you might have hit a wall of conflicting advice. Some say you need a flooded paddies like in Asia. Others claim you can grow it in a bucket. So, is rice actually hard to grow?
The short answer is: it depends entirely on how much work you are willing to put into water management. If you want to grow rice like a commercial farmer with perfect yields, yes, it is technically demanding. But if you are a curious gardener looking to harvest a few bowls of grain, it is surprisingly forgiving. The biggest hurdle isn’t the plant itself-it’s keeping the right amount of water around its roots without drowning them completely.
Why Water Management Makes or Breaks Your Crop
Rice is unique among major cereal crops because it thrives in anaerobic (low-oxygen) conditions. Most plants rot if their roots sit in standing water for too long. Rice, however, has evolved specialized tissues called aerenchyma that transport oxygen from the leaves down to the roots. This biological adaptation allows it to survive in flooded fields, which historically helped farmers suppress weeds that couldn't handle the submersion.
For a backyard grower, this creates a logistical challenge. You don’t necessarily need a deep pond, but you do need consistent moisture. If the soil dries out during the vegetative stage, the plant stops growing. If it floods too deeply during flowering, the panicles (the grain heads) may not emerge properly, leaving you with empty husks.
- Flooded Method: Traditional paddies keep 5-10 cm of water over the soil. This requires an impermeable basin (clay soil or plastic lining) and a constant water source.
- Aeroponic/Hydroponic Method: Roots hang in air or mist. This eliminates soil-borne diseases but requires pumps and electricity.
- Dryland/Upland Method: Grown like wheat or corn in well-drained soil. This is easier for beginners but yields less and competes directly with weeds.
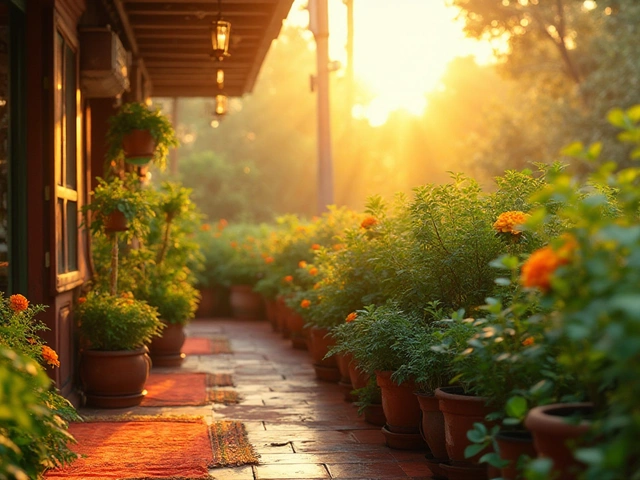
If you live in Auckland, where rainfall can be unpredictable, relying solely on rain for a flooded system is risky. A simple irrigation timer connected to a hose can maintain the water level, turning a potential disaster into a manageable routine.
Choosing the Right Variety for Your Climate
Not all rice is created equal. In fact, picking the wrong variety is the number one reason beginners fail. Commercial hybrid rice often requires precise nutrient timing and high inputs. For home growers, traditional heirloom varieties are usually more resilient and flavorful.
| Variety | Type | Growing Season | Water Needs | Best For |
|---|---|---|---|---|
| Calrose | Medium Grain | 90-100 days | Moderate | Temperate climates, sushi rice lovers |
| Basmati | Long Grain | 120-140 days | Low to Moderate | Hotter regions, aromatic dishes |
| Japonica | Short Grain | 80-90 days | High | Cooler climates, sticky rice textures |
| African Rice (O. glaberrima) | Long Grain | 100-120 days | Variable | Experimental growers, drought tolerance |
If you are starting out, look for varieties labeled as "easy to grow" or those adapted to your specific USDA hardiness zone or local climate equivalent. In New Zealand, for instance, shorter-season Japonica types tend to perform better because they mature before the cooler autumn winds set in. Long-grain Basmati might struggle if your summer isn't hot enough for its full 140-day cycle.
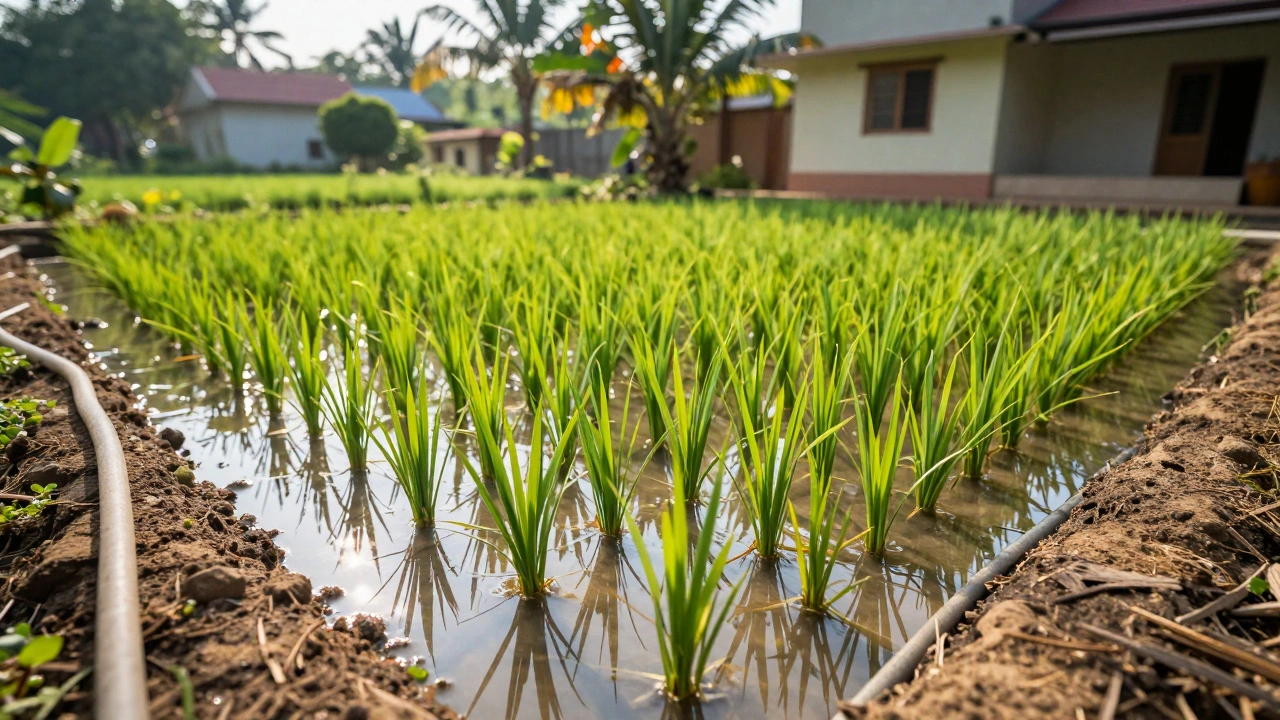
Step-by-Step: Setting Up Your First Paddy
You don’t need acres of land. Many successful urban farmers grow rice in large tubs, raised beds lined with heavy-duty pond liner, or even dedicated sections of their lawn. Here is how to get started without breaking the bank.
- Select Your Site: Choose a spot that gets at least 6-8 hours of direct sunlight daily. Rice is a sun-loving plant. Shade will result in thin, weak stalks and poor grain fill.
- Prepare the Container or Field: If using a container, ensure it is at least 18 inches deep. Line it with a puncture-resistant pond liner to hold water. If planting in ground, choose clay-heavy soil or add bentonite clay to reduce permeability.
- Sow the Seeds: You can sow seeds directly into wet soil or pre-sprout them in trays. Direct sowing is easier but uses more seed. Sprouting ensures better germination rates. Plant seeds about 1 inch apart and cover lightly with soil.
- Flood the Area: Once seedlings are established (about 2-3 weeks), raise the water level to 2-5 cm. Keep the water moving slightly if possible to prevent stagnation and mosquito breeding.
- Weed Control: Weeds are your biggest enemy. In flooded systems, many weeds drown, but aquatic weeds like duckweed can take over. Hand-pull weeds regularly during the first month.
- Drain Before Harvest: About two weeks before the grains turn golden brown, drain the water. This helps the grains dry evenly and prevents mold or sprouting in the husk.
Pests and Diseases: What Could Go Wrong?
Even with perfect water management, nature has other plans. Rice is susceptible to several pests and diseases, though many are manageable in small-scale gardens.
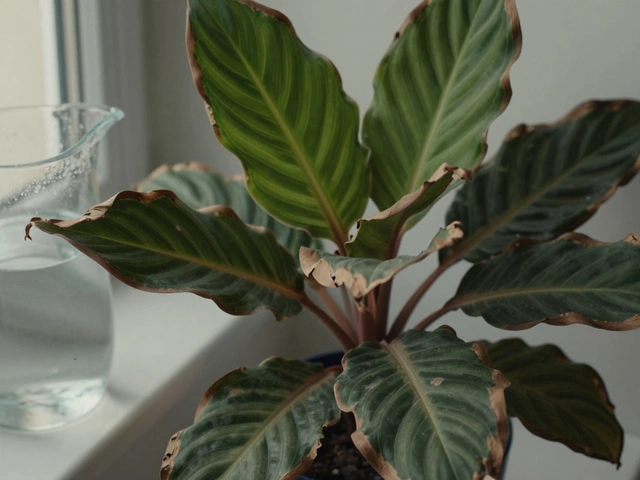
Rice Blast: This fungal disease causes white lesions on leaves and stems. It thrives in cool, humid conditions with excess nitrogen. To prevent it, avoid over-fertilizing with nitrogen and ensure good air circulation between plants.
Leaf Rollers and Stem Borers: These insects chew holes in leaves or tunnel into stems, causing "whiteheads"-grains that never fill. Introduce natural predators like dragonflies or use neem oil spray if infestations appear early.
Birds: When the grains ripen, birds love them. Netting is essential if you want to keep any harvest. Without protection, crows and starlings can strip a small plot bare in an afternoon.
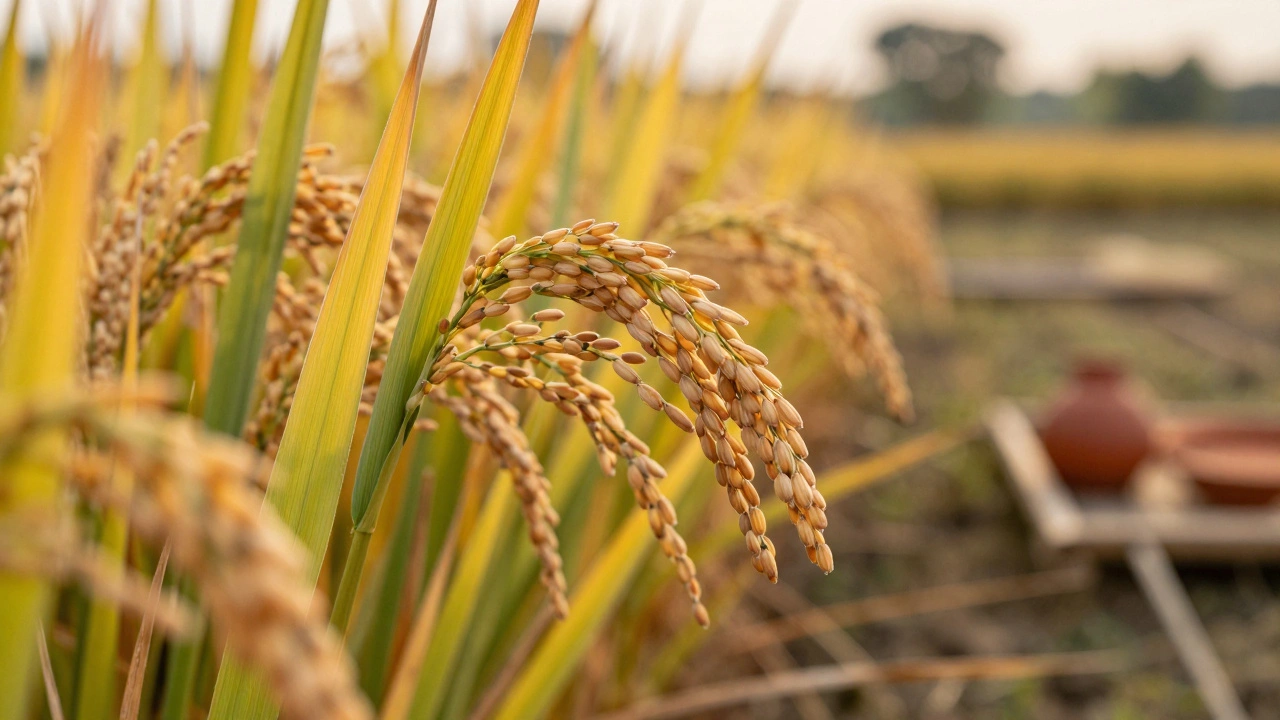
Harvesting and Processing Your Own Rice
Harvesting rice is labor-intensive if you don’t have machinery. The grains are ready when the hulls turn yellow-brown and feel hard to the bite. Cut the stalks just below the panicle using sharp shears or a sickle.
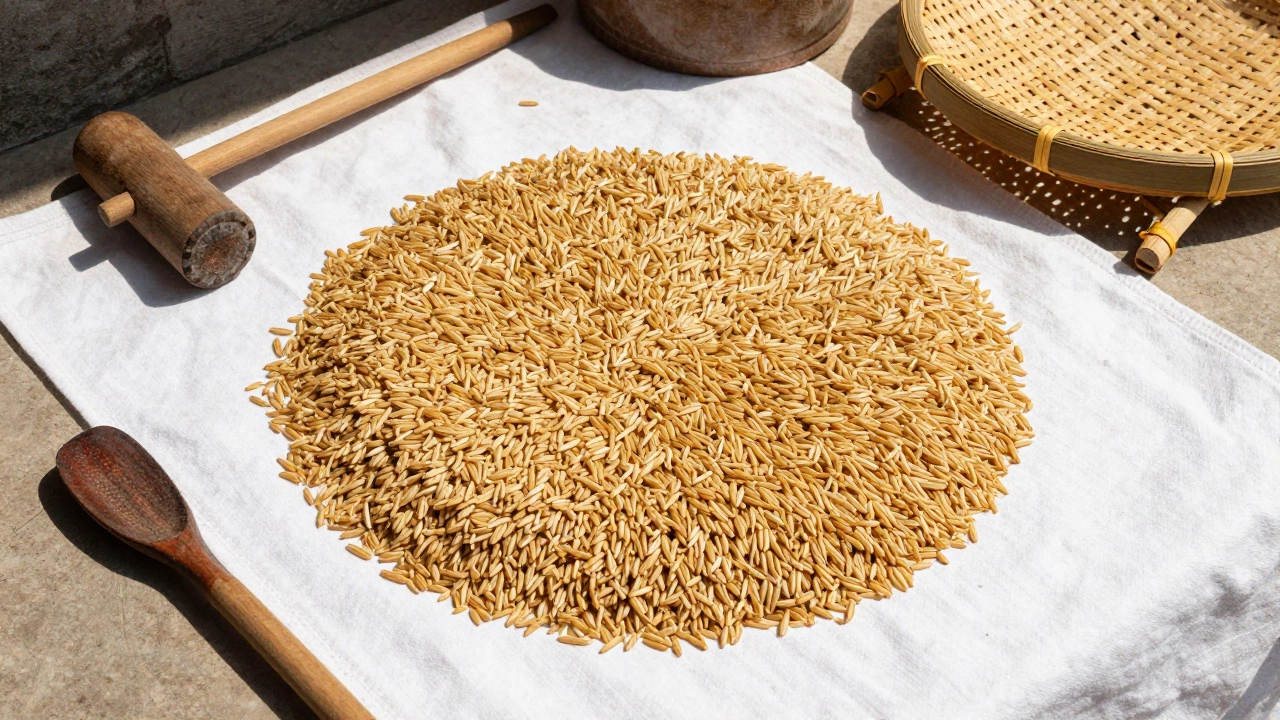
After cutting, you need to thresh the grain. For small amounts, you can tie bundles of stalks and beat them against a sturdy surface to dislodge the grains. Next comes drying. Spread the loose grains on a clean tarp in the sun for several days until the moisture content drops below 14%. If you skip this step, the rice will mold in storage.
Finally, you must hull the rice. A manual grain mill or even a sturdy coffee grinder (used sparingly) can remove the outer husk. Be careful not to crush the grain. The result is brown rice. To get white rice, you would need further polishing, which removes nutrients and is generally not worth the effort for home growers.
Is It Worth the Effort?
Let’s be honest: growing rice for profit in your backyard is not feasible. The yield per square meter is low compared to industrial farms, and the labor cost is high. However, the value lies in the experience. Growing rice teaches you patience, water conservation, and respect for food systems. Plus, eating rice you grew yourself tastes different-lighter, fresher, and undeniably rewarding.
If you enjoy gardening challenges and have access to water, give it a try. Start small with a single tub or a 10-square-foot bed. Learn the rhythm of flooding and draining. Watch the green shoots turn to gold. You might just find that rice isn’t hard to grow-it’s just different from everything else in your garden.
Can I grow rice in a pot?
Yes, you can grow rice in a pot, provided it is large enough (at least 5 gallons) and lined with a waterproof material. Use a variety suited for containers, such as short-grain Japonica. Ensure the pot has no drainage holes if you plan to flood it, or manage water levels carefully if it does.
How much water does rice need?
Rice needs consistent moisture. In a flooded system, maintain 2-5 cm of water depth. In upland systems, keep the soil moist but not waterlogged. Evaporation can require daily watering in hot weather, so monitor levels closely.
Do I need special soil for rice?
Rice prefers clay-rich soil that holds water well. Sandy soil drains too quickly for traditional flooded methods. If you have sandy soil, consider adding compost and clay amendments or use a lined container to retain moisture.
How long does it take to grow rice?
Most rice varieties take 90 to 140 days from planting to harvest. Short-grain varieties mature faster, while long-grain aromatics like Basmati take longer. Check the seed packet for the specific days to maturity.
Can I eat rice grown in my backyard?
Yes, backyard-grown rice is safe to eat if harvested and processed correctly. Ensure the water source is clean and free from contaminants. Dry the grains thoroughly to prevent mold growth before storage.