Terrace Design Calculator & Material Selector
Select a material above to see detailed information and cost estimates.
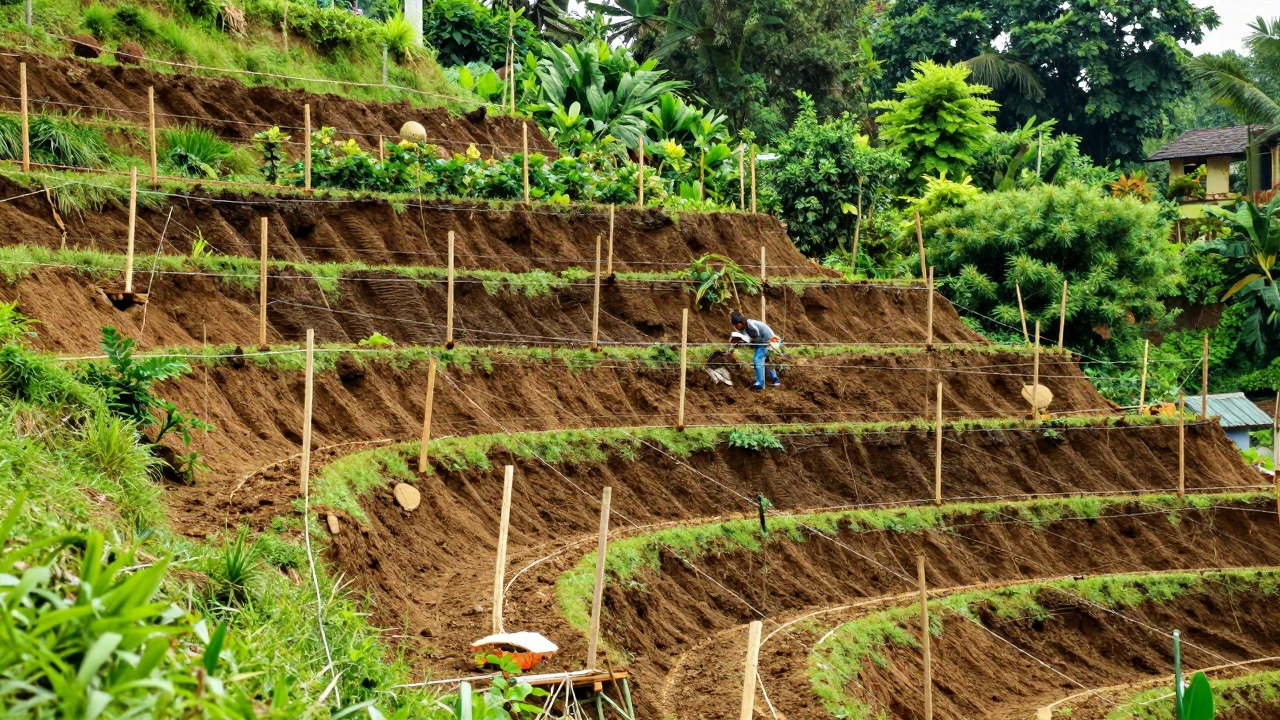
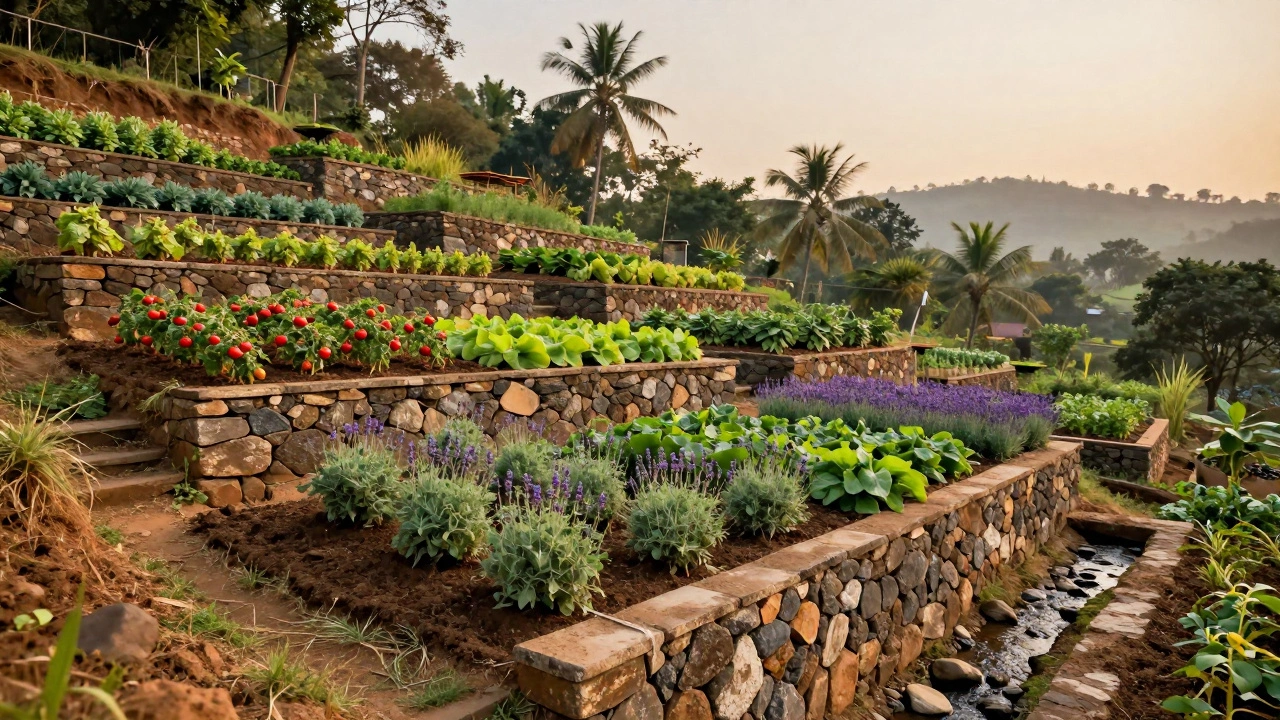
Looking at that steep backyard hill and dreaming of rows of tomatoes or vibrant flower beds? It’s a common fantasy, but gravity doesn’t care about your landscaping plans. Without proper structure, rain washes away your topsoil, plants slide downhill, and you end up with mud rather than a garden. Terracing a slope is the process of creating flat, stepped levels on an incline using retaining walls to hold back soil. This technique transforms unusable land into productive garden space while preventing erosion. You don’t need to be a civil engineer to do it, but you do need to respect the physics of dirt and water. If you skip the basics, your walls will bulge, crack, or collapse within a single season. Here is how to build stable terraces that last for decades.
Understanding Soil Mechanics and Drainage
Before you move a single stone, you need to understand why slopes fail. The enemy isn’t just gravity; it’s hydrostatic pressure. When rain hits a slope, water soaks into the soil behind your retaining wall. That water has nowhere to go, so it pushes against the wall with immense force. One cubic foot of water weighs roughly 62 pounds. Multiply that by the height of your wall and the width of your garden, and you have thousands of pounds of pressure trying to push your wall forward. Most DIY retaining walls fail not because the stones are weak, but because the drainage is poor.
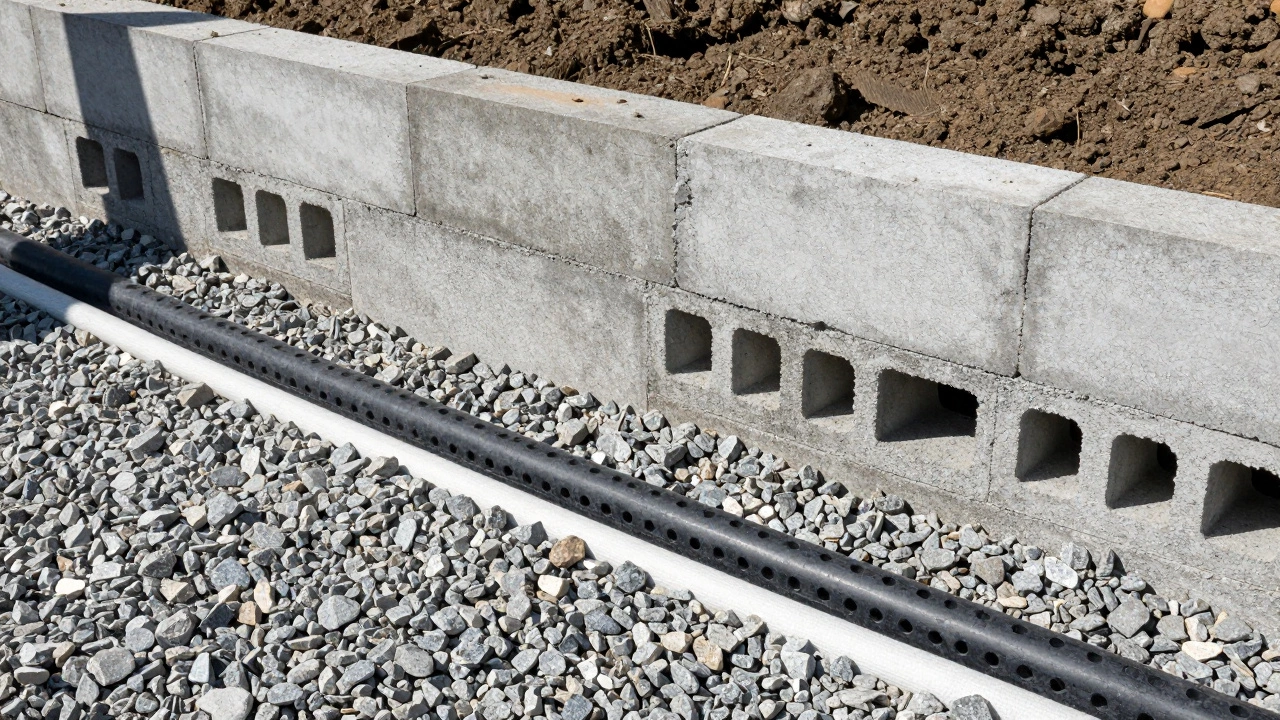
You must plan for water movement from day one. A well-built terrace includes a gravel backfill layer a permeable layer of crushed stone placed behind the wall to allow water to drain freely. This gravel acts as a buffer, letting water flow down and out through weep holes or perforated pipes rather than building up pressure against the wall face. If your native soil is heavy clay, which holds water like a sponge, you’ll need even more aggressive drainage solutions. Always check local frost lines too; if you live in a cold climate, freezing water expands and can heave walls out of position during winter thaws.
Choosing Materials for Your Retaining Walls
The material you choose dictates the look, cost, and longevity of your terraces. You have several options, each with pros and cons.
- Natural Stone: Flagstone or fieldstone offers a rustic, organic look. It’s durable and blends seamlessly with landscapes, but it requires dry-stacking skills (stacking without mortar) or masonry expertise. Stones vary in size, making layout tricky.
- Concrete Blocks: Interlocking concrete retaining blocks are the easiest for beginners. They come with built-in lip systems that lock together, providing stability without mortar. Brands like VersaLok or Keystone offer modular systems that snap into place. They’re uniform, predictable, and widely available at home improvement stores.
- Treated Timber: Railroad ties or landscape timbers give a warm, wooden aesthetic. However, timber rots over time, especially where it contacts soil. Pressure-treated wood lasts longer but still typically only survives 10-15 years in damp conditions. It’s best for short-term or low-height walls under 3 feet.
- Gabion Baskets: Wire cages filled with rocks. These are incredibly strong and allow water to pass through easily. They’re industrial-looking but gaining popularity in modern gardens. They’re excellent for steep slopes because they’re flexible and absorb ground movement.
For most home gardeners, interlocking concrete blocks strike the best balance between ease of installation and structural integrity. Natural stone looks better but demands more skill. Avoid using random bricks or cinder blocks unless you’re pouring concrete foundations, as they lack the mechanical locking features needed for safety.
Calculating Wall Height and Angles
Not every slope needs massive engineering. The rule of thumb is simple: if your retaining wall is less than 4 feet high, you can usually build it without a permit or professional engineering stamps. Above 4 feet, many jurisdictions require engineered designs because the risk of failure increases exponentially with height. Keep individual terrace tiers short-2 to 3 feet per level is ideal for gardening comfort and structural safety.
You also need to consider the batter angle. Retaining walls shouldn’t stand perfectly vertical. They should lean slightly backward into the hill, known as "battering." A typical batter is 1 inch of setback for every foot of height. So, a 3-foot-high wall should lean back about 3 inches at the top compared to the bottom. This uses gravity to help stabilize the wall instead of fighting it. Measure this carefully before laying the first block. A plumb line or level with a batter gauge helps ensure consistency.
Step-by-Step Construction Process
Building terraces is physically demanding work. Wear gloves, knee pads, and eye protection. Here is the logical sequence for constructing a stable terrace system.
- Mark the Layout: Use stakes and string to mark where each terrace level will sit. Ensure the string lines are level across the slope. Cut the slope horizontally along these lines to create flat shelves. Remove vegetation and roots from the shelf area.
- Excavate the Footer Trench: Dig a trench at the base of each shelf. For walls under 3 feet, a 12-inch deep and 12-inch wide trench is sufficient. For taller walls, dig deeper-up to 18 inches. Compact the bottom of the trench firmly with a hand tamper or plate compactor. Loose soil leads to settling later.
- Lay Base Gravel: Fill the trench with 4-6 inches of compactable base material, like crushed granite or road base. Tamp it down until it’s solid and level. This foundation prevents the wall from sinking unevenly.
- Install Geogrid (If Needed): For walls over 2 feet high, add geogrid reinforcement. This is a plastic mesh that extends back into the soil. It ties the wall to the earth behind it, distributing load and preventing bulging. Staple or pin it securely.
- Build the First Course: Place your largest, flattest blocks or stones on the base. Check for levelness constantly. Use rubber mallets to tap them into place. Ensure the front edge aligns with your string line.
- Backfill with Gravel: As you raise the wall, fill the space behind it with clean gravel, not native soil. This creates the drainage zone mentioned earlier. Leave a 6-12 inch gap between the gravel and the final soil surface.
- Add Drainage Pipe: At the bottom of the gravel backfill, lay a perforated drain pipe (French drain) wrapped in filter fabric. Connect it to a discharge point away from the house or lower terraces. This ensures excess water exits the system.
- Continue Building Up: Stagger the joints between blocks like brickwork. Do not stack seams vertically. Lean each course slightly inward according to your batter calculation. Install geogrid every 2-3 courses if required.
- Cap the Wall: Once you reach the desired height, cap the wall with larger coping stones or decorative blocks. This protects the inner blocks from weather and adds a finished look. Ensure the cap overhangs slightly but is anchored securely.
- Fill with Topsoil: Only after the wall is complete and stable should you add planting soil. Use a mix of compost, peat moss, and native soil for good drainage and fertility. Plant immediately to establish root networks that further bind the soil.
Maintaining Your Terraced Garden
Construction is only half the battle. Maintenance keeps your investment safe. Inspect your walls after heavy rains. Look for cracks, bulging, or leaning. Small shifts happen, but sudden movement indicates drainage failure. Clear debris from the top of the walls to prevent water pooling. Trim plants growing directly against the wall face, as their roots can pry blocks apart over time.
Replenish mulch annually to reduce soil erosion on the terrace surfaces. If you notice water seeping out from behind the wall unexpectedly, your drainage system might be clogged. In such cases, you may need to excavate partially to clear the filter fabric or replace the gravel. Regular checks save you from catastrophic failures later.
| Material | Lifespan | Cost | Difficulty | Best For |
|---|---|---|---|---|
| Interlocking Concrete Blocks | 20+ years | Medium | Low | DIYers, long-term structures |
| Natural Stone | 50+ years | High | High | Rustic aesthetics, skilled builders |
| Pressure-Treated Timber | 10-15 years | Low | Medium | Budget projects, temporary fixes |
| Gabion Baskets | 30+ years | Medium-High | Medium | Steep slopes, modern design |
Common Mistakes to Avoid
Many homeowners rush into terracing without planning, leading to costly repairs. Don’t skimp on the footer trench depth. A shallow base causes the wall to settle unevenly, creating gaps and instability. Never use native soil as backfill directly behind the wall; it retains too much moisture. Always use gravel for the immediate backfill zone. Another frequent error is ignoring the batter angle. Vertical walls exert maximum lateral pressure and are prone to tipping. Leaning them back distributes weight safely into the ground. Finally, don’t plant large trees directly adjacent to retaining walls. Their root systems expand and can lift or crack walls over time. Stick to shrubs, perennials, and vegetables on the terrace surfaces themselves.
Do I need a permit to build retaining walls for terracing?
Permit requirements vary by location. Generally, walls under 4 feet high do not require permits in many US municipalities. However, if the wall supports a surcharge (like a driveway or house), or if it’s part of a series totaling more than 4 feet, you likely need approval. Always check with your local building department before starting construction to avoid fines or forced demolition.
How far apart should terrace levels be?
The width of each terrace shelf depends on your slope gradient and intended use. For gardening, aim for at least 4 to 6 feet of flat space per level. This provides enough room for planting rows, walking paths, and maintenance access. Narrower shelves are harder to work in and increase the total number of walls you need to build, raising costs.
Can I terrace a slope with grass alone?
Grass helps prevent minor erosion, but it cannot support significant changes in elevation for gardening purposes. Without structural retaining walls, soil will eventually wash away during heavy rains, exposing roots and destabilizing the slope. Grass works best on gentle slopes under 15 degrees. For steeper terrain, hard structures are necessary to hold the soil in place.
What type of plants grow best on terraced slopes?
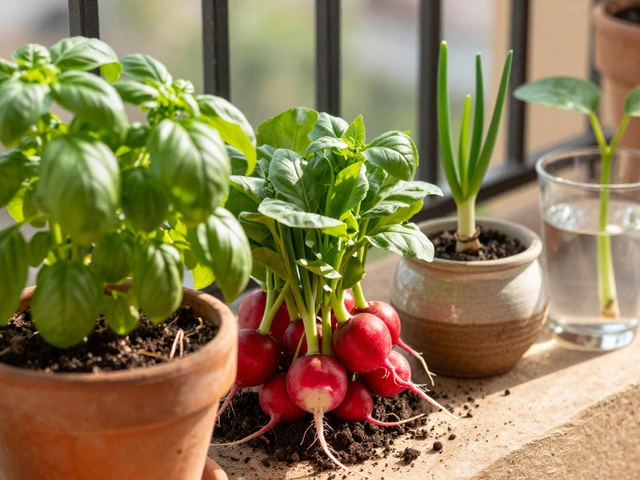
Choose plants with strong root systems that bind soil, such as ornamental grasses, lavender, rosemary, and sedum. Vegetables like carrots, radishes, and leafy greens thrive in the loose, well-drained soil of raised terraces. Avoid heavy-rooted trees near the walls. Shallow-rooted perennials and annuals are safest and easiest to manage on narrow shelves.
How do I handle water runoff from upper terraces?
Install splash pads or small catch basins at the edges of upper terraces to break the force of falling water. Direct runoff into French drains or dry creek beds that channel water safely to lower levels or away from the property. Prevent concentrated streams from hitting the faces of lower walls, as this erodes the soil and undermines structural integrity.