Drip Irrigation Burial Depth Calculator
Drip irrigation line is a flexible tubing that carries low‑flow water to emitters placed at plant roots. Proper burial depth ensures water reaches the root zone while protecting the line from damage and temperature extremes.
Why Burial Depth Matters
When the line sits too close to the surface, sun‑baked soil can evaporate water before it hits the roots, and foot traffic may puncture the tubing. Too deep, and you risk trapping air pockets or increasing installation effort without added benefit. The sweet spot maximizes water use efficiency and extends the line’s lifespan.
Key Factors That Influence the Ideal Depth
Soil type is a primary factor. Sandy soils drain quickly, so burying the line slightly deeper (about 3‑4 inches) helps retain moisture around emitters. Clay holds water longer; a shallower placement (1‑2 inches) is sufficient and prevents waterlogging.
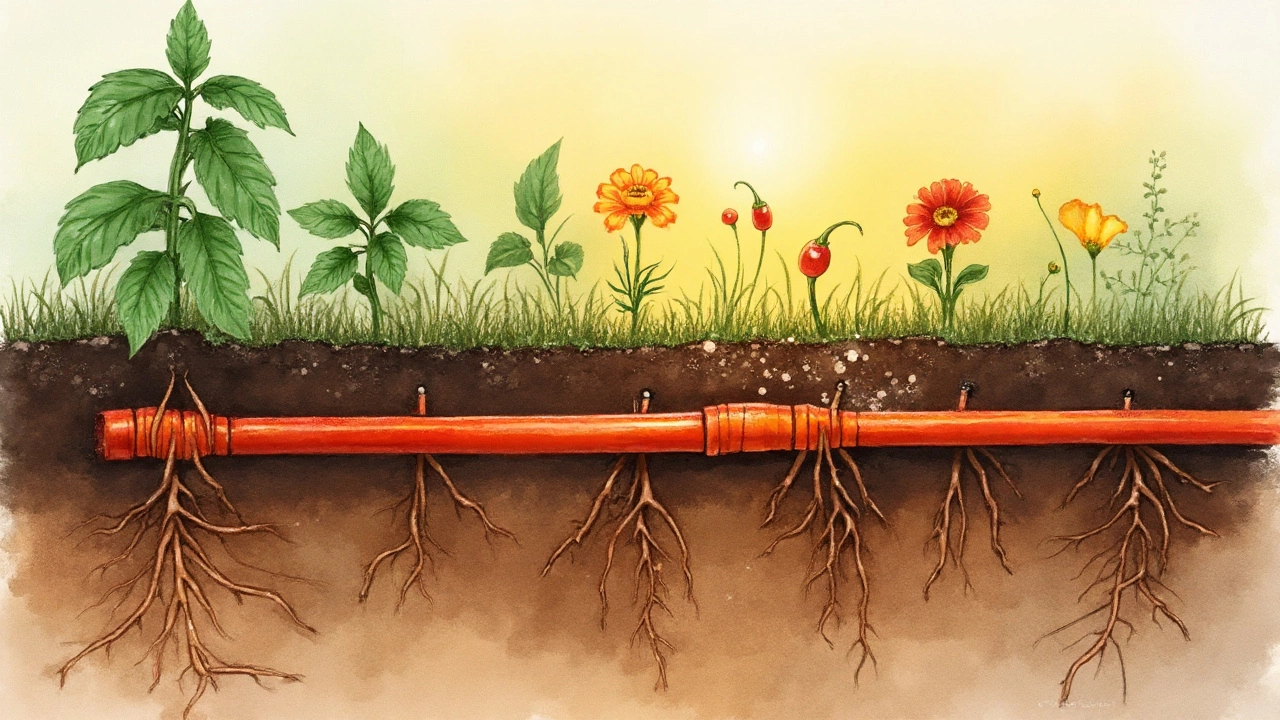
Root zone depth defines how far water must travel to reach a plant’s active roots. For shallow‑rooted vegetables like lettuce, 1‑2 inches is enough, whereas fruit trees with deeper roots may need 4‑6 inches.
Climate and frost line affect decisions. In regions where ground freezes below 6 inches, burying the line below the frost depth (often 8‑12 inches) prevents freezing and cracking.
Water pressure matters too. High pressure can push water through tighter soil packs; lower pressure systems benefit from shallower trenches to reduce friction loss.
Other considerations include mulch thickness and the presence of landscape fabric, both of which can act as insulating layers.
Recommended Burial Depths by Soil and Climate
| Soil Type | Typical Frost Depth (in) | Suggested Tubing Depth (in) | Why |
|---|---|---|---|
| Sandy (well‑draining) | 4‑6 | 3‑4 | Deeper placement retains moisture, avoids rapid surface loss. |
| Loam (moderate drainage) | 6‑8 | 2‑3 | Balances moisture retention with easy root access. |
| Clay (slow drainage) | 8‑10 | 1‑2 | Shallow depth prevents waterlogging and air pockets. |
| Heavy frost zone (≥8) | ≥8 | Depth + 2 inches below frost line | Avoids freezing damage to the tubing. |
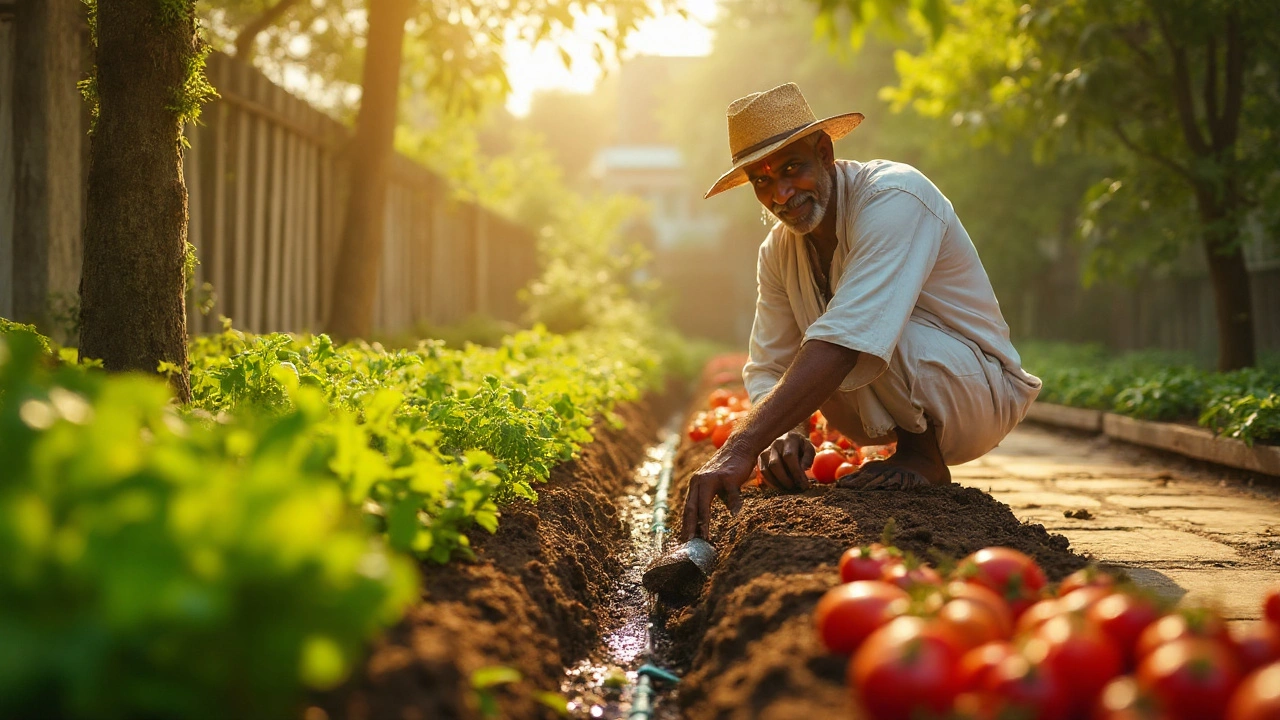
Step‑by‑Step Installation Guide
- Plan the layout. Mark emitter locations based on plant spacing and root zones.
- Choose the correct tubing size (typically 1/2" or 5/8").
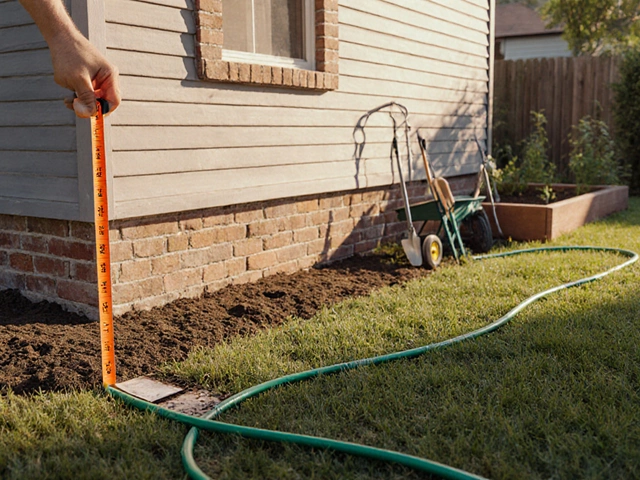
- Use a trenching tool or a narrow shovel to create a narrow ditch at the recommended depth for your soil.
- Lay the drip irrigation line gently, avoiding kinks.
- Install emitters at each plant point, ensuring they face downward.
- Backfill with native soil, lightly tamping to eliminate air pockets.
- Apply a thin layer of mulch (1‑2 inches) to conserve moisture and protect the line.
- Connect the system to a timer and a backflow preventer for safety.
After installation, run water for a few minutes to flush air and check for leaks.
Common Mistakes & How to Fix Them
- Too shallow in clay soils: Water may pool, causing root rot. Re‑dig at a shallower depth (1‑2 in.) and add a thin sand layer to improve drainage.
- Leaving the line exposed in high‑traffic areas: Punctures happen. Cover with landscape fabric or a second thin layer of soil.
- Ignoring frost depth: Frozen lines burst in winter. Move the line deeper or use freeze‑resistant tubing.
- Improper backfill: Air pockets create dry spots. Use a hand tamper or water the trench while filling to settle soil.
Pro Tips for Long‑Term Performance
Schedule an annual spring check‑up. Look for mineral buildup on emitters, especially in hard‑water areas, and clean with a pin. If you notice uneven wetting patterns, verify that the line is still at the correct depth; soil settling can shift the tubing upward.
Consider installing a flow regulator near the source to maintain consistent pressure across long runs.
When planting new crops, adjust burial depth to match the new root profiles. For example, tomatoes with deeper roots benefit from 4‑5 inches, while lettuce stays happy at 1‑2 inches.
Related Concepts Worth Exploring
Beyond burial depth, gardeners often ask about drip emitter types (pressure‑compensating vs. non‑compensating), soil moisture sensors for automated scheduling, and the role of rainwater harvesting in reducing water bills. Those topics sit in the same knowledge cluster and make a complete sustainable‑garden toolkit.

Frequently Asked Questions
What is the minimum depth for drip lines in sandy soil?
In sandy, fast‑draining soil, bury the line 3‑4 inches deep. This depth helps retain moisture long enough for the roots to absorb it.
Do I need to worry about frost damage?
Yes. If your region’s frost line is 8 inches, place the line at least 2 inches below that (10‑12 inches). Freeze‑resistant tubing is another option.
Can I cover the line with mulch?
A thin layer (1‑2 inches) of organic mulch is ideal. It conserves water and protects the line, but avoid piling mulch directly over emitters.
How often should I check the depth after installation?
Inspect once a year in early spring. Soil settling can raise the tubing, especially in loamy soils.
Is there a rule of thumb for depth vs. emitter flow rate?
Higher flow emitters (1‑2GPM) work well at the standard depths listed above. Low‑flow emitters (¼GPM) can be placed slightly shallower because they need less pressure.
Should I use landscape fabric over the buried line?
Fabric is optional but helpful in high‑traffic gardens. It adds a protective barrier without affecting water delivery.
What are the signs of a line placed too deep?
Plants may show drought stress despite regular watering, and you’ll notice higher pressure at the timer. Pull a small section of soil to verify depth.
Can I adjust depth after the line is installed?
Yes. Carefully excavate the affected section, reposition the tubing, and backfill. It’s easier to adjust during a seasonal garden overhaul.