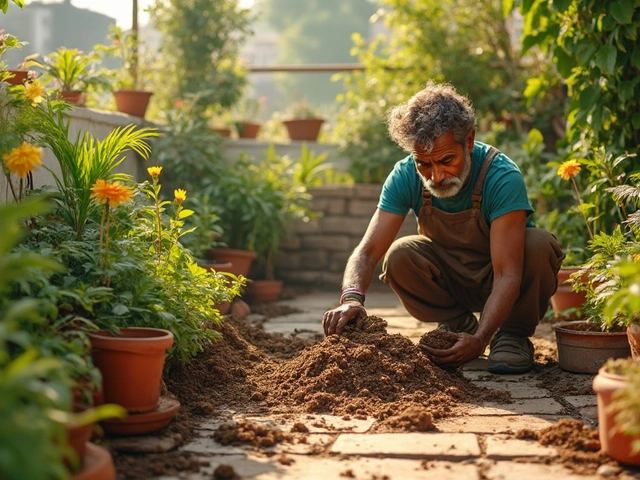
Ever set up a drip irrigation system thinking it would save you time and water-only to find some plants thriving while others are wilting? You’re not alone. Drip emitters are supposed to deliver water slowly and evenly, right down to the roots. But in practice, they’re one of the most frustrating parts of the whole system. If your emitters are clogged, leaking, or uneven, your garden won’t get what it needs-and you’ll waste water, money, and patience.
Why Drip Emitters Get Clogged
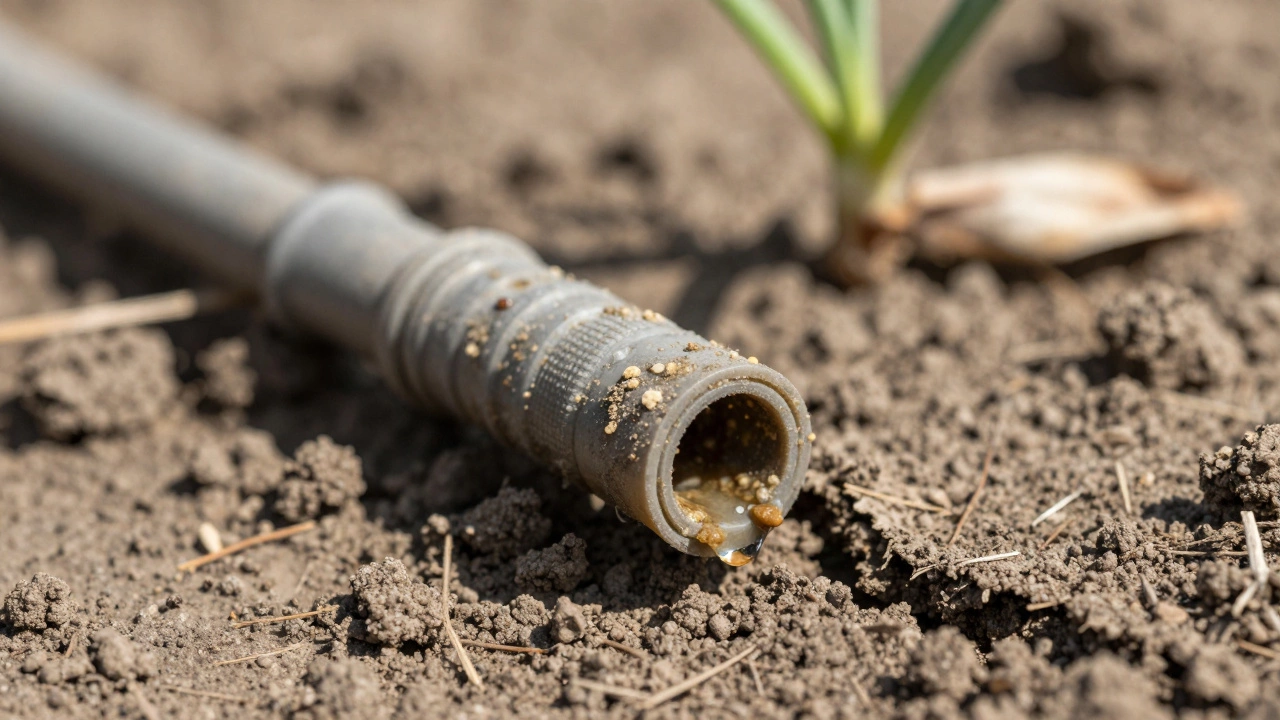
Clogging is the #1 problem with drip emitters. It’s not magic-it’s physics and chemistry working against you. Water in most areas, including Auckland, contains minerals like calcium and iron. When that water sits in the tubing and slowly drips out, those minerals settle and build up inside the tiny openings of the emitter. Algae and sediment from poorly filtered water make it worse.You might think you’re using clean water because it looks clear. But clear doesn’t mean pure. Even tap water can have 50-100 ppm of dissolved solids. Over time, that adds up. A single emitter with a 0.5 mm opening can get blocked by particles smaller than a grain of salt. That’s why you see patches of dry soil under plants that should be getting plenty of water.
Uneven Water Distribution
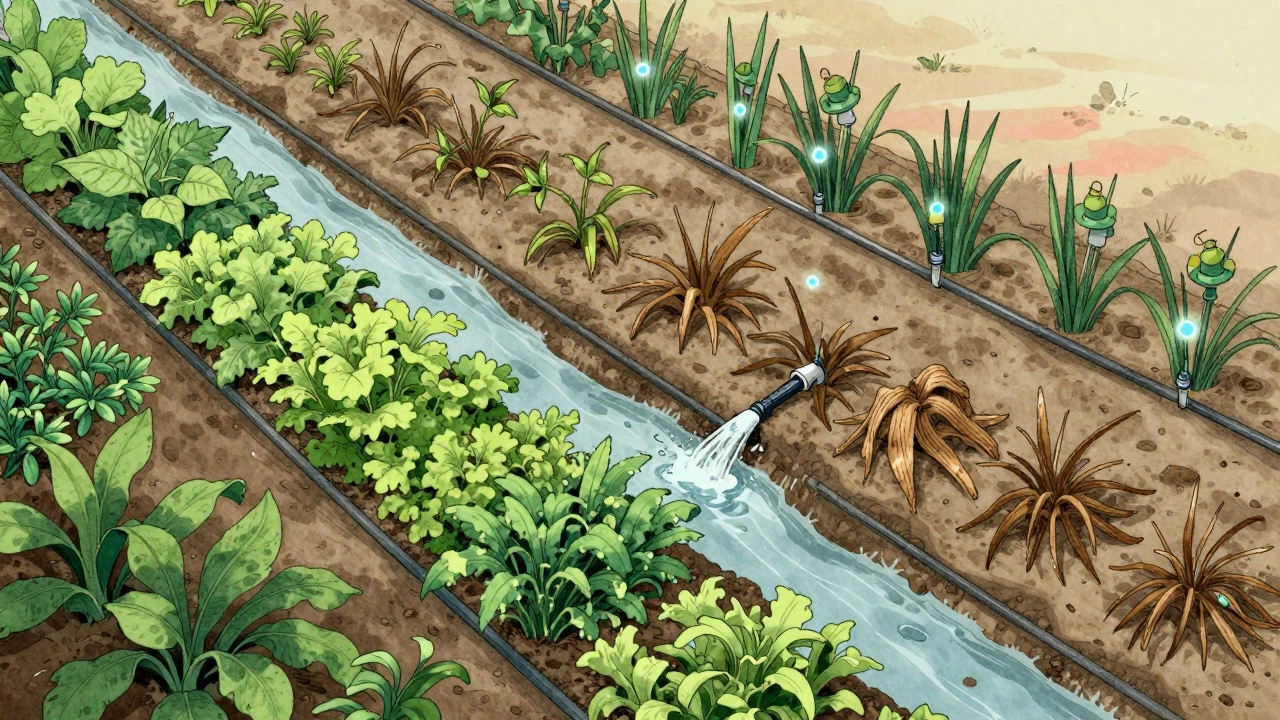
Not all emitters are created equal. Even if they’re from the same pack, manufacturing variances mean some deliver 0.5 gallons per hour while others put out 1.2. This is called flow rate inconsistency. Add to that pressure differences along the line-especially on slopes-and you get a mess. Plants uphill get too little. Plants downhill get flooded. Your tomatoes might be thriving while your basil is turning yellow.Pressure-compensating emitters solve this. They’re designed to maintain a steady flow even when water pressure drops or rises. But they cost more. If you’re using non-pressure-compensating emitters on a slope or a long run (over 100 feet), you’re asking for trouble. Most homeowners don’t realize this until half their garden looks sick.
Emitters That Leak or Burst
If you’ve ever seen a drip line spraying like a broken hose, you know what this looks like. This happens when emitters are damaged during installation, or when the system’s pressure exceeds what the emitter can handle. Cheap emitters made from thin plastic can crack under pressure spikes-especially if you’re using a timer that turns the system on and off rapidly.Another cause? Rodents. In New Zealand, mice and rats chew through plastic tubing, especially in winter when other food sources are scarce. You won’t see the damage until you notice a soggy patch in your garden. Check your lines monthly if you’re in a rural or semi-rural area.
Emitter Displacement and Debris Blockage
Drip emitters are meant to sit snugly in the tubing. But over time, soil shifts, roots grow, and mulch moves. An emitter can get pushed out of its slot or buried under leaves and compost. If it’s not secured properly, it can detach entirely. Then water flows out the tubing hole instead of the emitter-wasting water and soaking the wrong spot.Organic debris like pine needles, bark chips, or even dried grass clippings can drift into the emitter’s outlet. This isn’t clogging from minerals-it’s physical blockage. It’s easy to miss because the emitter still looks intact. You’ll need to physically check each one. That’s why I recommend installing emitters with a protective cap or using a filter at the main line.
Root Intrusion: The Silent Killer
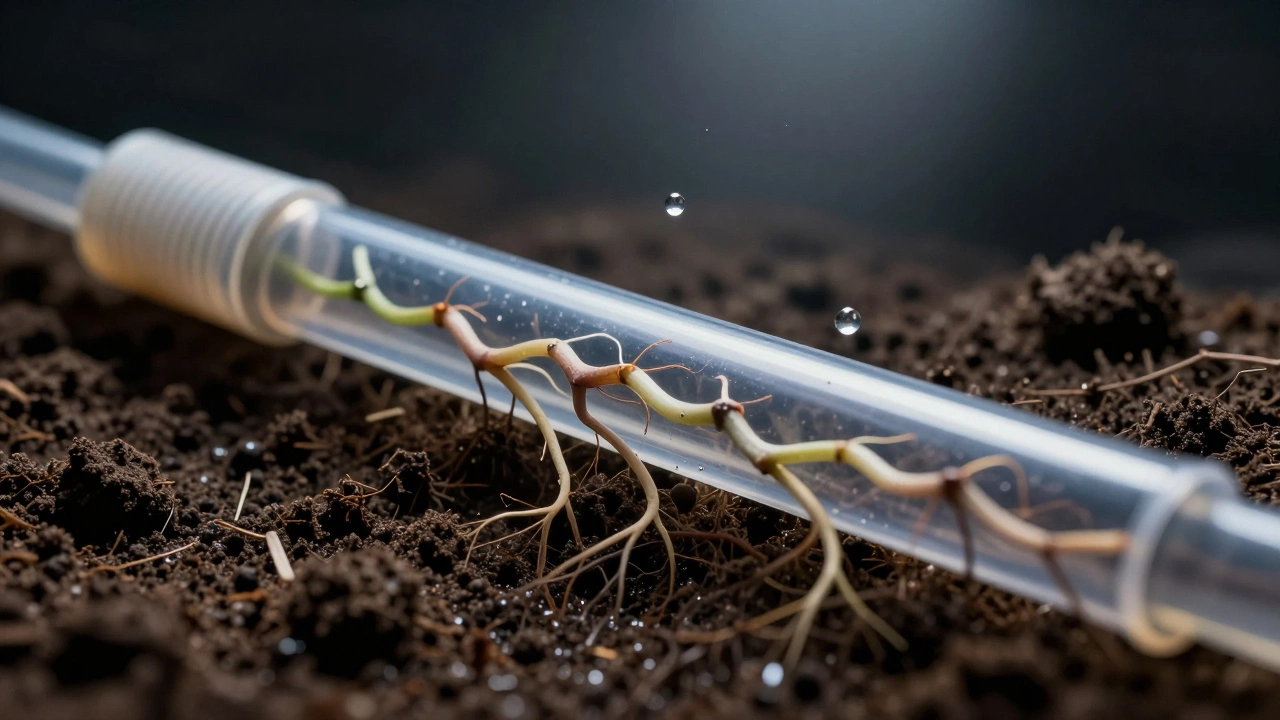
This one catches people off guard. Plant roots are drawn to moisture. If your drip emitter is leaking even slightly, roots will find it-and grow into it. Once inside, they expand, block the flow, and can even split the emitter. This isn’t just a clog-it’s a biological takeover.Root intrusion is worse in clay soils or where plants are planted too close to the drip line. Lavender, rosemary, and fruit trees are especially aggressive rooters. You can’t see it until the emitter stops working. The fix? Use root barriers around sensitive plants or install emitters at least 6 inches away from the base of woody plants. Also, flush your lines every 3 months to wash out early root growth.
Temperature and UV Damage
Drip systems sit outside. Sunlight, heat, and cold take a toll. UV rays make plastic brittle over time. In summer, the tubing can get hot enough to warp the emitter. In winter, water left in the lines can freeze and crack them. Auckland’s mild climate helps, but it’s not immune. One hard frost can ruin a whole line if the system wasn’t drained.Use UV-stabilized tubing and emitters-look for the label. And always drain the system before winter if you’re in a frost-prone area. Even if you don’t get snow, overnight freezes can still do damage. A simple bleed valve at the lowest point of the system makes this easy.
How to Diagnose the Problem
If your drip system isn’t working right, don’t guess. Test it.- Turn on the system and let it run for 10 minutes.
- Walk the entire line. Look for dry patches, puddles, or dripping tubing.
- Use a measuring cup under each emitter. Collect water for 5 minutes. Multiply by 12 to get gallons per hour.
- Compare flow rates. Anything more than 20% difference between emitters means inconsistency.
- Check for visible debris, root growth, or physical damage.
If most emitters are clogged, the problem is likely in your filter. If only a few are bad, it’s individual damage or root intrusion. If the whole line is leaking, pressure or installation is the issue.
Prevention and Maintenance Tips
Fixing clogged emitters is a chore. Preventing them is easier.- Install a 150-mesh filter at the main water line. Clean it every 2-4 weeks during peak season.
- Flush the entire system every 3 months. Open the end cap and let water blast through for 2 minutes.
- Use pressure-compensating emitters on slopes or long runs.
- Keep emitters at least 6 inches from plant stems to reduce root intrusion.
- Mark each emitter’s location with a small stake or colored cap so you can find them easily.
- Replace emitters every 2-3 years-even if they still work. Plastic degrades slowly.
When to Replace vs. Clean
You don’t need to replace every emitter that slows down. Try cleaning first.Remove the emitter and soak it in a 1:10 vinegar-to-water solution for 30 minutes. Rinse and reinsert. That fixes mineral buildup 80% of the time. If it still doesn’t flow properly, or if the plastic is cracked or warped, replace it. A new emitter costs less than a dollar. It’s cheaper than replacing a whole plant.
What to Buy Instead
Not all drip emitters are equal. Here’s what works best:| Emitter Type | Best For | Flow Rate | Pressure Compensating? | Anti-Clog Feature |
|---|---|---|---|---|
| Pressure-compensating | Slopes, long runs, large gardens | 0.5-2.0 GPH | Yes | Yes |
| Inline (built into tubing) | Row crops, vegetables | 0.5-1.0 GPH | Some | Yes |
| Adjustable emitters | Containers, mixed plantings | 0.25-4.0 GPH | No | Yes |
| Self-cleaning | Hard water areas | 0.5-2.0 GPH | Yes | Yes |
Brands like Rain Bird, Netafim, and DIG have proven reliability. Avoid no-name emitters from big-box stores-they’re cheaper upfront but cost more in wasted water and plant loss.
Final Thought: It’s Not the System-It’s the Maintenance
Drip irrigation is one of the most efficient ways to water your garden. But efficiency means nothing if the emitters don’t work. The problem isn’t the technology. It’s the assumption that once you install it, you’re done.Treat your drip system like a car. You don’t just fill the tank and forget it. You check the oil. You replace the filters. You watch for leaks. Do the same with your emitters. A 10-minute monthly check will save you hours of troubleshooting later-and keep your plants healthy all year.
Why do my drip emitters clog so fast?
Clogging happens because of minerals in the water (like calcium and iron), algae buildup, or dirt from unfiltered sources. Even clear tap water contains particles that settle in tiny emitter openings over time. Installing a 150-mesh filter and flushing the system every 3 months can reduce clogging by up to 90%.
Can I clean clogged drip emitters myself?
Yes. Remove the emitter and soak it in a 1:10 solution of white vinegar and water for 30 minutes. Rinse thoroughly and reinsert. This dissolves mineral buildup. If the emitter still doesn’t flow after cleaning, or if the plastic is cracked, replace it. Cleaning works for 8 out of 10 clogs.
Do I need pressure-compensating emitters?
If your garden has any slope or your drip line is longer than 100 feet, yes. Non-pressure-compensating emitters deliver too much water downhill and too little uphill. Pressure-compensating emitters maintain the same flow rate regardless of position or pressure changes. They cost more upfront but prevent uneven watering and plant stress.
Why are some plants dry even though the drip line is on?
The emitter might be blocked, displaced, or buried under mulch. Roots could have grown into it. Or the pressure is too low in that section of the line. Check each emitter with a measuring cup-collect water for 5 minutes. If one emits less than half of what others do, it’s faulty. Replace or clean it.
How often should I replace drip emitters?
Replace emitters every 2-3 years, even if they still work. Plastic degrades with UV exposure and temperature changes. Old emitters become brittle, leak, or clog more easily. Replacing them proactively is cheaper than replacing dead plants or dealing with water waste.