Drip Irrigation System Selector
Answer the questions below to find the best drip irrigation solution for your garden or farm.
Recommended Solution
Quick Tip:
You’ve probably heard that drip irrigation is the gold standard for watering gardens efficiently. It saves water, reduces weeds, and keeps plant roots happy. But here’s the catch: there isn’t just one way to do it. If you walk into a garden center or browse online suppliers, you’ll see confusing terms like "drip tape," "emitters," and "subsurface lines." They all fall under the umbrella of drip systems, but they behave very differently.
Choosing the wrong type can lead to clogged emitters, uneven watering, or plants dying from drought stress right next to a running hose. The key is matching the system to your specific growing conditions. Are you planting rows of tomatoes in open soil? Or are you maintaining a dense hedge where surface pipes would be an eyesore? Let’s break down the four main types of drip irrigation so you can pick the right tool for the job.
Surface Drip Lines with Emitters
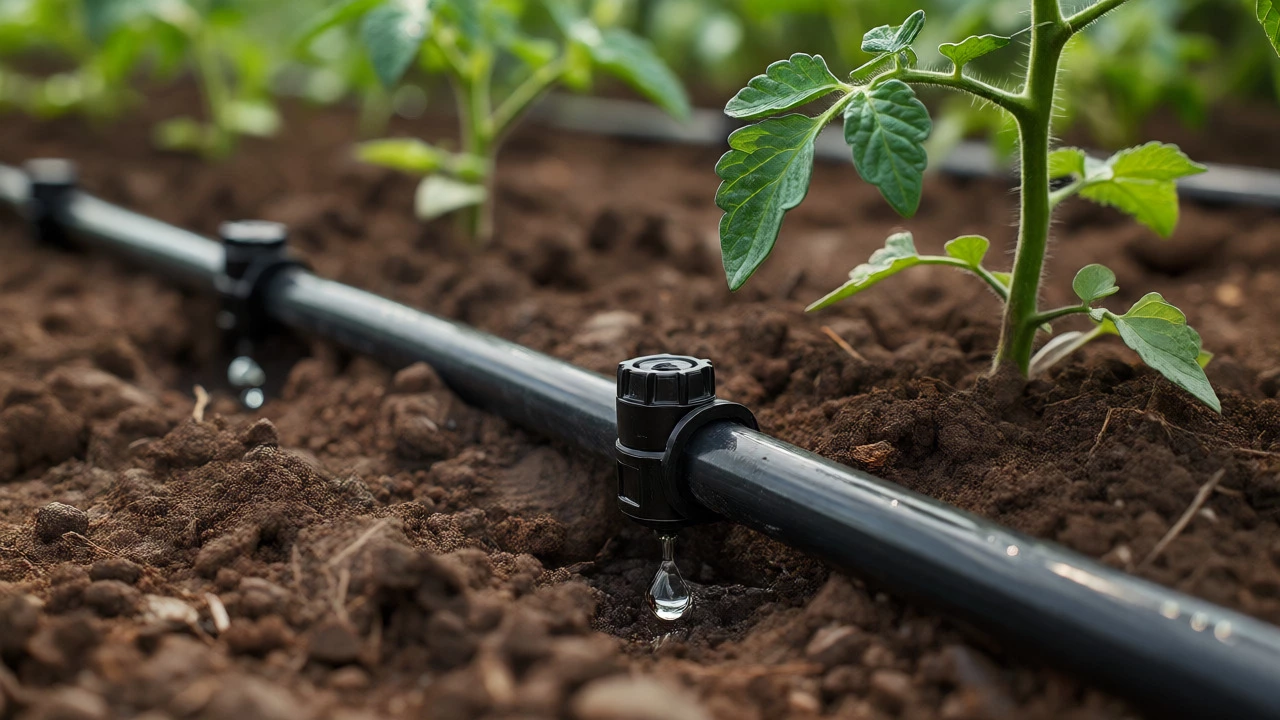
This is what most people picture when they hear "drip irrigation." You lay black polyethylene tubing along the ground, and every few inches or feet, there’s a small device called an emitter. These devices control exactly how much water comes out per hour.
Emitters come in two main flavors: fixed-flow and pressure-compensating. Fixed-flow emitters deliver the same amount of water regardless of water pressure. This works fine if your water source has stable pressure and the terrain is flat. But if you’re on a slope, or if your municipal pressure fluctuates (which happens often), fixed-flow emitters will overwater plants near the source and underwater those at the end of the line.
Pressure-compensating (PC) emitters solve this problem. They have a diaphragm inside that adjusts the flow rate based on pressure changes. Even if your pump kicks on and off, or if you have a long run of pipe, PC emitters deliver consistent moisture. In my experience with vegetable patches in Auckland’s hilly suburbs, PC emitters are worth the extra cost because they prevent the "wet feet, dry head" scenario where only half the row gets watered properly.
The downside? Surface lines are visible. If you care about aesthetics, having black tubes snaking through your flower beds might bother you. Also, they are prone to physical damage from lawnmowers, pets, or curious kids stepping on them.
Drip Tape and Micro-Tubing
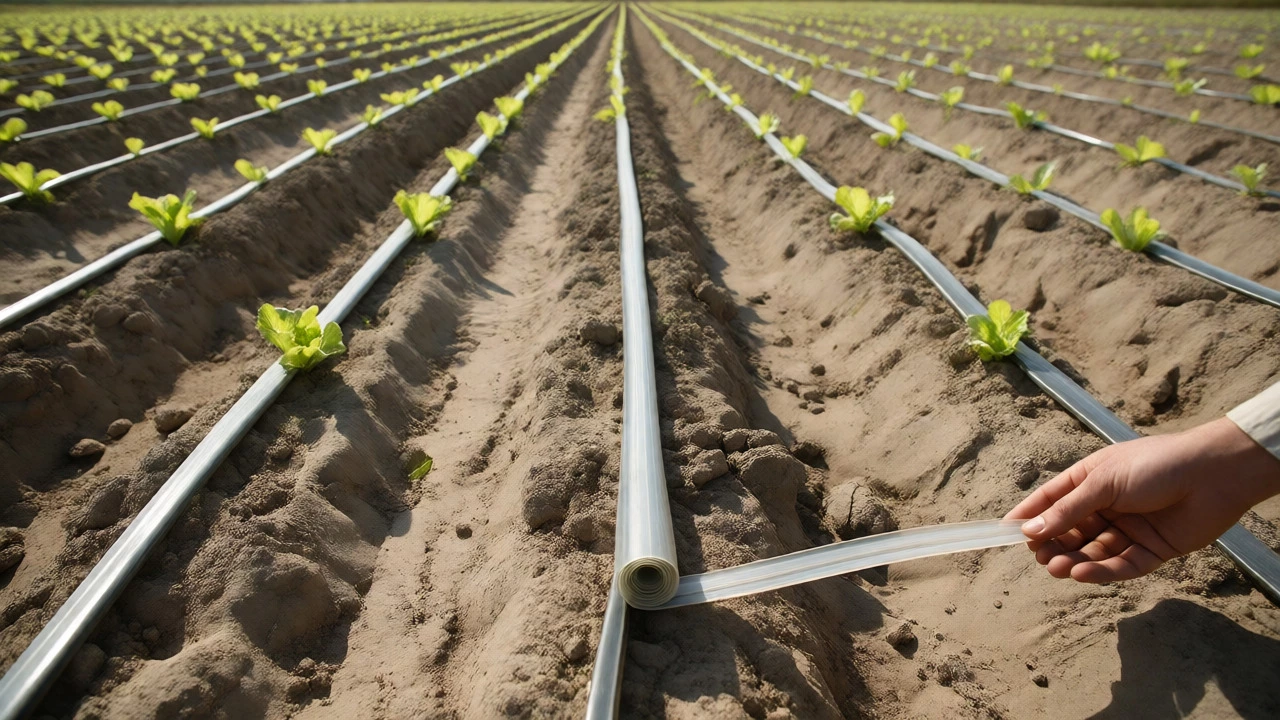
If you are farming large areas or planting seasonal crops like lettuce, strawberries, or potatoes, rigid tubing is too expensive and hard to install. Enter drip tape. This is a thin, flexible plastic tube-usually 16mm in diameter-that lies flat on the ground until pressurized. It has tiny laser-punched holes spaced at regular intervals, such as every 30cm or 60cm.
Drip tape is incredibly cheap per meter compared to rigid tubing. Installation is fast; you unroll it across the field, connect it to a manifold, and turn on the water. At the end of the season, you roll it up, store it, and reuse it for a few years before replacing it. This makes it ideal for annual crops where you don’t want permanent infrastructure.
However, drip tape is fragile. Rodents love to chew through it, and sharp stones in the soil can puncture it easily. It also requires higher water pressure than other systems to keep the tube expanded. If your pressure drops below 1 bar, the tape collapses, and water distribution becomes erratic. For home gardeners with low-pressure rain tanks, this can be a dealbreaker unless you install a booster pump.
Subsurface Drip Irrigation (SDI)
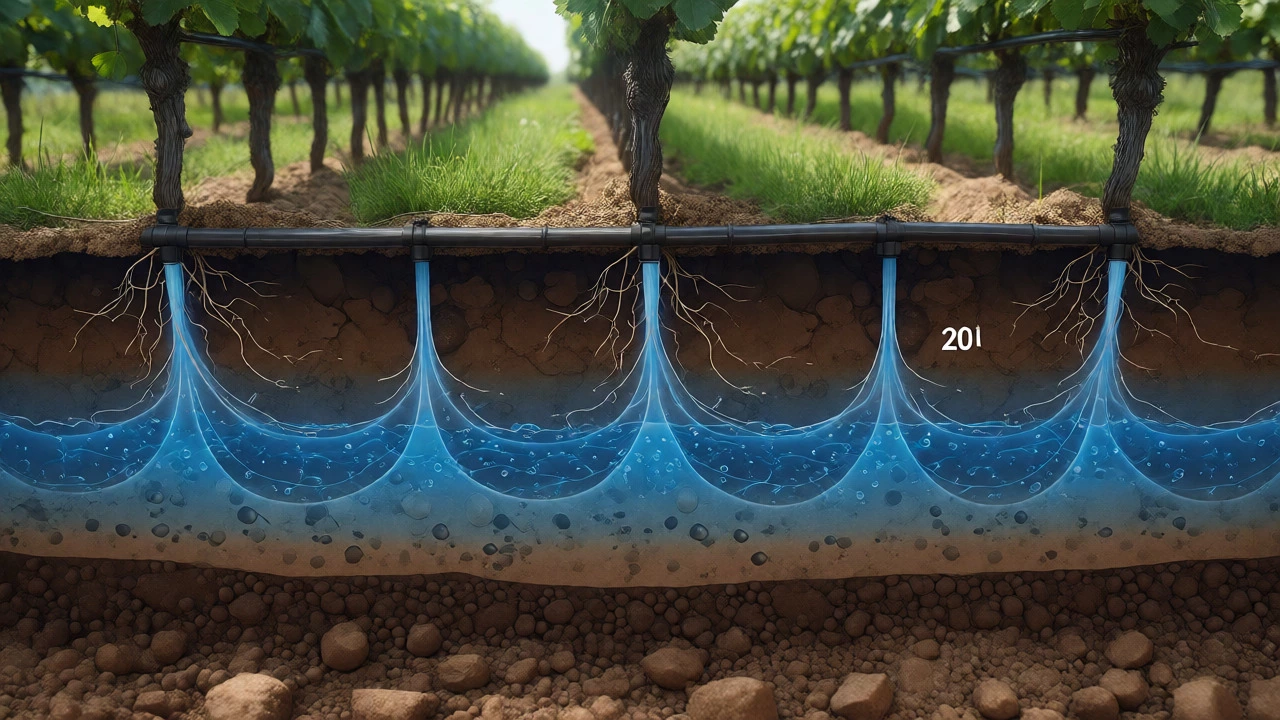
Imagine burying the water source directly beneath the root zone. That’s Subsurface Drip Irrigation (SDI). Instead of laying tubes on top of the soil, you dig trenches 15-30 cm deep and place the drip lines underground. Then you cover them back up.
The benefits are massive. Since the water never touches the air, evaporation loss is nearly zero. Weeds struggle to germinate because the soil surface stays dry while the roots get wet. Plus, your garden looks clean-no ugly black tubes cluttering the view. SDI is perfect for vineyards, orchards, and established shrubs where you don’t plan to till the soil frequently.
But here’s the big risk: maintenance. If an emitter clogs underground, you won’t see it. Plants will slowly wilt, and by the time you notice, the damage might be severe. To combat this, you need high-quality filtration. Sand particles or algae can block subsurface emitters quickly. I always recommend installing a disc filter and using treated water if possible. Also, once installed, moving plants is difficult without digging up the entire bed.
Micro-Sprinklers and Bubbler Systems
Not all plants like a single point of water. Dense groundcovers, ferns, or wide-canopy trees benefit from a broader spray pattern. This is where micro-sprinklers and bubblers shine. While technically part of the drip family because they use low-pressure, localized delivery, they function differently from traditional drippers.
Micro-sprinklers attach to a riser and emit a gentle mist or fan-shaped spray. They cover a radius of 1-2 meters, making them great for covering irregularly shaped beds or groups of plants clustered together. Bubblers, on the other hand, dump a larger volume of water at the base of a tree or shrub, creating a small pool that soaks in slowly. This mimics natural rainfall more closely than a single drip point.
The trade-off is wind sensitivity. On a breezy day, micro-sprinklers lose efficiency as droplets drift away from the target. They also wet the foliage, which can encourage fungal diseases in plants like roses or tomatoes if used late in the day. Use them in early morning so leaves dry quickly. For tight spaces or windy coastal areas (like many parts of New Zealand), bubbler systems are often safer than sprays.
| Type | Best For | Cost | Maintenance Level | Visibility |
|---|---|---|---|---|
| Surface Drip Lines | Vegetable rows, mixed beds | Medium | Medium (check emitters) | Visible |
| Drip Tape | Large fields, annual crops | Low | High (fragile, needs filters) | Visible (flat) |
| Subsurface Drip (SDI) | Orchards, hedges, lawns | High | Low (if filtered well) | Invisible |
| Micro-Sprinklers/Bubblers | Groundcovers, trees, pots | Medium-High | Medium (clean nozzles) | Visible |
How to Choose the Right System for Your Garden
Don’t just buy the cheapest option. Think about your plants’ lifespan and your local climate. Here’s a quick decision guide:
- Are you growing vegetables? Go with surface drip lines with pressure-compensating emitters. They are easy to adjust as you change crop rotations.
- Do you have a large lawn or sports field? Subsurface drip is the winner. It keeps the grass green without wasting water to evaporation.
- Is your budget tight and space large? Drip tape offers the best coverage per dollar, provided you have decent water pressure.
- Do you have potted plants or hanging baskets? Use simple inline drippers or bubbler stakes. They are easy to move and customize.
Another critical factor is water quality. If you use bore water or rainwater collected from roofs, you likely have sediment. Every drip system needs a filter. For surface lines, a mesh filter might suffice. For subsurface systems, invest in a sand or disc filter. Skipping this step is the number one reason drip systems fail within a year.
Common Pitfalls to Avoid
Even the best system fails if installed poorly. One common mistake is ignoring the slope. Water follows gravity. If you lay drip lines downhill without proper regulators, the bottom plants get flooded while the top ones stay dry. Always start your lines at the highest point or use pressure-regulating valves on each zone.
Another issue is over-watering. Drip systems are precise, but if you set the timer for 30 minutes daily, you might suffocate roots. Most vegetables need deep, infrequent watering. Try running the system for 10-15 minutes three times a week instead of daily. Check the soil moisture 10cm down with your finger before adjusting the schedule.
Finally, remember to flush your lines. Open the ends of your drip lines every month and let water rush out for a minute. This clears out debris that settles in the tubes. It takes ten seconds and prevents clogs that could kill your prize tomatoes.
Which drip irrigation type is easiest to install for beginners?
Surface drip lines with pre-installed emitters are the easiest. You simply cut the tubing to length, insert connectors, and plug in the emitters. No specialized tools are needed beyond a hole punch or scissors. Drip tape requires more planning regarding layout and manifolds, while subsurface systems require trenching, which is labor-intensive.
Can I mix different types of drip emitters on the same line?
It is generally not recommended. Different emitters have different flow rates (e.g., 2 liters/hour vs. 4 liters/hour). Mixing them on a single unregulated line causes uneven pressure distribution. If you must mix them, separate them into different zones with individual valves, or ensure the total flow does not exceed the pipe's capacity.
Does subsurface drip irrigation work for container plants?
Yes, but it requires careful setup. You can bury a short piece of drip line or a bubbler stake inside the pot during planting. However, access for maintenance is harder since you cannot easily see if it is working. Many growers prefer surface drippers for pots because they are easier to monitor and adjust.
How often should I clean my drip irrigation filters?
Check your filters weekly during peak growing season. If you use untreated rainwater or bore water, check them twice a week. A clogged filter restricts flow, causing the last emitters in the line to stop working entirely. Cleaning usually involves unscrewing the cap and rinsing the screen under a tap.
Is drip tape reusable?
Yes, high-quality drip tape can be reused for 3-5 seasons if handled carefully. Roll it up gently after use, avoiding kinks. Store it in a cool, dark place to prevent UV degradation. However, once holes stretch or tear, replacement is necessary as repair is rarely cost-effective.