Home Rice Growing Calculator
Picture this: you walk out to your backyard, wade into a shallow pool of water, and harvest grains that will end up in your dinner bowl. It sounds like something from a movie or a documentary about traditional farming. But is it actually practical for a regular person living in a suburb with a modest garden? The short answer is: it depends on what you’re trying to achieve.
If you want to save money on groceries, growing rice at home is likely a losing battle. Commercial farms produce tons per acre using massive machinery and economies of scale that you can’t replicate. However, if you are looking for a unique hobby, a way to teach kids about food sources, or the satisfaction of eating grain you grew yourself, then yes-it is absolutely worth it. Let’s break down the reality of growing rice at home, the hidden challenges, and how to do it without turning your yard into a swamp.
The Reality Check: Yield vs. Effort
Before you buy seeds, you need to understand the math. In commercial agriculture, rice yields can range from 3 to 10 tons per hectare depending on the variety and climate. For a home gardener, we are talking about square meters, not hectares. A typical small-scale home plot might yield anywhere from 500 grams to 2 kilograms of raw rice per square meter after processing.
That means if you dedicate a 4-square-meter patch (about 43 square feet) to rice, you might get 2-8 kg of unhusked paddy rice. After milling-which removes the husk-you lose roughly half that weight. So, you’re left with 1-4 kg of edible rice. Compare that to buying rice at the supermarket, where a 5 kg bag often costs less than $10. The labor involved in planting, managing water levels, pest control, harvesting, drying, and hulling far outweighs the monetary savings.
So why do people do it? Because the value isn’t financial. It’s experiential. There is a deep satisfaction in connecting with one of humanity’s oldest crops. Plus, homegrown heirloom varieties often have flavors and textures that mass-produced industrial rice lacks. You might find a nutty, aromatic profile in a local heritage strain that simply doesn’t exist in the grocery aisle.
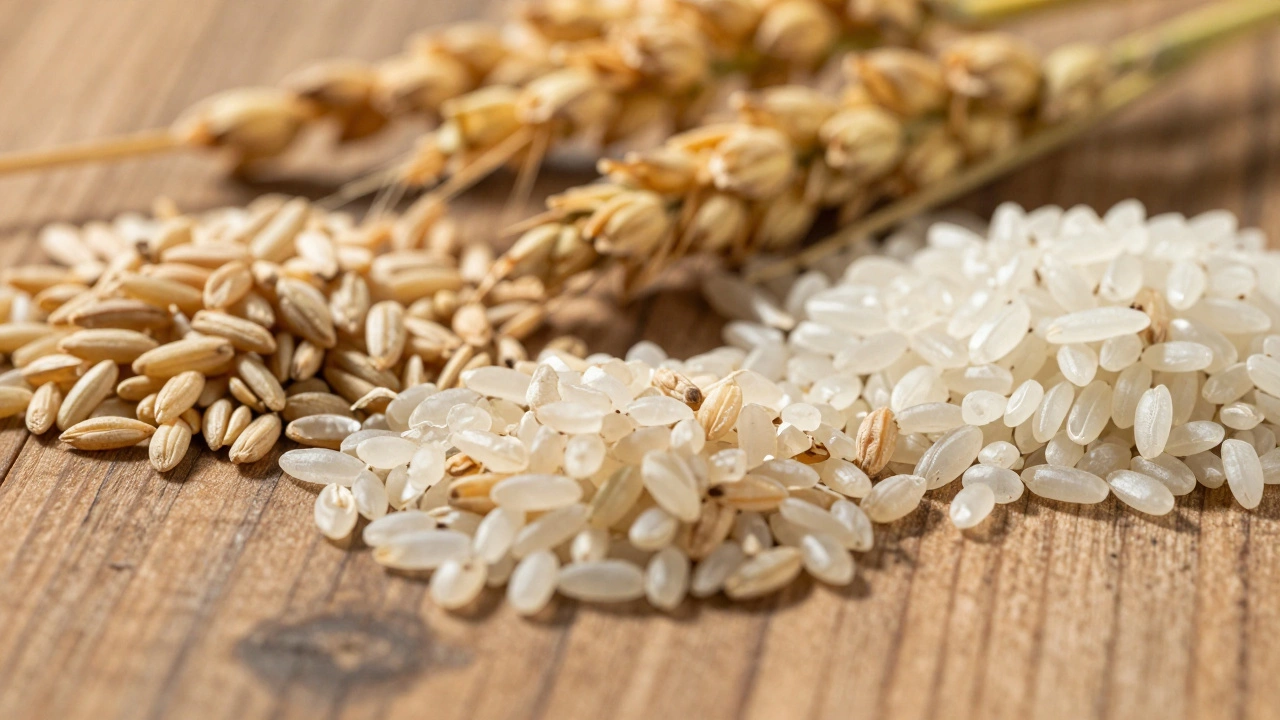
Choosing the Right Rice Variety
Not all rice is created equal, and picking the wrong seed is the number one reason home growers fail. You cannot just take leftover rice from your pantry and plant it; most store-bought rice has been heat-treated or polished to prevent sprouting. You need viable, untreated seeds.
| Variety Type | Growth Cycle | Water Needs | Best For |
|---|---|---|---|
| Japonica | Short (90-120 days) | High (Flooded) | Cooler climates, sushi rice lovers |
| Indica | Medium (120-150 days) | High (Flooded) | Warmer climates, long-grain dishes |
| Aromatic (Basmati/Jasmine) | Long (130-160+ days) | High (Flooded) | Flavor enthusiasts, longer growing seasons |
| Upland Rice | Variable | Low (Rain-fed) | Garden beds without flooding capability |
For most beginners in temperate zones like New Zealand, parts of Europe, or the northern US, Japonica varieties are the safest bet. They tolerate cooler temperatures and have a shorter growth cycle. Look for specific cultivars like 'Koshihikari' or 'Nipponbare'. If you live in a hot, humid region, Indica types will thrive. Always source seeds from reputable agricultural suppliers or seed exchanges, ensuring they are labeled as "for planting" and free from chemical treatments.
Setting Up Your Rice Paddy
Rice is an aquatic plant. It needs to be submerged in water for significant portions of its life cycle. This requirement makes it tricky for standard garden beds. You have three main options for setting up your home paddy:
- The Liner Pond Method: Dig a hole in your yard, line it with heavy-duty pond liner or clay (if you have clay soil), and fill it with water. This mimics a traditional paddy. You’ll need a way to drain it later for harvest.
- The Container Method: Use large tubs, stock tanks, or even repurposed bathtubs. Place them on a flat surface. This is great for renters or those with poor soil. Just ensure the containers are watertight and can hold at least 10-15 cm of water.
- The Raised Bed with Irrigation: Build a raised bed lined with plastic sheeting. Install a simple drip irrigation system that keeps the soil constantly saturated, though not necessarily flooded. This works well for upland rice varieties or if you want to reduce mosquito risks.
Regardless of the method, sunlight is non-negotiable. Rice needs full sun-at least 6 to 8 hours of direct light daily. If your yard is shaded by trees or buildings, rice will grow tall and spindly, producing little to no grain. Position your setup in the sunniest spot available.
Planting and Early Care
Rice takes time to germinate. Don’t just throw seeds into water. Start by soaking the seeds in warm water for 24 to 48 hours until they begin to sprout. Then, spread them on a damp paper towel or shallow tray to let the roots develop slightly before transplanting.
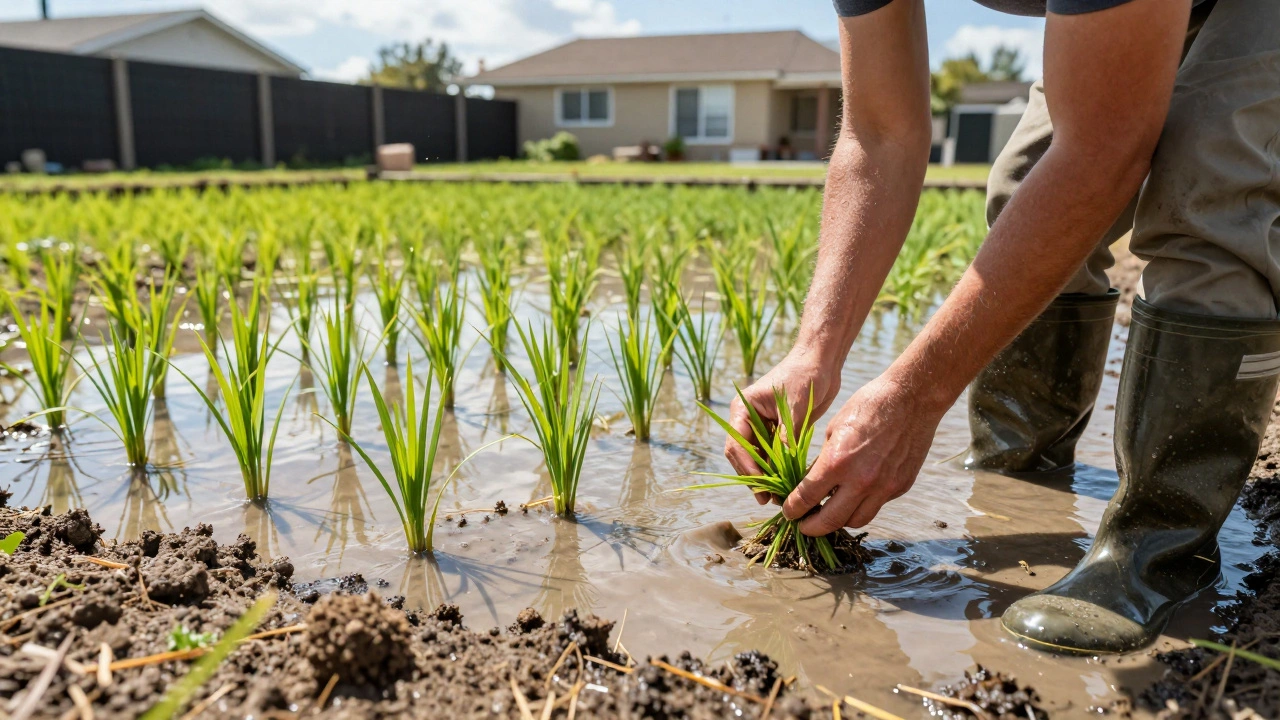
When the seedlings are about 10-15 cm tall, transplant them into your paddy or container. Space them about 15-20 cm apart. Crowding leads to disease and weak stalks. Once planted, maintain a water depth of 5-10 cm. You’ll need to top off the water regularly due to evaporation, especially in summer.
Weeds are your enemy here. In a flooded environment, weeds can grow faster than rice if not managed. Hand-pulling is the most eco-friendly method. Avoid herbicides unless you’re prepared for the environmental impact on your local ecosystem. Some growers use ducks or fish in their paddies to eat weeds and pests, but this adds complexity for a small home operation.
Pest and Disease Management
Home growers often worry about pests. While rice is relatively hardy, it can attract birds, rodents, and insects like planthoppers or stem borers. Birds are the biggest threat during the flowering and grain-filling stages. They love the tender grains.
To deter birds, use netting or scare tactics like reflective tape or old CDs hanging from stakes. For insects, encourage beneficial predators like ladybugs and lacewings. Introducing natural predators is more sustainable than spraying chemicals. If you see signs of fungal diseases, such as brown spots on leaves, improve air circulation around the plants and avoid overwatering during cool nights.
In Auckland and similar maritime climates, humidity can promote fungal issues. Ensure your paddy isn’t stagnant; moving water reduces disease risk. A small solar-powered fountain can help keep the water oxygenated and circulating.
Harvesting and Processing
Knowing when to harvest is crucial. Rice is ready when the grains turn golden yellow and harden, usually 3-4 months after planting. The heads will droop under the weight of the grain. Stop watering the paddy a week before harvest to dry out the soil and make cutting easier.
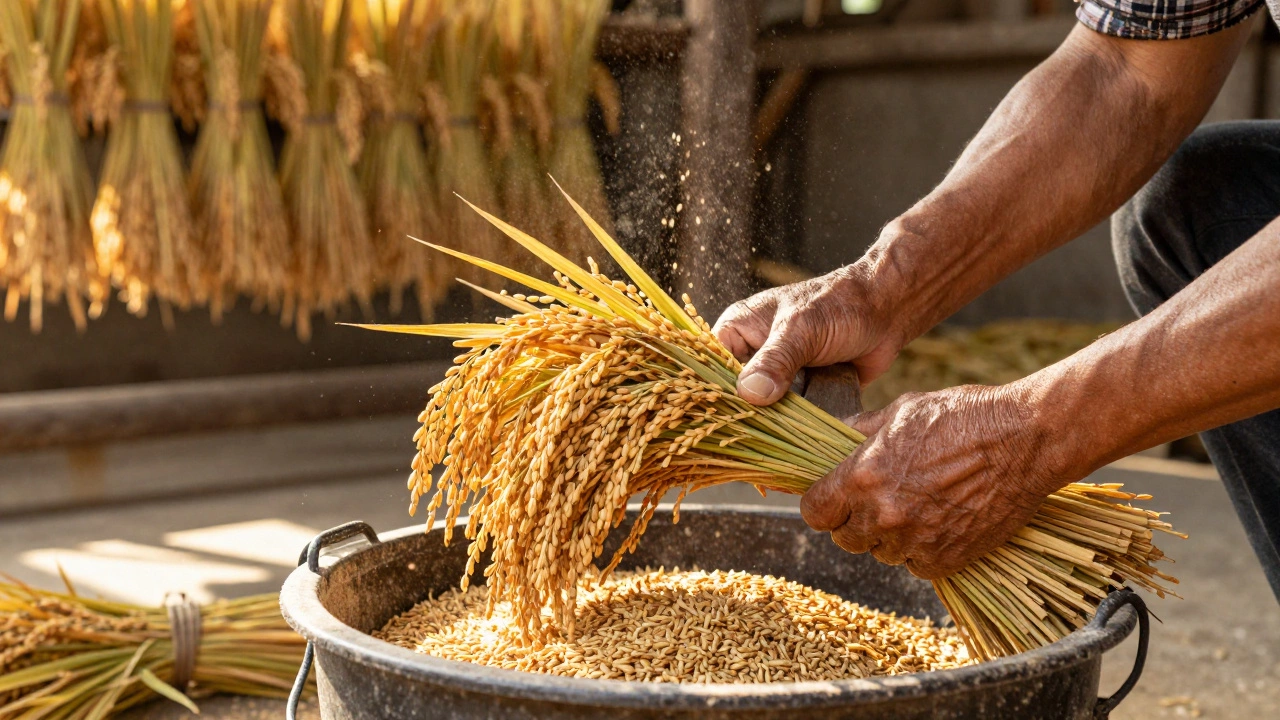
You can cut the stalks with sickles or scissors. Bundle them together and hang them upside down in a dry, airy place to cure for another 1-2 weeks. This reduces moisture content to safe levels for storage.
Now comes the hard part: threshing. You need to separate the grain from the stalk. Traditionally, farmers beat the bundles against a wall or use a flail. At home, you can put the dried stalks in a sturdy trash bag and stomp on them, or use a drill with a whisk attachment inside a bucket to shake the grains loose. Sieve the mixture to remove chaff and straw.
The result is "paddy rice"-rice with the husk still on. To eat it, you must hull it. Small electric rice millers are available online, or you can use a mortar and pestle for tiny batches. Hulling removes the outer layer, leaving you with brown rice. Polishing further creates white rice, but this strips nutrients. Most home growers prefer brown rice for its nutritional value and longer shelf life.
Is It Worth It? The Final Verdict
Let’s circle back to the original question. Is growing rice at home worth it?
Financially? No. You will spend more time and money on infrastructure, seeds, and processing than the market value of your harvest. If your goal is to feed your family cheaply, stick to potatoes, beans, or leafy greens.
Experientially? Yes. Absolutely. Growing rice teaches patience, respect for water resources, and the true effort behind every meal. It’s a conversation starter, a educational tool for children, and a deeply rewarding connection to agricultural history. The taste of freshly milled, homegrown rice is unmatched-nutty, sweet, and alive with flavor.
If you decide to try it, start small. One container or a few square meters. Learn the rhythm of the crop. Embrace the mess. And remember, the value lies not in the cost savings, but in the story you tell when you serve that bowl of rice.
Can I grow rice in pots?
Yes, you can grow rice in large pots or containers. Use containers that are at least 30-40 cm deep and wide enough to accommodate multiple plants. Ensure the pot is watertight and can hold standing water. This method is ideal for balconies or small spaces where digging a paddy isn't possible.
How much water does rice need?
Rice requires consistent moisture. Traditional flooded rice needs 5-10 cm of standing water throughout most of its growth cycle. You'll need to replenish water lost to evaporation and seepage daily during hot weather. Upland rice varieties require less water, similar to other garden crops, but may yield less.
Will growing rice attract mosquitoes?
Stagnant water can attract mosquitoes. To minimize this risk, keep the water moving with a small pump or fountain, or introduce mosquito larvae-eating organisms like gambusia fish or dragonfly nymphs. Regularly changing the water or allowing the paddy to dry out briefly between cycles can also help reduce breeding grounds.
Do I need special equipment to process homegrown rice?
Basic processing requires minimal equipment. For threshing, you can use a bucket and a drill with a whisk attachment. For hulling, a small electric rice miller is recommended for efficiency, though a mortar and pestle works for very small quantities. Without proper hulling, the rice remains inedible due to the tough outer husk.
What is the best time to plant rice?
Plant rice after the last frost when soil temperatures consistently reach at least 15°C (59°F). In most temperate regions, this is late spring to early summer. Rice needs a long, warm growing season, so starting seeds indoors in trays a few weeks before the last frost can give you a head start.