Ground Planting Guide: Simple Steps for Successful Garden Beds
Did you know most beginners lose half their seedlings by planting too deep or on the wrong soil? Getting the basics right can turn a shaky start into a thriving garden.
First, pick a spot that gets the right amount of sunlight for what you want to grow. Most vegetables need at least six hours of sun, while leafy greens can handle a bit of shade. Walk around your yard at different times of day to see where the light hits most consistently.
Prep the Soil Like a Pro
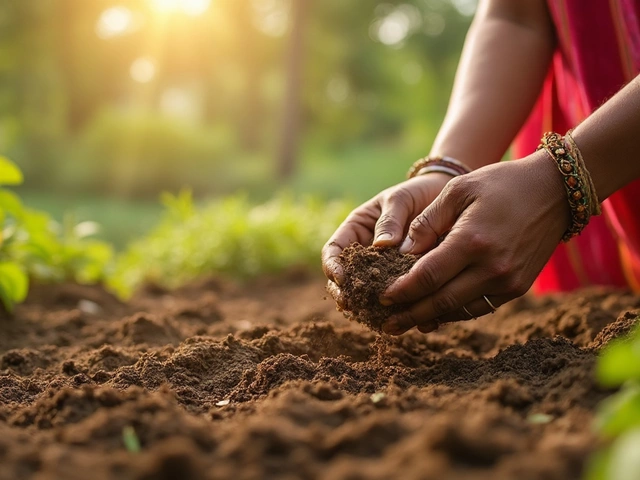
Good soil is the foundation of any ground‑planting project. Grab a shovel and dig out the top 6‑8 inches. Remove rocks, roots, and any debris that could block root growth. If the soil feels heavy and clumpy, add organic matter such as compost, well‑rotted manure, or leaf mold. Spread a thin layer (about an inch) and mix it in thoroughly. This improves drainage, aeration, and nutrient availability.
Test the soil pH if you can. Most garden plants thrive in a pH range of 6.0‑7.0. Adding lime raises pH, while sulfur lowers it. A quick home kit gives you a ballpark figure without lab work.
Plant at the Right Depth and Space
Each plant has a sweet spot for depth. As a rule of thumb, plant seeds at a depth equal to twice their size, and transplants at the same depth they were growing in their pots. Too shallow and roots dry out; too deep and they struggle to push up. Space plants according to the seed packet or plant label—crowding causes competition for water and nutrients.
If you’re planting rows, leave enough room for a hoe or small spade to move between them. For bigger veggies like tomatoes, aim for 2‑3 feet between plants to allow airflow and reduce disease risk.
Water immediately after planting. Use a gentle stream to avoid washing away seeds. The first watering should saturate the soil to a depth of at least 6 inches, encouraging roots to dive down.
Mulch the surface with straw, shredded leaves, or grass clippings. Mulch conserves moisture, suppresses weeds, and keeps soil temperature steady. A layer of 2‑3 inches does the trick.
Consider installing drip irrigation or soaker hoses if you have a larger garden. Even a simple drip tape placed at the base of plants cuts water waste and delivers moisture right where roots need it. Burying the drip lines a few inches deep protects them from sunlight and reduces evaporation.
Keep an eye on weeds, especially in the first few weeks. Pull them by hand or use a hoe, being careful not to disturb young roots. A weed‑free bed lets your plants claim the nutrients they need.
When the season progresses, feed your garden with a balanced organic fertilizer. Follow the label for dosage, but a light feed every 4‑6 weeks usually keeps plants happy.
Finally, watch for signs of stress—yellow leaves, wilted stems, or stunted growth. These clues point to water issues, nutrient gaps, or pest attacks. Acting quickly prevents bigger problems later.
Ground planting doesn’t have to be a mystery. With these practical steps—sunlight selection, soil preparation, correct depth, proper watering, and mulching—you’ll see healthier growth and better harvests. Grab a shovel, get your hands dirty, and watch your garden come to life.
Kitchen Gardening
0
Comments
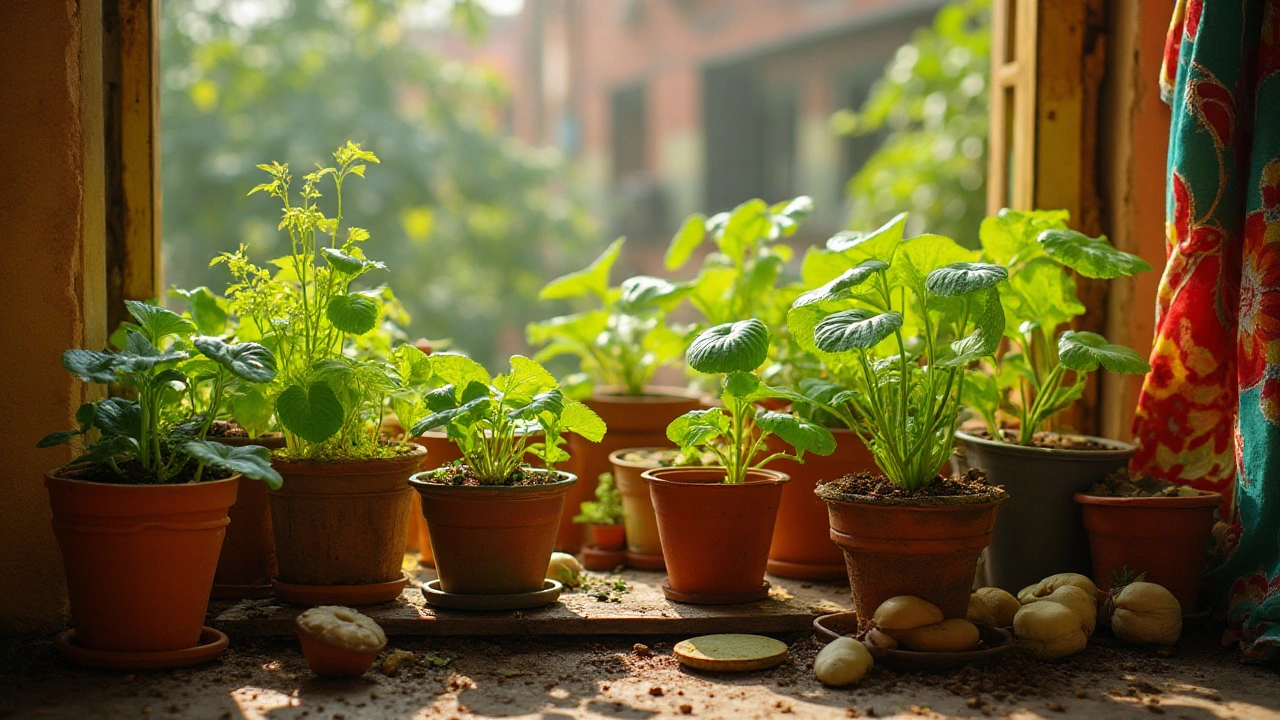
Planting Vegetables: Choosing Between Pots and Ground for Optimal Growth
When it comes to growing vegetables, both container gardening and ground planting offer distinct advantages and challenges. This article explores the differences between the two methods, providing tips on how to decide based on your space, climate, and personal preferences. Discover the benefits of container gardening for limited spaces and the larger yield potential of traditional ground planting. Learn how to maximize your vegetable garden's success regardless of the method you choose.
About
Kitchen Gardening
Latest Posts

Top Indian Seasonal Plants to Brighten Your Home
By Alden Thorne Dec 25, 2024

Discover the 365-Day Flowering Tree of India: Bougainvillea!
By Alden Thorne Apr 3, 2025

Most Unsustainable Thing? Grass Lawns and the Gardening Problem
By Alden Thorne May 3, 2025