Emitter Essentials: Pick, Place and Power Your Drip System
Ever wonder why some drip systems waste water while others keep every plant happy? The secret is the emitter. It’s the tiny part that actually delivers water to the roots. Getting the right emitter and setting it up correctly can save water, cut costs, and boost plant health.
Choosing the Right Emitter
Start by looking at flow rate. Emitters come in rates like 0.5, 1, 2, or 4 liters per hour. Small veggies and herbs usually need the lower rates, while larger fruit plants benefit from higher flow. In India’s hot zones, a slightly higher rate helps soil stay moist longer.
Next, consider pressure tolerance. If your pump runs at 30 psi, pick emitters rated for 30–50 psi. Using an under‑rated emitter can cause clogging or uneven spray. Many brands label both flow and pressure on the packaging – keep an eye on those numbers.
Finally, think about clog‑resistance. Filtered water and self‑cleaning emitters reduce maintenance. If you use rainwater or well water with fine particles, a filter before the line and a self‑flushing emitter will save you trips to the garden every week.
Installing Emitters the Easy Way
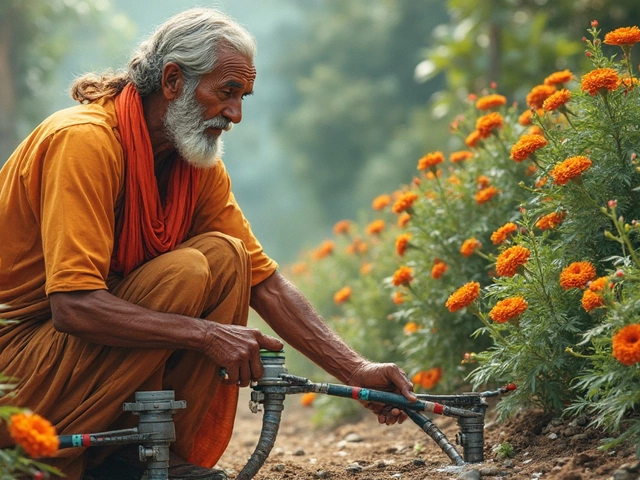
Lay out your drip line first. The depth you bury it matters – about 2‑3 cm works for most Indian soils. Too deep and you lose pressure; too shallow and you risk damage from foot traffic.
When you reach a plant, cut the main line, insert a T‑connector, and push the emitter onto the side. Make sure the emitter’s nozzle faces the root zone, not the wind. A quick test with a bucket will show if water reaches the plant evenly.
Seal every connection with a proper crimp or clip. Loose fittings are the main cause of leaks. Check the system after the first run and tighten any drip that looks soggy.
One handy tip: install a pressure regulator near the pump. It keeps pressure steady throughout the garden, especially if you have long runs or multiple zones. Consistent pressure means each emitter works as intended.
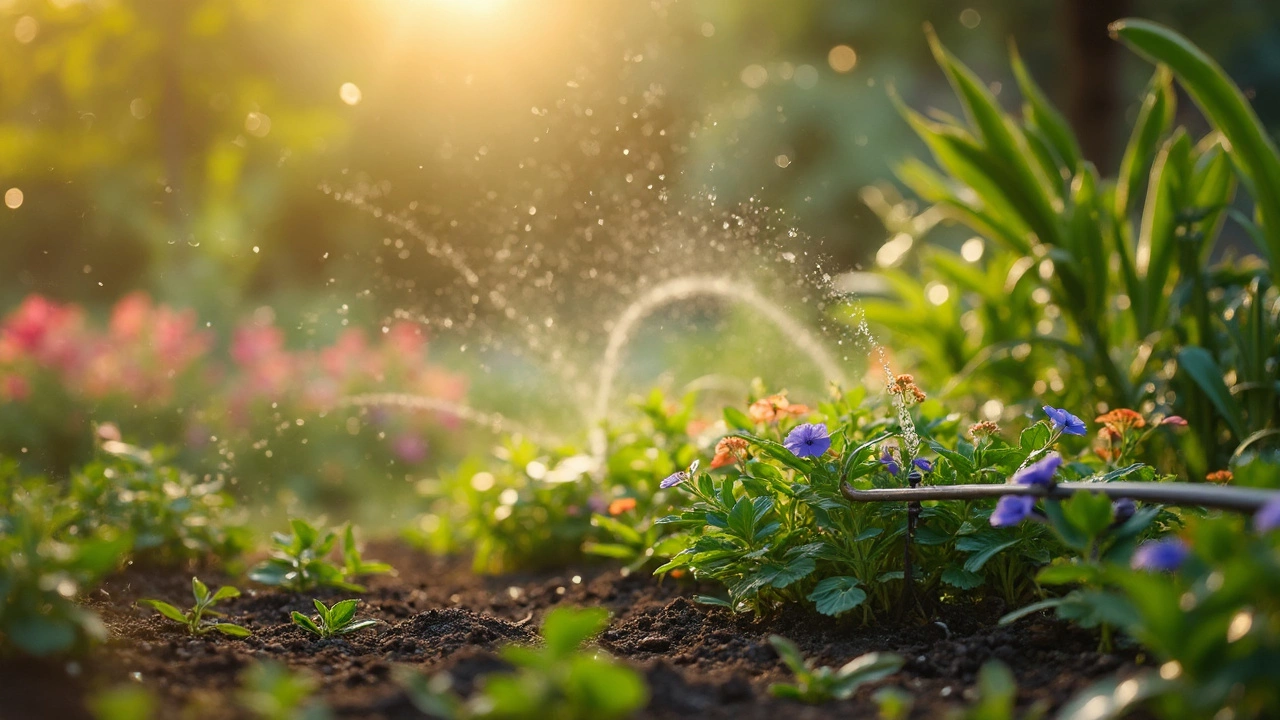
After installation, run the system for 10‑15 minutes and walk the rows. Look for dry spots or puddles. Adjust emitter positions or swap out a few with different flow rates until the water distributes evenly.
Maintenance is simple. Flush the line once a month by opening the end valve and letting water run at high pressure. This clears debris before it clogs the emitters. If you notice a drop in flow, replace the offending emitter – they’re cheap and easy to swap.
With the right emitter, proper placement, and a bit of routine care, your garden will drink just the right amount of water. You’ll see healthier leaves, bigger harvests, and a noticeable drop in your water bill.
Ready to upgrade? Pick a reputable brand, match flow to plant size, and follow the quick install steps above. Your garden will thank you, and you’ll feel good knowing every drop counts.
Drip Irrigation
0
Comments
Dripper vs. Emitter: What's the Difference in Drip Irrigation?
Drippers and emitters are essential components of drip irrigation systems, each serving unique roles in water distribution. Understanding their differences can enhance system efficiency, save water, and cater to specific gardening needs. The distinctions lie in their water delivery methods, flow rates, and suitability for various plant types. This article unpacks these differences to aid in selecting the right component for your irrigation needs.
About
Drip Irrigation
Latest Posts

Indian Vegetarians and Eggs: Myth, Culture & Diet
By Alden Thorne Oct 14, 2025

Sacred Plant in India: Why Tulsi Rules Flower Gardens
By Alden Thorne Jun 22, 2025
DIY Natural Pest Control: Simple Home Remedies for a Bug‑Free Garden
By Alden Thorne Oct 12, 2025