Drip Line Water: How to Use It for a Thirst‑Free Garden
Ever wondered why some gardens stay green while others dry out fast? The secret is often the watering method. Drip line water delivers moisture right where the roots need it, cutting waste and saving time. In this guide you’ll learn what a drip line is, why it works so well, and how to set one up without spending a fortune.
Why Choose Drip Line Water?
First off, drip lines use far less water than sprinklers. They release a slow, steady stream directly onto the soil, so evaporation is minimal. That means you get more bang for every drop – perfect for India’s hot, dry periods.
Second, the water reaches the root zone where plants actually drink. When water sits on leaves, it can encourage fungal diseases. A drip line keeps foliage dry and plants healthier.
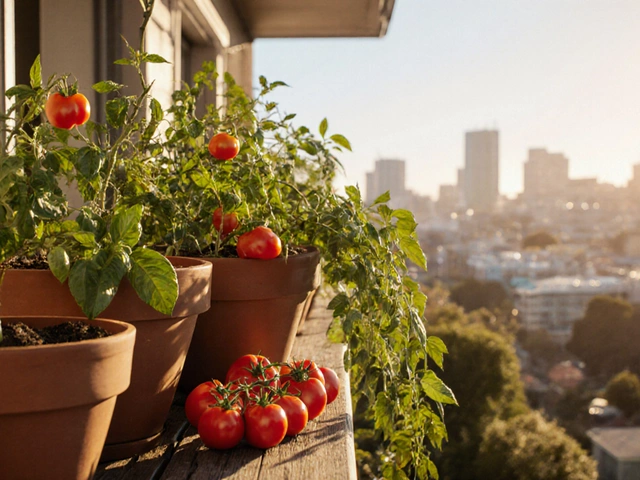
Third, drip systems are versatile. You can run a single line across a vegetable bed, connect multiple lines for a large lawn, or attach emitters for potted plants on a balcony. The same basic parts work for all these setups.
Lastly, maintenance is simple. A clogged emitter is easy to clear with a pin, and the main tubing rarely needs replacement if you use UV‑resistant material. Many Indian gardeners report a 30‑50% drop in water bills after switching to drip lines.
Installing and Maintaining Your Drip Line
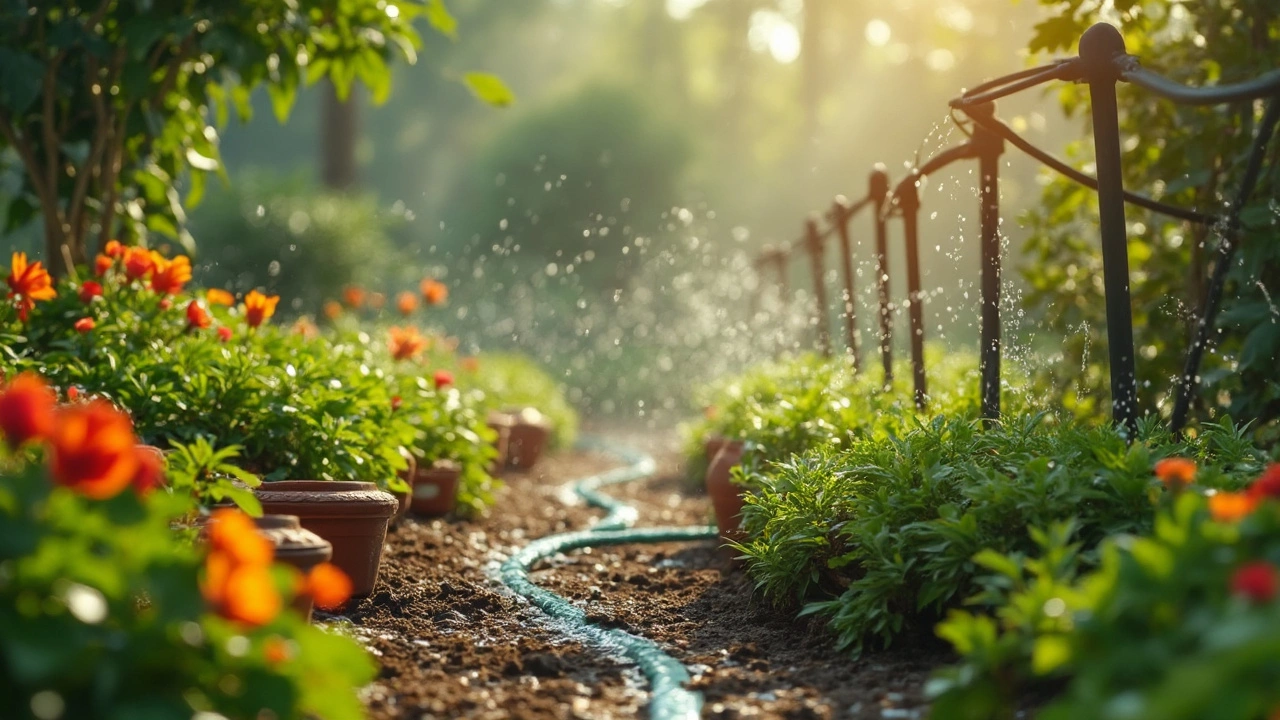
Start with a plan. Sketch your garden, note the length of each row, and decide where you’ll place the water source. Choose a drip line with the right flow rate – 2‑4 liters per hour per meter works for most vegetables.
Lay the main tubing along your rows and secure it with garden staples. Where you need water, cut the line and insert a connector or a pre‑made emitter. Remember to leave a small gap (about 5 cm) between emitters for even coverage.When you’re done, pressurize the system briefly to check for leaks. If any joint drips, tighten it or add a small piece of sealing tape.
For Indian soils that can be heavy or sandy, bury the main line about 5‑10 cm deep. This protects it from sunlight and reduces the chance of animals chewing it. In hot regions, consider a UV‑stable line to avoid degradation.
Maintenance tip: flush the system at the start of the rainy season. Open the end valve and run clean water through the line for a few minutes. This clears silt and prevents clogs during the dry months.
Keep an eye on emitter performance. If a plant looks wilted while its neighbour is thriving, the emitter might be blocked. A quick poke with a thin pin usually restores flow.
Finally, scale up gradually. Start with one vegetable bed, master the setup, then expand to other areas. The modular nature of drip lines means you can add more sections without re‑doing the whole system.
By following these steps, you’ll have a reliable drip line water system that saves water, cuts labor, and keeps your garden thriving all year long.
Drip Irrigation
0
Comments
How Much Water Should Flow from Your Drip Line?
Drip irrigation is a game changer for efficient water use, but how much water should actually drip from those lines? This article breaks down the basics, from understanding flow rates to adjusting for plant needs. Dive into practical tips for maintaining a healthy landscape, conserving water, and ensuring your garden thrives. We'll also explore the role of soil type and how weather can influence your irrigation strategy.
About
Drip Irrigation
Latest Posts
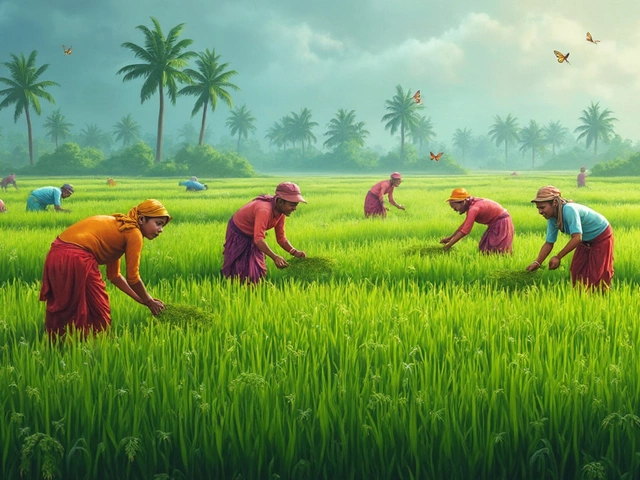
Can You Grow Rice from Store-Bought Rice? Exploring the Possibilities
By Alden Thorne Feb 8, 2025

Onions on Your Feet: Does This Old Trick Actually Work?
By Alden Thorne May 6, 2025
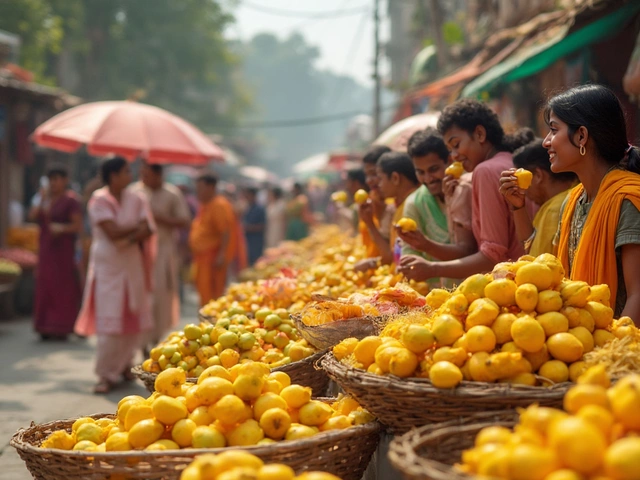
Most Popular Flower in India: Why the Marigold Reigns Supreme
By Alden Thorne May 27, 2025