Drip Irrigation System: Simple Tips to Save Water and Boost Your Garden
If you’re tired of running hoses over and over, drip irrigation might be the answer. It delivers water right to the root zone, cuts waste, and lets you focus on planting instead of watering. Below you’ll find the basics you need to pick the right kit, install it quickly, and keep it working for years.
Choosing the Right Drip Setup
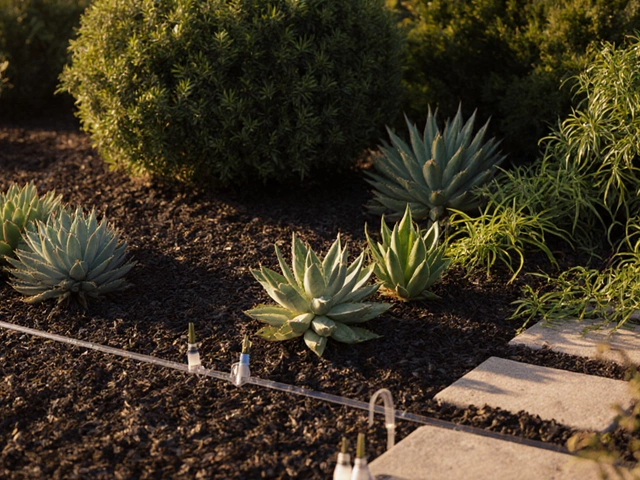
First, look at your garden’s size and layout. Small balcony pots do fine with a short drip tape, while a 200‑square‑meter vegetable plot often needs a main line with multiple sub‑loops. Surface drip runs on top of the soil and is easy to adjust; subsurface drip hides the tubing below ground for a cleaner look and less evaporation.
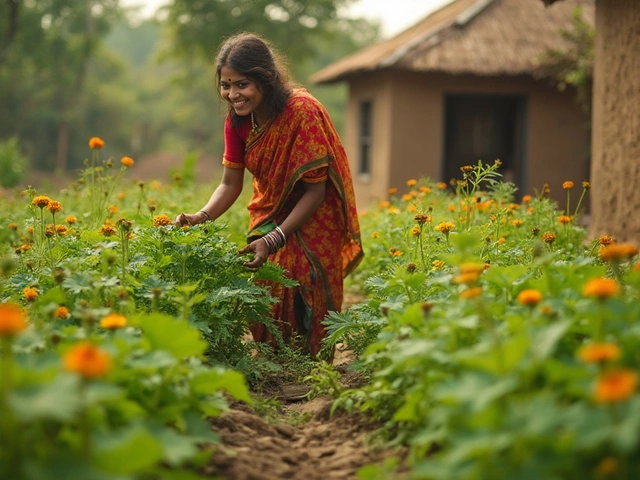
Next, consider soil type. Sandy loam lets water move fast, so place emitters closer together or use a higher‑flow emitter. Heavy clay holds water longer, so wider spacing prevents oversaturation. Many growers in India also add a thin layer of mulch over the tubing to protect it from the sun and reduce weed growth.
Cost is another factor. A basic drip tape kit can start at a few hundred rupees, but a full‑featured system with pressure regulators, filters, and timers may run higher. To keep the price down, buy only the length you need, reuse old lines if they’re still in good shape, and look for local suppliers who sell in bulk.
Installing and Maintaining Your System
Start by measuring the area and marking where the main line will run. Lay out the tape or line in a gentle curve to avoid sharp bends that could clog. If you’re burying the tubing, aim for a depth of 2‑3 cm for surface drip and 5‑7 cm for subsurface drip—deep enough to protect it, shallow enough for the roots to reach.
Attach a pressure regulator before the first emitter; drip systems work best at 10‑30 psi. A simple filter catches sand and debris, preventing blockages. Once everything is connected, run water for a few minutes to flush the system and check each emitter for proper flow.
Maintenance is straightforward. Check the filter weekly during the rainy season and clean it when it looks dark. Inspect the line for cracks after heavy hail or when you pull weeds. If an emitter clogs, push a small pin through it or replace that section of tubing.
Finally, think about timing. Most Indian gardeners water early in the morning or late evening to reduce evaporation. A timer can automate this, saving you time and ensuring consistent moisture. Pairing drip irrigation with mulching and compost also improves soil health, so you’ll need less water over time.
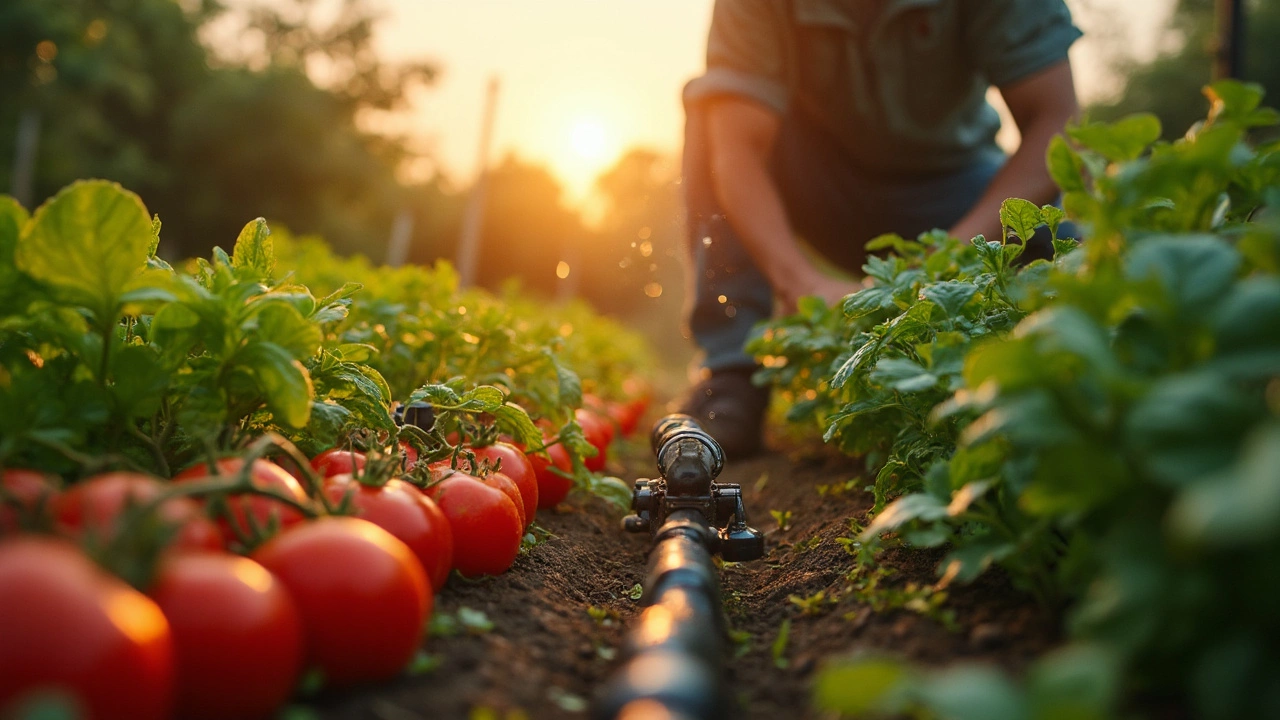
By following these steps, you’ll have a drip irrigation system that’s cheap, low‑maintenance, and perfectly suited to Indian climates. Whether you’re growing tomatoes on a balcony or managing a rice field’s side channels, the right drip setup can make a big difference in yield and water bills. Ready to give it a try? Grab a kit, lay out the line, and watch your garden thrive with every drop.
Drip Irrigation
0
Comments
Drip Irrigation System Life Expectancy: What to Really Expect
Curious how long a drip irrigation system lasts? This article breaks down the real-life lifespan of drip systems, the factors that stretch or cut short their life, and the simple habits that keep them running for years. You’ll get insights on what to inspect, what actually fails first, and practical tips to avoid common setbacks. Ideal for homeowners, gardeners, or anyone planning a new setup. Get the honest facts before you invest or upgrade.
About
Drip Irrigation
Latest Posts
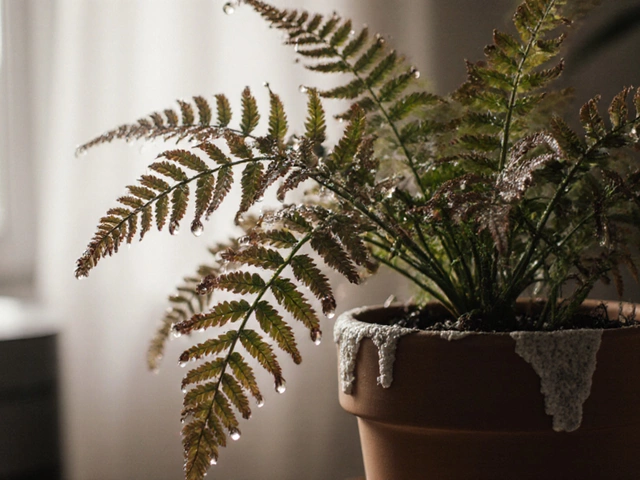
Can You Use Tap Water to Mist Indoor Plants?
By Alden Thorne Nov 21, 2025
Exploring the Alternative Name for Drip Irrigation
By Alden Thorne Feb 10, 2025

How Much Rice Does 2 Cups Uncooked Make: A Deep Dive into Rice Cultivation
By Alden Thorne Mar 17, 2025