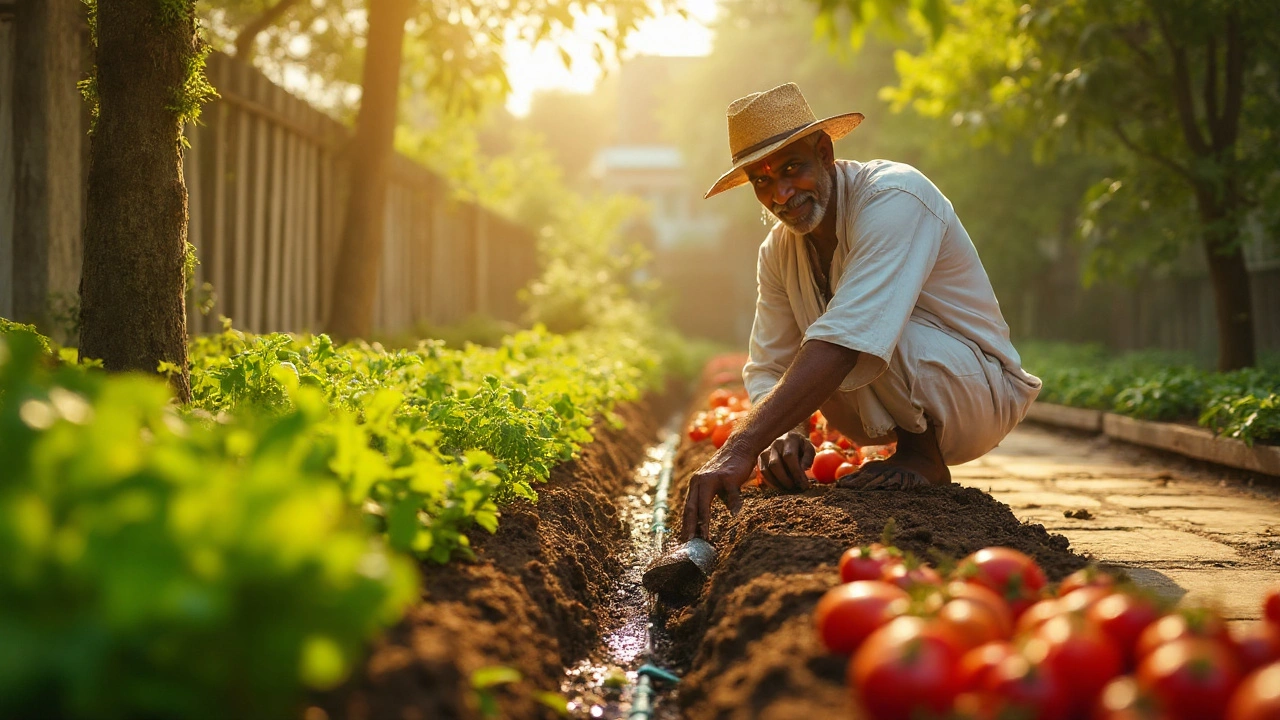
Drip Irrigation Depth: Where to Place Your Drip Lines for Best Results
When you set up a drip system, the biggest question is how deep to lay the tubing. Put it too shallow and the water evaporates, too deep and the roots can’t reach it. Getting the depth right means healthier plants, less water waste, and a lower bill.
Choosing the Right Depth for Your Soil Type
India’s soils vary a lot – from sandy in Rajasthan to heavy clay in West Bengal. In light, well‑draining soil, aim for a depth of 2‑3 cm (about an inch). The water spreads quickly, so a shallow line reaches the root zone without soaking the surface.
For heavier clay, push the line down to 5‑7 cm (2‑3 inches). Clay holds moisture longer, and a deeper line prevents the water from sitting on the surface and causing fungal problems. If you have loam – the sweet spot for most gardens – 3‑4 cm works well.
Don’t forget about raised beds. The soil in a raised bed is usually looser, so a shallower placement is fine. Just keep the line at the same level as the top of the bed’s soil, not the rim.
Practical Steps to Install Drip Lines at the Correct Depth
1. Mark the rows. Use a garden hose or a string line to lay out where each drip line will go. This keeps the layout straight and saves time later.
2. Dig a narrow trench. A hand trowel or a narrow spade is enough – you only need a trench wide enough for the tubing. For sandy soil, a 2 cm wide trench works; for clay, widen it to 3 cm so the soil doesn’t collapse.
3. Place the tubing. Lay the drip line flat at the bottom of the trench. If you’re using pressure‑compensating emitters, make sure they face up so air bubbles don’t block flow.
4. Backfill gently. Fill the trench with the original soil, tamp it down lightly with your foot or a board. Avoid compacting too hard – you want the water to move freely.
5. Test the system. Turn on the water and watch a few emitters. If the water pools on the surface, pull the line up a centimeter and try again. If the soil stays dry around the plants, push it down another centimeter.
6. Mulch for protection. A thin layer of straw or shredded leaves over the line reduces evaporation and keeps the tubing safe from garden tools.
Remember, the depth you choose isn’t set in stone. As plants grow, their roots move deeper, and you may need to adjust the line or add a second row at a greater depth. Seasonal changes also matter – during the hottest months, a slightly deeper line can stay cooler and deliver water more efficiently.
By matching the depth to your soil and following a simple installation routine, you’ll get the most out of your drip irrigation. Less water wasted, stronger plants, and a garden that looks good all year round.
Drip Irrigation
0
Comments
How Deep Should Drip Irrigation Lines Be Buried? Guide for Optimal Water Delivery
Learn the right burial depth for drip irrigation lines, factors that affect it, and step‑by‑step installation tips for healthy gardens.
About
Drip Irrigation
Latest Posts

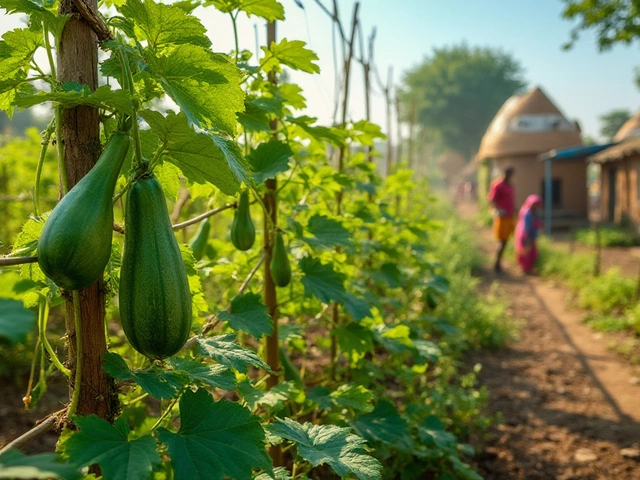
Unique Indian Bottle Gourd: A Gardening Treasure
By Alden Thorne Jan 1, 2025
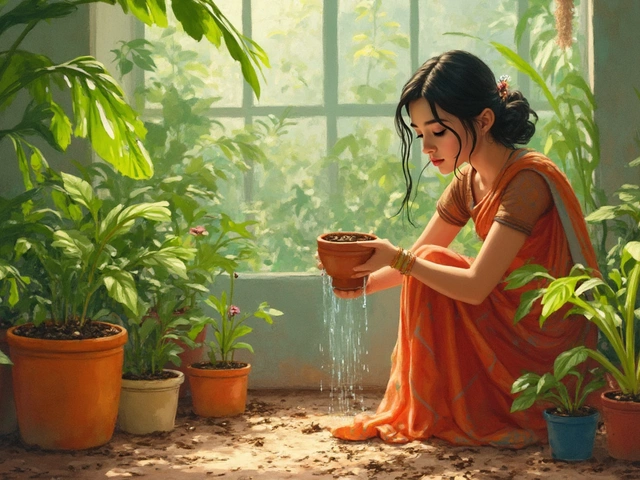
Spot Overwatering vs Underwatering: Your Indoor Plant's Vital Signs
By Alden Thorne Mar 19, 2025
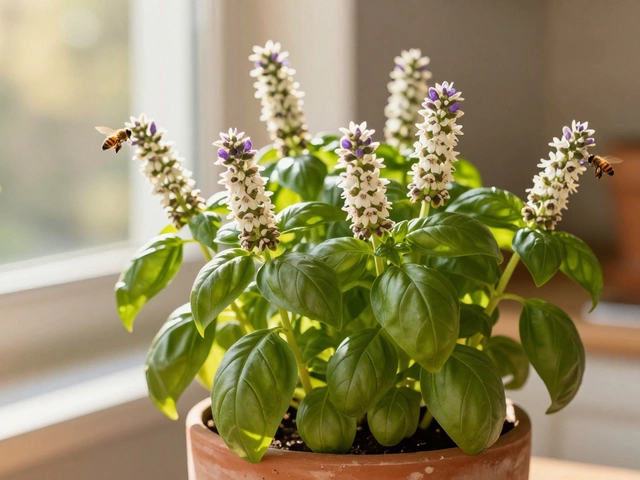
What Is the Most Underrated Flower for Kitchen Gardening?
By Alden Thorne Jan 6, 2026