Regenerative Garden Readiness Planner
Step 1: Current State Assessment
Check the practices you are currently using.
Your Regeneration Score
Just Starting Out
You have potential! Let's build your action plan below.
Immediate Action Plan
- Select your current habits on the left to generate a plan.
Most of us treat our gardens like lawns that need constant fixing. We pull weeds, spray bugs, and buy bags of fertilizer every spring. It feels like a losing battle against nature. But what if your garden could actually fix itself? That is the promise of a regenerative garden. Instead of just sustaining what you have, you build a system that gets healthier every year. The soil becomes richer, the plants grow stronger, and you spend less time fighting pests. You don't need acres of land or expensive equipment to make this work. You just need to change how you think about dirt.
I’ve been experimenting with these methods in my own backyard here in Auckland for the past three years. The shift from conventional gardening to regenerative practices wasn’t instant, but the results are undeniable. My soil now holds water better during our dry summers, and I haven’t bought chemical pesticides since I started. If you’re ready to stop feeding your plants and start feeding your soil, here is how you begin.
Understanding the Core Philosophy
Before you dig a single hole, you need to understand what makes a garden "regenerative." It’s not just about growing organic vegetables. It’s about mimicking natural ecosystems. In a forest, leaves fall to the ground and rot. They feed the soil. Worms and fungi break them down. New trees grow from the nutrient-rich earth. Nothing is wasted. Your goal is to create that same cycle in your yard.
The central entity here is Soil Health, which is the physical, chemical, and biological condition of the soil that determines its ability to support plant life. In conventional gardening, we focus on the plant. In regenerative gardening, we focus on the soil. If the soil is alive, the plants will take care of themselves. This approach relies on keeping the ground covered, minimizing disturbance, and maximizing biodiversity. Think of it as creating a habitat, not just a crop field.
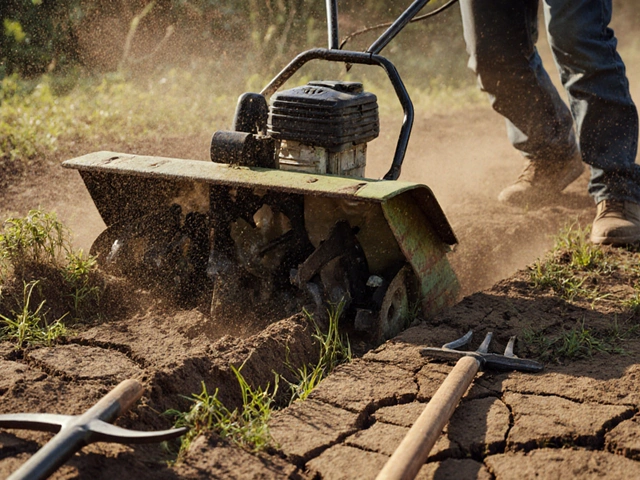
Step 1: Stop Tilling the Soil
This is the hardest step for most gardeners because it goes against everything we were taught. Tilling, or turning over the soil, destroys the fungal networks that help plants absorb nutrients. It also brings dormant weed seeds to the surface where they can sprout. When you till, you aerate the soil temporarily, but you kill the structure that holds moisture and nutrients long-term.
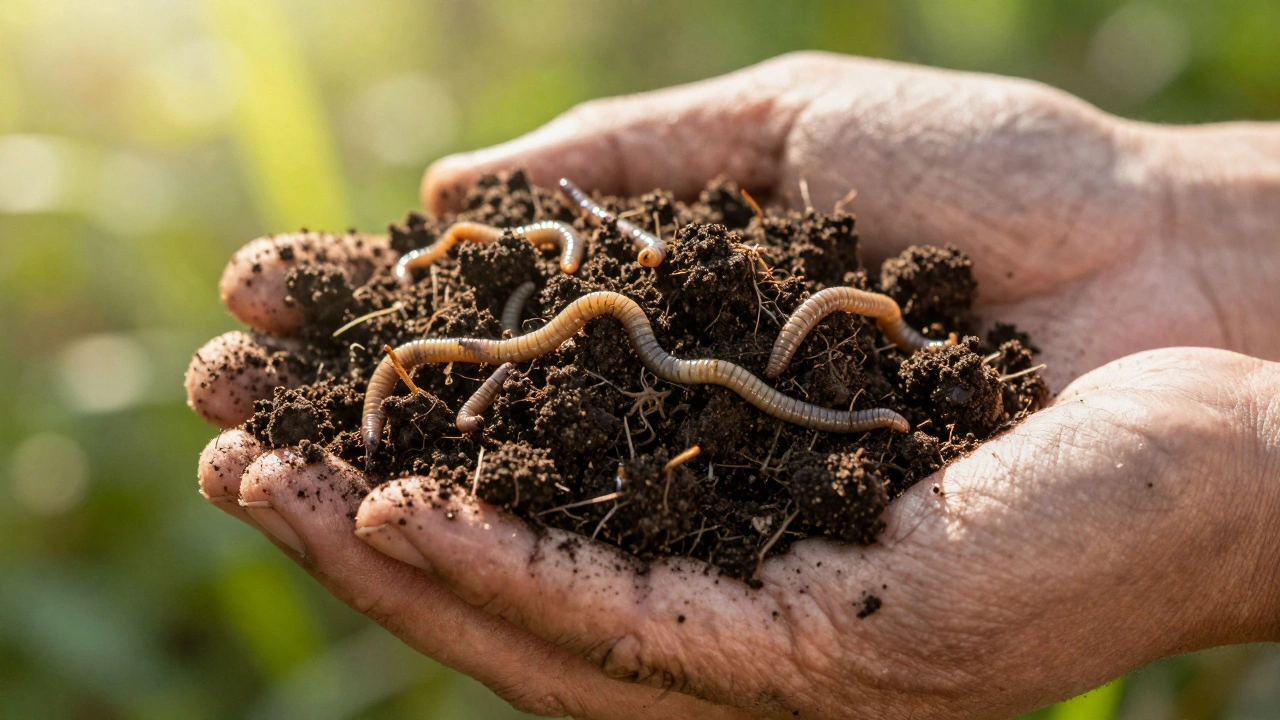
Instead, try no-dig gardening. Layer your materials on top of the existing soil. This method protects the delicate web of Mycorrhizal Fungi, which are beneficial fungi that form symbiotic relationships with plant roots to enhance nutrient uptake. These fungi act like an extension of the plant’s root system, reaching out to find phosphorus and other minerals. By leaving the soil undisturbed, you allow these networks to thrive. Over time, your soil will become spongy and dark, holding water like a sponge rather than letting it run off.
Step 2: Feed the Soil with Compost
If you aren’t tilling, how do you add nutrients? You compost. Composting is the engine of a regenerative garden. It turns kitchen scraps and yard waste into black gold. You don’t need a fancy bin. A simple pile in a corner of your yard works fine. Just make sure it has a mix of "greens" (nitrogen-rich materials like vegetable peels and grass clippings) and "browns" (carbon-rich materials like dried leaves, cardboard, and straw).
| Type | Examples | Ratio Tip |
|---|---|---|
| Greens | Kitchen scraps, coffee grounds, fresh grass | Add daily; keeps pile moist |
| Browns | Dried leaves, shredded cardboard, sawdust | Add weekly; prevents odor |
Aim for a ratio of roughly two parts browns to one part greens. Turn the pile occasionally to add oxygen. Within a few months, you’ll have rich compost to spread over your garden beds. This isn’t just fertilizer; it’s inoculant. It introduces billions of beneficial microbes to your soil, kickstarting the food web underground.
Step 3: Keep the Ground Covered
Bare soil is dead soil. When sunlight hits bare earth, it kills the microbial life on the surface. Rain washes away the topsoil. Wind dries it out. To prevent this, keep your garden covered at all times. Use mulch. Mulch can be wood chips, straw, hay, or even fallen leaves. Lay a thick layer-about four to six inches-over your garden beds.
Mulch does more than just suppress weeds. It retains moisture, so you water less. As it breaks down, it feeds the soil. In Auckland, where we get heavy rains followed by dry spells, mulch is essential. It acts as a buffer, protecting the soil structure from the impact of raindrops and preventing erosion. Over time, the mulch integrates into the soil, becoming part of the living matrix.
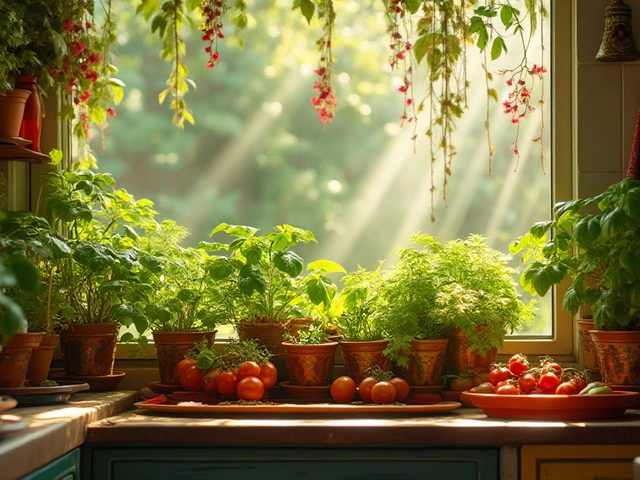
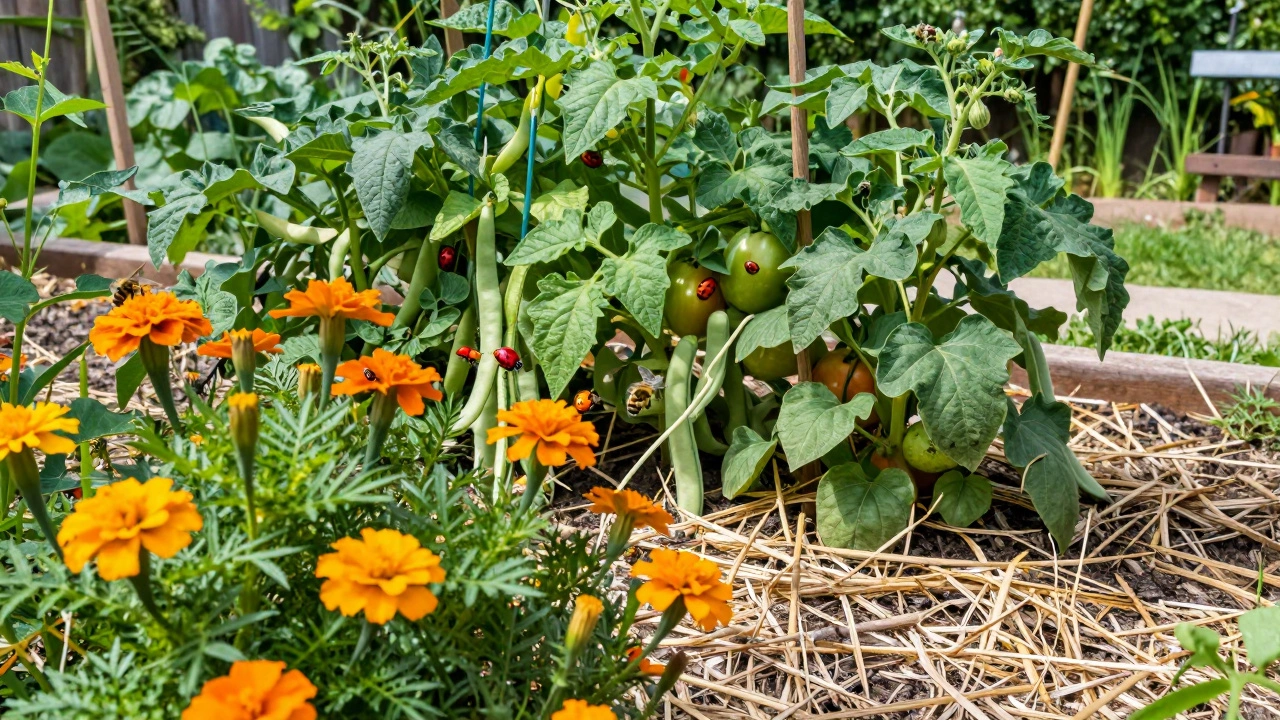
Step 4: Plant for Biodiversity
Monocultures-growing just one type of plant-are vulnerable to pests and diseases. If aphids love your tomatoes, they’ll wipe out your entire crop. A regenerative garden looks messy. It has flowers, herbs, vegetables, and native plants growing together. This diversity confuses pests and attracts predators.
Start with companion planting. Pair plants that benefit each other. For example, plant marigolds near your tomatoes. Marigolds release a scent that repels nematodes and other harmful insects. Plant beans near corn. Beans fix nitrogen in the soil, which the corn needs to grow tall. Include flowering plants like borage, calendula, and sunflowers to attract bees, butterflies, and ladybugs. Ladybugs eat aphids. Bees pollinate your crops. You’re building an army of helpers.
Don’t forget about Cover Crops, which are plants grown primarily to manage soil erosion, soil fertility, soil quality, water, weeds, pests, diseases, wildlife and biodiversity. In winter, when your vegetable beds are empty, plant clover or vetch. These crops protect the soil from erosion and add nutrients back into the ground when you chop them down and leave them as mulch in spring.
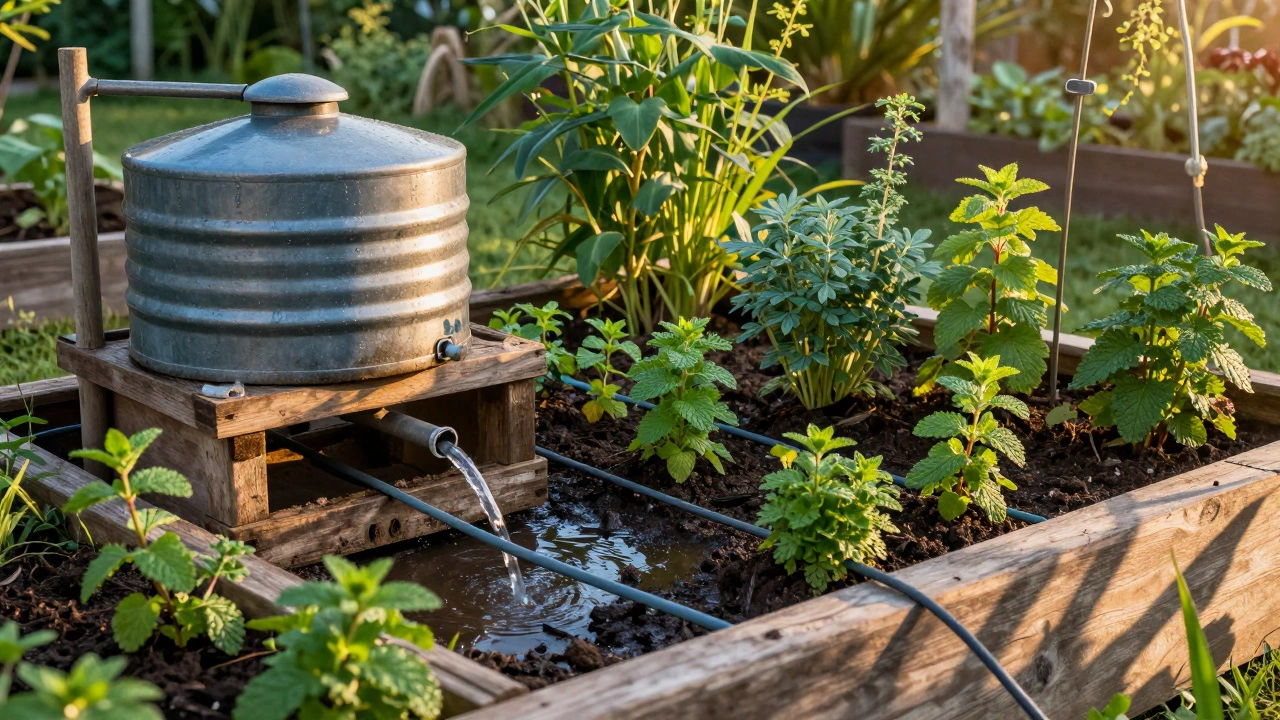
Step 5: Embrace Water Wisdom
Water is precious. In a regenerative garden, you want to capture every drop. Install rainwater tanks if you can. Even a small tank connected to your gutter can save hundreds of liters per month. Use drip irrigation instead of sprinklers. Sprinklers waste water through evaporation and wet the leaves, which promotes fungal diseases. Drip lines deliver water directly to the roots, where it’s needed.
Create swales or contour trenches on sloped land. These are shallow ditches dug along the contour of the hill. They catch rainwater and let it soak into the soil slowly, recharging the groundwater table. This technique is especially useful in hilly areas like those around Auckland. It turns a flood risk into a resource.
Common Mistakes to Avoid
Starting a regenerative garden is easy, but maintaining the mindset is tricky. Here are a few pitfalls I’ve seen:
- Impatience: Soil doesn’t heal overnight. It takes at least one full season to see significant changes. Stick with it.
- Cleanliness Obsession: Leave some leaf litter. Leave some stems. Dead plant matter is food for the soil. Only remove diseased plants.
- Overusing Chemicals: Even "organic" pesticides can harm beneficial insects. Try neem oil or insecticidal soap only as a last resort. Usually, introducing predator insects solves the problem.
- Ignoring Native Plants: Native plants are adapted to your local climate. They require less water and provide habitat for local wildlife. Mix them into your garden design.
Getting Started Today
You don’t need to transform your whole yard at once. Start small. Pick one bed. Stop tilling it. Add a layer of compost. Cover it with mulch. Plant a diverse mix of crops. Observe what happens. Watch the worms return. Notice how the soil smells earthy and sweet. Feel how it crumbles in your hand. This is the beginning of a living system.
Regenerative gardening is a practice, not a destination. Every year, you’ll learn something new. You’ll notice which plants thrive together. You’ll see how much less water you need. You’ll realize that you’re not just growing food; you’re healing the land. And that feels pretty good.
How long does it take to see results from regenerative gardening?
You may notice improvements in soil texture and moisture retention within the first season. However, significant increases in biodiversity and self-sustaining cycles usually take two to three years. Patience is key as the ecosystem rebuilds itself.
Can I use a regenerative approach in containers?
Yes. While container gardening has limitations, you can still apply regenerative principles. Use high-quality compost, avoid disturbing the soil unnecessarily, cover the surface with mulch, and choose diverse plant combinations to encourage beneficial insects.
What is the best mulch for a beginner?
Straw or shredded leaves are excellent choices. They break down relatively quickly, adding organic matter to the soil. Wood chips are great for pathways but can tie up nitrogen as they decompose, so use them carefully around young plants.
Do I need to test my soil before starting?
It’s helpful but not strictly necessary. A basic soil test can tell you pH levels and nutrient deficiencies. However, the regenerative approach focuses on building overall soil health through organic matter, which often corrects imbalances naturally over time.
How do I deal with weeds without pulling them?
Suppress weeds by keeping the soil covered with mulch. Dense planting also shades out weeds. Some "weeds" like clover are actually beneficial cover crops. Learn to distinguish between harmful invasive species and harmless natives that contribute to soil health.