Underground Sprinklers – Easy Installation and Water Savings
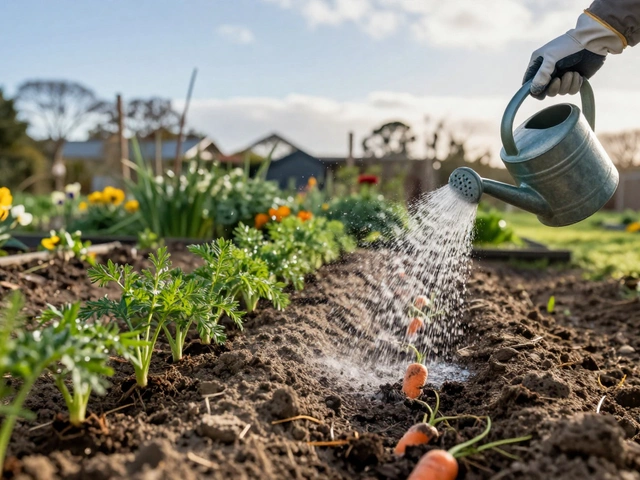
Ever wonder why your lawn still has dry spots even after you water it? The problem is often the way water is delivered. Underground sprinklers, also called subsurface irrigation, push water right where plant roots need it. That means less evaporation, fewer weeds, and a healthier garden. In India’s hot climate, this can cut your water bill dramatically.
Why Choose Underground Sprinklers?
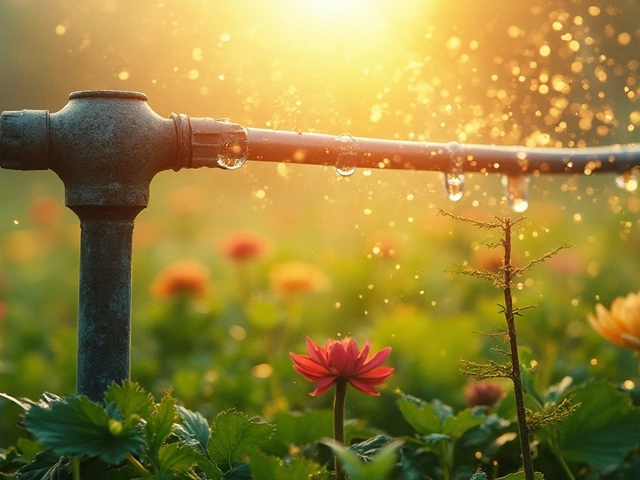
First, they hide the hardware. No ugly sprinkler heads popping out of the grass, so your garden stays neat. Second, they work quietly. You won’t hear the typical sprinkler clatter early in the morning, which is a plus in crowded neighborhoods. Third, they reduce water loss. Because water goes below the soil surface, you lose far less to wind and sun.
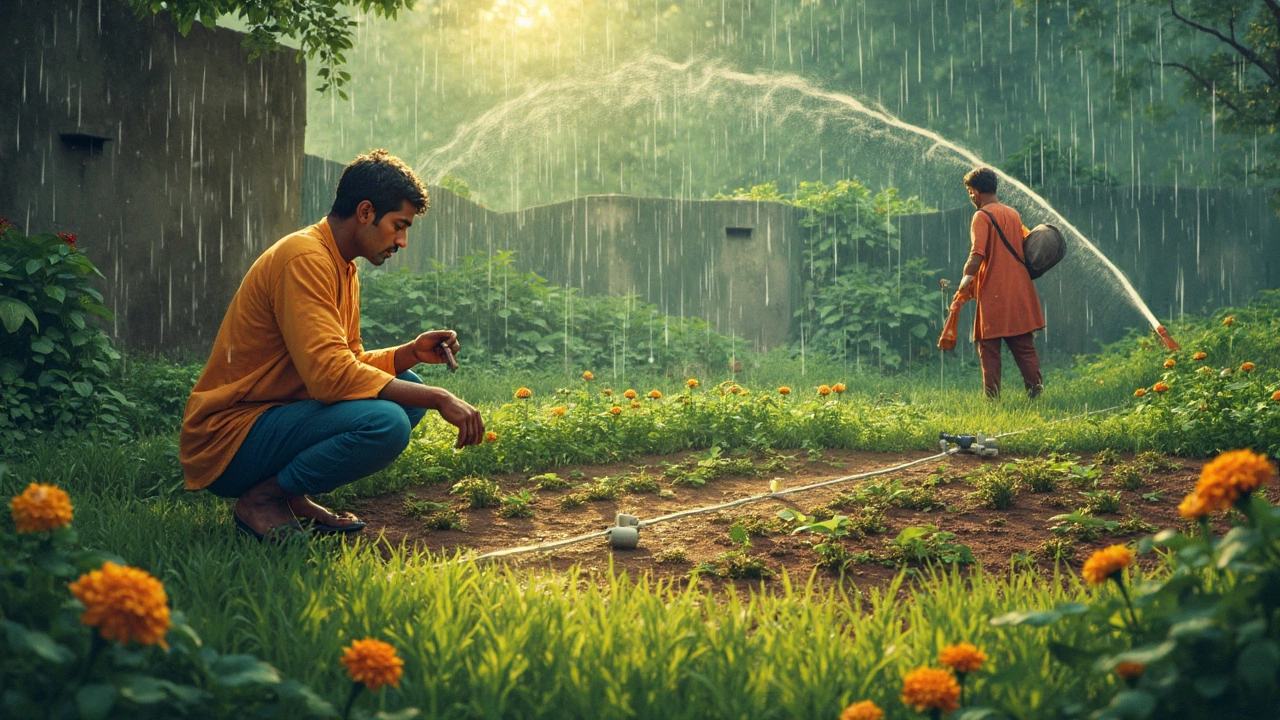
Most Indian soils are a mix of clay and sand. Underground sprinklers work well in both, as long as you pick the right pipe depth and pressure. For heavy clay, a slightly deeper trench helps water spread evenly. For sandy soil, you may need a lower pressure to avoid runoff.
Step‑by‑Step Installation Guide
1. Plan Your Layout
Sketch your garden on paper. Mark where each plant group sits – lawns, flower beds, vegetable rows. Decide how many sprinkler zones you need. A zone is a group of sprinklers that run together, so you can adjust water flow for different plant types.
2. Choose the Right Materials
Buy perforated PVC or polyethylene pipe that’s rated for underground use. You’ll also need a pressure regulator, a filter, and a timer. A good filter stops clogging from soil particles.
3. Dig the Trenches
Use a trenching tool or a pickaxe to dig about 6‑8 inches deep for most soils. In hot, dry regions, go a little deeper – up to 12 inches – to protect the pipe from surface heat.
4. Lay the Pipe and Connect Emitters
Lay the perforated pipe along the trench. Connect emitters (small holes) every 12‑18 inches for lawns, or every 6‑12 inches for dense plantings. Make sure the pipe is level; any slope will affect water flow.
5. Install the Filter and Regulator
Attach the filter at the water source, then the pressure regulator. This keeps the system from getting too much pressure, which can burst the pipe.
6. Backfill Carefully
Cover the pipe with a thin layer of sand first. This protects the pipe and helps water spread. Then backfill the rest of the trench with soil, tamping gently.
7. Test and Adjust
Turn on the system and watch for dry spots. If some areas stay dry, lower the pressure or add more emitters. If you see soggy patches, raise the pressure or increase spacing.
Once everything works, set the timer for early morning or late evening. Watering at these times reduces evaporation and keeps plants from getting sunburned.
Maintenance is simple. Flush the system once a year with clean water to clear any debris. Replace a broken pipe segment quickly to avoid leaks.
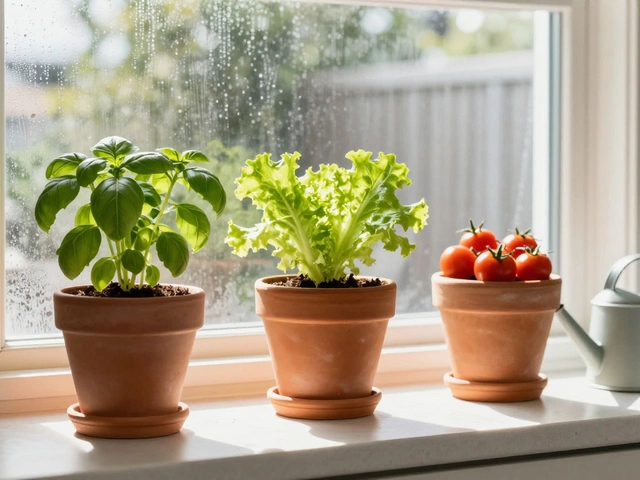
Underground sprinklers may need a bit more upfront work than surface heads, but the payoff is clear: greener lawns, healthier veggies, and lower water bills. Give them a try in your next gardening season and feel the difference for yourself.
Drip Irrigation
0
Comments
Underground Sprinklers: Are They Really Worth the Investment?
Wondering if underground sprinklers are worth the money and hassle? This article cuts through the hype, comparing underground sprinkler benefits with more hands-on drip systems. We’ll look at what setup really takes, water usage, maintenance headaches, and what actually helps your lawn or veggie patch. Get practical advice so you don’t waste time or cash on a system that doesn’t actually fit your needs.
About
Drip Irrigation
Latest Posts

Which Flowers Bloom Only in Certain Months in India?
By Alden Thorne Jan 20, 2026
How to Start a Food Garden at Home: Simple Steps for Fresh Produce Year-Round
By Alden Thorne Mar 20, 2026

Best Additions to Loosen Up Garden Soil
By Alden Thorne Feb 24, 2025