Rice Preparation: Simple Steps for Growing and Cooking Perfect Rice
Whether you plan to grow rice in a backyard paddock or just want a bowl of fluffy grains, the process starts with the right basics. Below you’ll find clear actions you can take today to improve every stage of rice preparation.
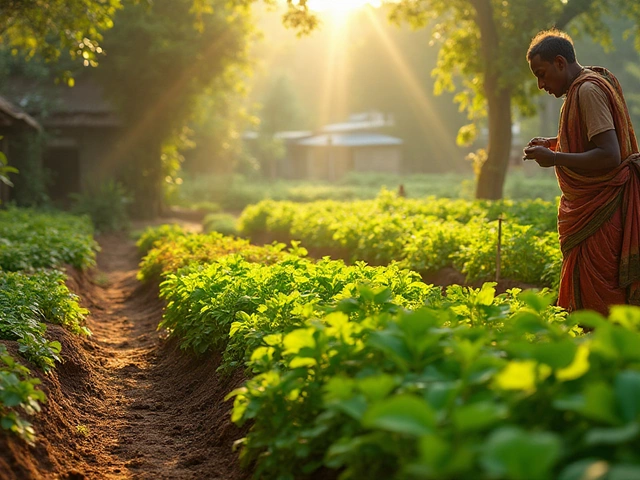
Choosing the Right Soil and Preparing Your Field
Rice thrives in heavy, water‑retaining soils like clay loam. Test a handful of soil: if it forms a ball when squeezed, it’s suitable. If it crumbles, mix in organic compost and a thin layer of sand to improve texture.
Before seeding, level the field and create a shallow basin to hold water. Fill the basin with a few inches of water and let it sit for a day; this helps settle the soil and kills unwanted weed seeds.
Plant seedlings about 20 cm apart in rows spaced 30 cm apart. This spacing gives each plant room to spread roots and reduces competition for nutrients.
Keep the field flooded for the first three weeks. Flooding controls weeds and provides the anaerobic environment rice likes. After the third week, lower the water level to about 5 cm and monitor soil moisture daily.
Harvesting, Drying, and Storing Rice
When the grain turns golden and the stalks start to bend, it’s time to harvest. Cut the stalks with a sickle or garden shears, then bundle them for drying.
Spread the bundles in a single layer under the sun for 2–3 days. Turn the stalks every few hours to ensure even drying. Proper drying reduces moisture to below 14 %, which prevents mold during storage.
Once dry, thresh the grains by gently beating the stalks or using a small mechanical thresher. Sift the grains to remove husk debris, then store the clean rice in airtight containers placed in a cool, dark place.
Cooking Rice Right Every Time
For stovetop cooking, use a 1:2 ratio of rice to water. Rinse the rice three times to wash away excess starch; this yields fluffier grains.
Bring the water to a boil, add the rice, then lower the heat to a gentle simmer. Cover the pot and cook for 12–15 minutes without lifting the lid.
After the timer, turn off the heat and let the rice sit, covered, for 5 minutes. Fluff with a fork before serving. This method works for most Indian varieties, from basmati to ponni.
If you prefer a rice cooker, follow the same 1:2 ratio and let the machine handle timing. Many modern cookers have a “keep warm” setting that maintains texture without overcooking.
Finally, experiment with a pinch of salt or a splash of ghee during cooking to add flavor without complicating the process.
With these straightforward steps—good soil, careful watering, proper drying, and simple cooking—you can master rice preparation from field to plate. The result is healthier, tastier rice that supports your garden and your meals.

Rice Cultivation
0
Comments
Why Wash Rice Before Cooking? The Real Reasons Revealed
Ever wondered why people bother washing rice before cooking? This article breaks down the science and tradition behind this common step, exploring if it really makes rice healthier or tastier. From dirty grains to hidden chemicals, we'll look at what actually gets rinsed away. You'll find tips for doing it right and learn how growing, harvesting, and processing rice affect why washing matters. Whether you're whipping up sushi or a simple bowl of steamed rice, knowing when and how to wash can amp up your results.
About
Rice Cultivation
Latest Posts


Which Vegetable Farming is Profitable in India? Your Practical Guide
By Alden Thorne Apr 25, 2025
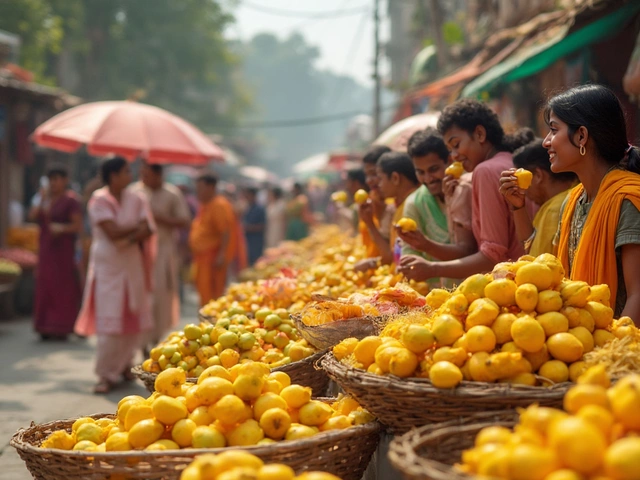
India's National Fruit: The Mango Explained
By Alden Thorne May 15, 2025
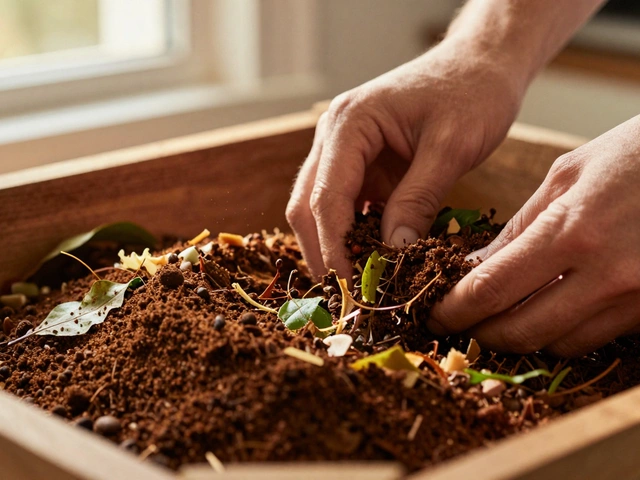
Coffee Grounds for Plants: What Science Says About Coffee and Indoor Plant Care
By Alden Thorne Feb 6, 2026