Raised Beds: Simple Steps to Build and Grow
Raised beds are a quick way to add more space, better soil, and easier access to your garden. Whether you have a small balcony or a big backyard, a raised bed can make planting less messy and more productive.
Planning and Building Your Raised Bed
First, choose a spot that gets at least six hours of sunlight each day. Sunlight matters for most vegetables and flowers, so pick the brightest area you can find.
Next, decide on the size. A common size is 4 feet by 8 feet, but you can go smaller or larger. Keep the width under 4 feet so you can reach the center without stepping on the soil.
Materials are easy to find. Untreated wood, concrete blocks, or even recycled pallets work fine. If you use wood, avoid pressure‑treated lumber because the chemicals can leach into the soil.
Build the frame by screwing the sides together, then place it on level ground. For extra stability, add corner brackets or stakes. A simple corner brace can stop the bed from wobbling over time.
After the frame is ready, line the bottom with a layer of cardboard or newspaper. This stops weeds from popping up while still letting water drain.
Choosing Soil and Planting
The soil mix makes or breaks a raised bed. A good recipe is one part garden soil, one part compost, and one part coarse sand or coconut coir. This blend drains well, holds enough moisture, and provides nutrients.
Fill the bed to just below the top edge. This leaves room for mulch, which helps keep the soil cool and reduces watering needs.
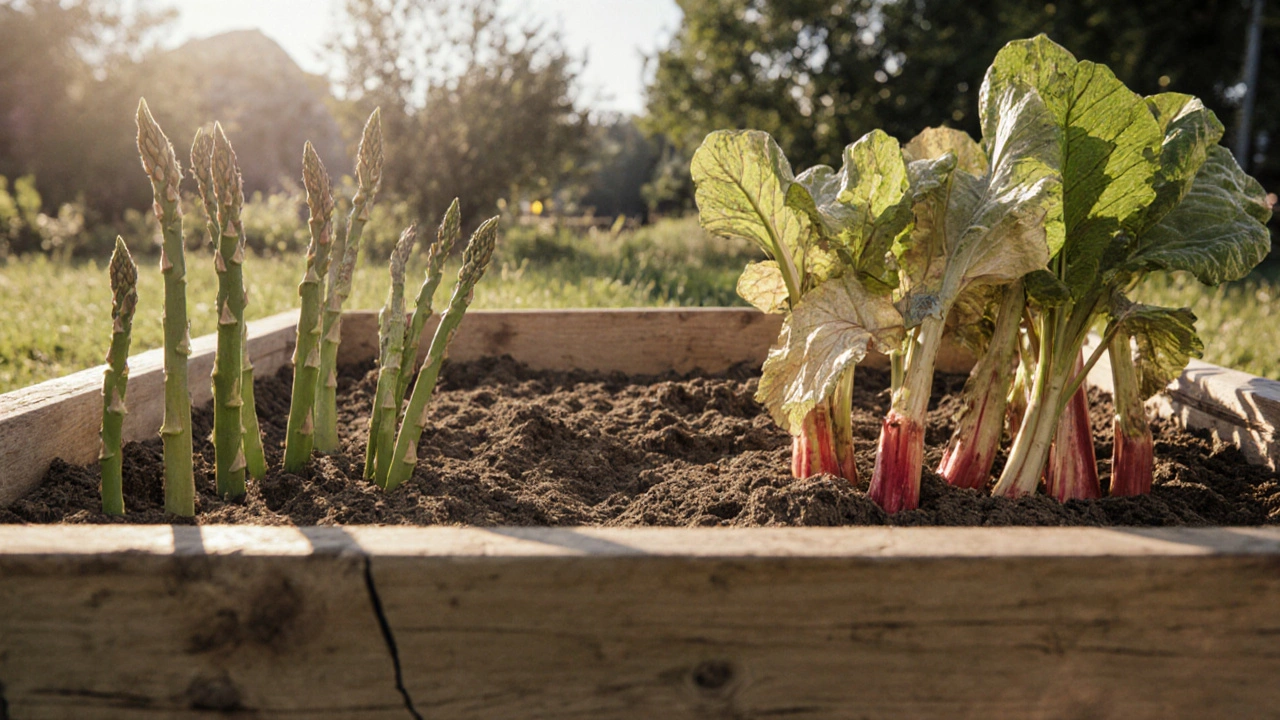
Now think about what to plant. Cool‑season crops like lettuce, spinach, and radishes love the cooler soil in early spring, while warm‑season veggies such as tomatoes, peppers, and cucumbers thrive once the temperature rises.
Follow spacing guidelines on seed packets, but remember you can grow more in a raised bed because the soil is richer. Plant taller crops on the north side so they don’t shade shorter ones.
Watering is easier with raised beds because the soil stays warm, but it also dries faster. Check the soil daily during hot weather and water deeply to reach the roots.
Adding a thin layer of mulch—straw, leaf litter, or wood chips—after planting cuts down evaporation and weeds. Refresh the mulch every few weeks as it breaks down.
Maintenance is minimal. Just keep an eye on pests, pull any weeds that manage to grow, and top up compost every season to keep the soil fertile.
With these straightforward steps, your raised bed can start producing fresh veggies and flowers in just a few weeks. Give it a try and enjoy the boost in garden productivity and ease of use.
Vegetable Gardening
0
Comments
Plants That Struggle in Raised Beds - What to Avoid
Discover which plants struggle in raised beds, why they fail, and practical tips to adapt or avoid them for a thriving garden.

Kitchen Gardening
0
Comments
Raised Bed Gardening: The Two Drawbacks You Should Know
While raised beds offer many benefits for gardening enthusiasts, they come with a couple of significant drawbacks. From costing more upfront to requiring more maintenance, these downsides can affect whether raised beds are the right choice for you. This article breaks down both issues to help you make an informed decision. If you're considering raised beds, understanding these two cons is essential. Dive into the nitty-gritty of raised bed gardening drawbacks.
About
Vegetable Gardening, Kitchen Gardening
Latest Posts

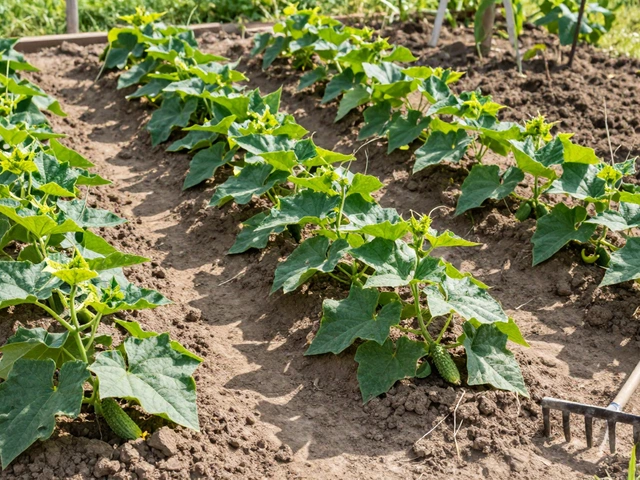
How Far Apart Should I Plant Cucumbers? Space Guide for Healthy Yields
By Alden Thorne Mar 17, 2026

Fastest Growing Flowering Trees for Indian Gardens: Top Picks and Tips
By Alden Thorne Jul 24, 2025

Does a Roof Terrace Add Value? Real-Life Perks & Smart Tips
By Alden Thorne May 20, 2025
