Dripper – Easy Watering Solutions for Indian Gardens
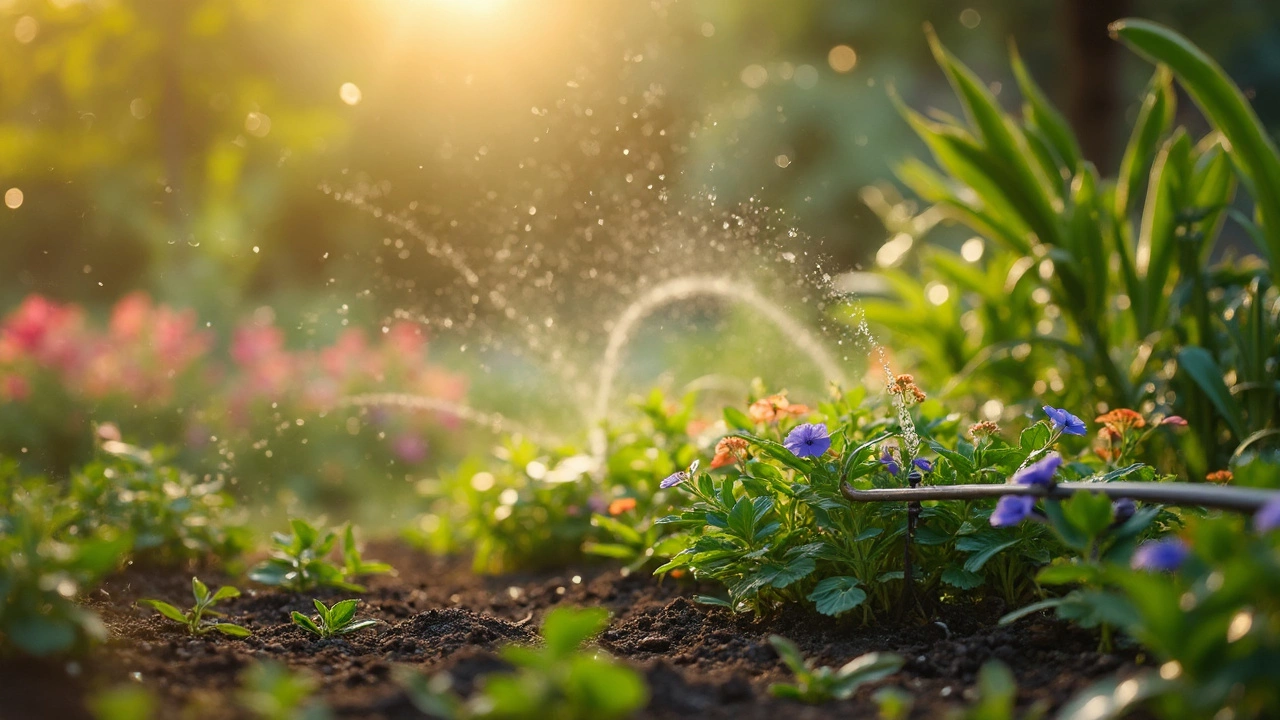
Ever wonder why some gardens stay green while others look dry? The secret is often a dripper system. A dripper delivers water right where the roots need it, so you waste less and get better growth. This page pulls together the most useful articles on drippers, from basic set‑up to cost‑cutting tricks.
In India we deal with very different climates – from hot Rajasthan to monsoon‑soaked Kerala. A good dripper can handle that range because it works underground, reduces evaporation and stops water from running off. Whether you have a small balcony garden or a large vegetable plot, the same ideas apply.
Using a dripper saves water, cuts your bill and gives plants a steady moisture supply. That steady supply means healthier leaves, bigger fruits and fewer weeds. The result is a garden that looks good and costs less.
Choosing the Right Drip System
Two common options are drip tape and drip line. Drip tape is a thin, flat tube that lies on the soil surface. It’s cheap and easy to lay out for rows of crops. Drip line is a thicker pipe with emitters spaced along it; it’s stronger and works well for raised beds or pots.
Another decision is surface vs. subsurface irrigation. Surface drip puts the tube on top of the soil, which is fine for light soils. Subsurface drip hides the tubing a few inches underground, protecting it from sun and damage. If you have heavy clay, burying the lines about 5‑6 cm deep keeps them from clogging and delivers water right to the root zone.
Cost can be a worry, but you don’t need to break the bank. Start with a small section, test the flow, then expand. Look for local suppliers who offer bulk discounts or recycled tubing. Small savings add up fast.
Practical Tips to Get Started
First, plan your layout. Sketch where each plant sits and mark the spacing for emitters – usually 30‑45 cm for vegetables. Next, clean the soil surface, then lay the drip tape or line. If you’re burying it, dig a shallow trench, place the tubing and cover it gently.
After installation, turn the water on low for a few minutes. Watch the water droplets at each emitter; they should form a small, steady stream. Adjust the pressure regulator if the flow is too strong. Check the system weekly for clogs – a simple pinch of the tube can clear most blockages.
Seasonal care matters too. In winter, drain the lines to prevent freezing. In monsoon months, you may need to turn the system off completely to avoid over‑watering. A quick visual check before each watering session saves time and prevents problems.
By following these steps you’ll have a reliable dripper setup that fits Indian weather, saves water and makes your garden thrive. Dive into the articles listed below for deeper details on burial depth, tape vs. line comparisons, and cost‑saving hacks.
Drip Irrigation
0
Comments
Dripper vs. Emitter: What's the Difference in Drip Irrigation?
Drippers and emitters are essential components of drip irrigation systems, each serving unique roles in water distribution. Understanding their differences can enhance system efficiency, save water, and cater to specific gardening needs. The distinctions lie in their water delivery methods, flow rates, and suitability for various plant types. This article unpacks these differences to aid in selecting the right component for your irrigation needs.
About
Drip Irrigation
Latest Posts
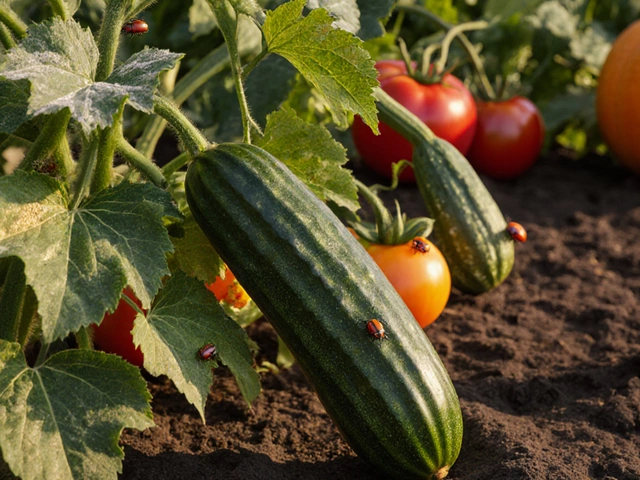
Cucumber Companion Planting: Which Plants to Avoid
By Alden Thorne Oct 11, 2025
Best Topography for Growing Rice: Key Insights
By Alden Thorne Feb 21, 2025
Grow Fresh Vegetables in Your Kitchen: A Complete Guide
By Alden Thorne Jan 1, 2025