DIY Irrigation: Start Saving Water Today
Ever felt frustrated watching water drip away while your garden stays thirsty? You don’t need a pricey system to fix that. With a few everyday items and a bit of planning, you can build a reliable irrigation setup that fits any budget. Below are the basics you need to get started and keep your garden thriving.
Simple DIY Drip Irrigation
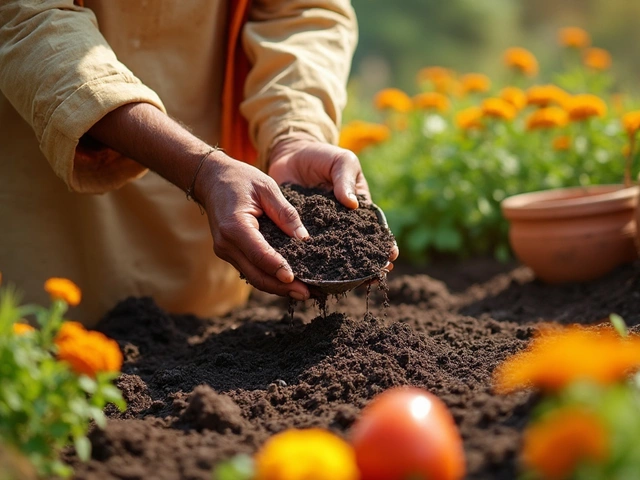
The heart of any water‑smart garden is drip irrigation. It delivers water right to the root zone, reducing evaporation and waste. Here’s a fast way to set it up using plastic bottles, garden hose, and some basic fittings.
1. **Gather supplies** – Grab a few clean 2‑liter soda bottles, a length of ½‑inch garden hose, a few hose clamps, and some small pegs or stakes.
2. **Cut the bottle** – Slice the bottle just below the neck. The top part becomes a funnel; the bottom will sit in the soil.
3. **Make the delivery point** – Poke a tiny hole (about 2 mm) in the bottle cap. Insert a short piece of hose into the hole and secure it with a clamp. You now have a simple emitter.
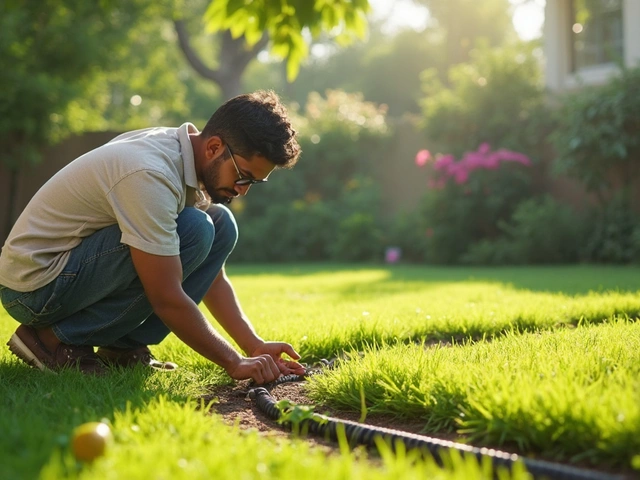
4. **Bury the emitter** – Dig a shallow trench, lay the bottle neck down, and cover it with soil. The hose runs from the water source to the bottle cap.
When you turn on the hose, water flows into the bottle and drips slowly through the cap hole. Adjust the hole size with a needle if the flow is too fast. This method works great for vegetables, herbs, or flower beds that need steady moisture.
Tips to improve performance:
- Space bottles 30‑45 cm apart for even coverage.
- Place a mulch layer over the soil to further cut evaporation.
- Use a timer to automate watering – a cheap 24‑hour timer works fine.
Budget‑Friendly Watering Tricks
If you’re not ready for a full drip line, try these low‑cost tricks that still cut water use.
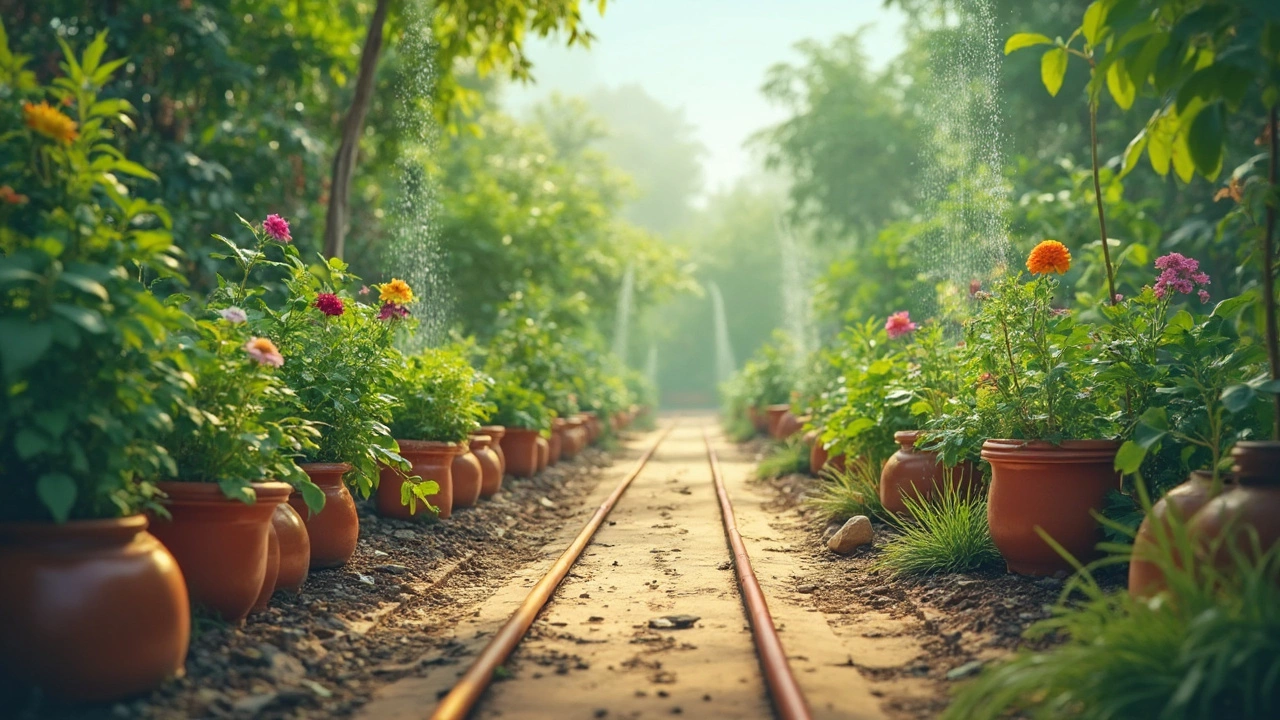
1. Soaker hoses from old tubing – Cut a piece of garden hose, make several tiny slits along its length, and lay it on the ground. Water seeps out slowly, mimicking a drip line. Secure it with garden staples.
2. Recycled containers – Use old milk jugs or buckets as self‑watering pots. Fill the container, poke a hole at the bottom, and bury it near the plant. The container releases water as the soil dries.
3. Rainwater collection – Place a simple barrel under a roof edge. Connect a hose to the barrel’s spigot and feed your DIY drip system. Using rainwater reduces the load on municipal supply and gives plants softer water.
4. Mulch and ground cover – Spread a layer of straw, leaves, or coconut coir around plants. Mulch cuts evaporation by up to 50 % and keeps soil temperature stable, meaning you can water less often.
All these ideas can be mixed and matched. For example, a rain barrel feeding a few soaker hoses plus a mulch blanket creates a near‑effortless watering routine.
Remember, the goal isn’t to build the fanciest system but to give plants the right amount of moisture at the right time. Start small, test your setup, and expand as you see results. Your garden will thank you with greener leaves and fatter harvests, and you’ll see a noticeable drop in your water bill.
Ready to give DIY irrigation a try? Grab those bottles, set up a simple drip line, and watch the difference in just a few days. Happy watering!
Drip Irrigation
0
Comments
Should You Bury Your Drip Irrigation System?
Drip irrigation offers an efficient way to save water and boost plant health, but the question remains: does it need to be buried? This article explores the pros and cons of burying drip irrigation systems, offering practical advice for gardeners. Learn why some choose to keep it above ground while others opt to bury it. Get tips on setting up your own system for optimal results.
About
Drip Irrigation
Latest Posts

Which Flowers Bloom Only in Certain Months in India?
By Alden Thorne Jan 20, 2026
Top Indian Seasonal Plants to Brighten Your Home
By Alden Thorne Dec 25, 2024
Can You Mow Over Drip Irrigation? What You Need to Know
By Alden Thorne Jun 10, 2025