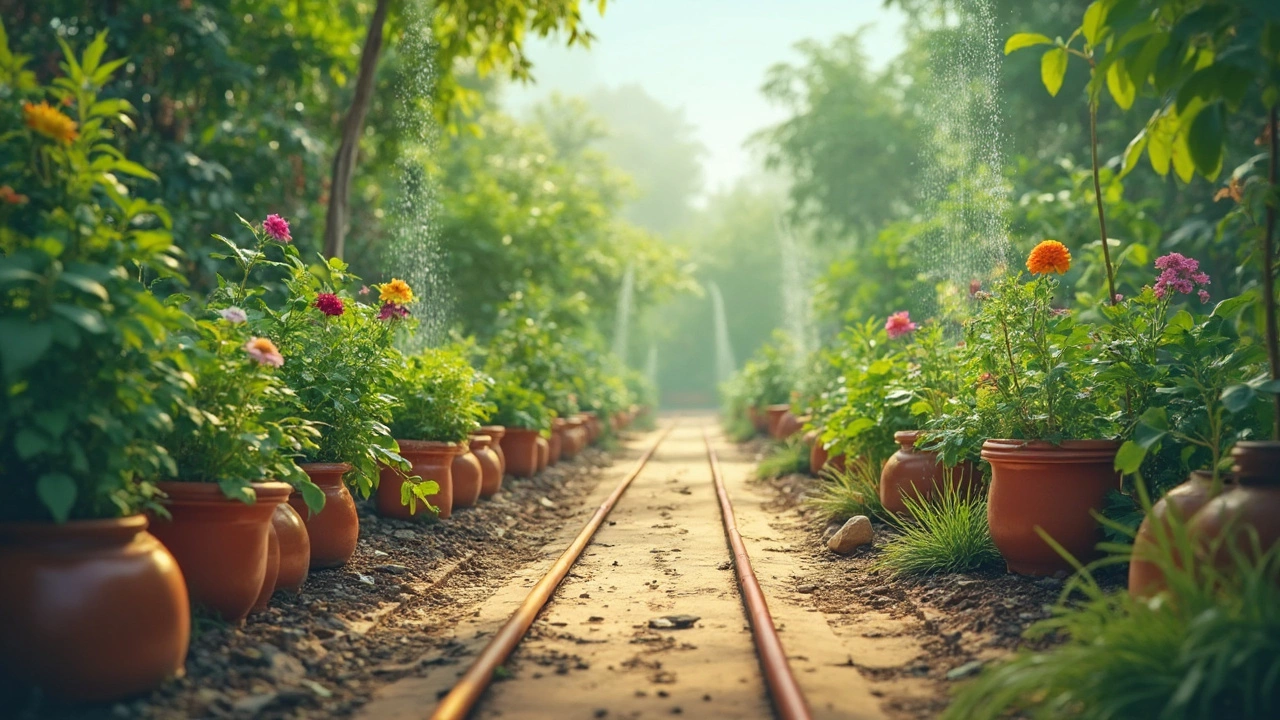
Buried Irrigation Tips: How to Install Underground Drip Lines for Better Water Use
Want a watering system that stays out of sight and saves water? Buried irrigation does exactly that. It puts drip tubing below the soil surface, so water goes straight to the roots where plants need it most. Below we’ll walk through the basics, the factors that affect how deep you should bury the lines, and a few simple tricks to keep the system running smoothly.
Choosing the Right Depth
The depth of a buried drip line isn’t a one‑size‑fits‑all number. In most Indian garden soils, 4‑6 cm (about 2‑2.5 inches) works well for vegetables and herbs, while 6‑10 cm (about 2½‑4 inches) is better for trees and larger shrubs. Shallow placement means water spreads quickly, but it also evaporates faster on hot days. Deeper lines stay cooler and reach deeper roots, but you may need a higher pressure to push water through the tubing.
Take a look at your soil type. Sandy soils drain fast, so a deeper line helps the water soak in before it drips away. Clay soils hold water longer, so a shallower line can spread moisture evenly without creating waterlogging. If you have a mix of both, start at the middle of the recommended range and adjust after a few weeks based on plant response.
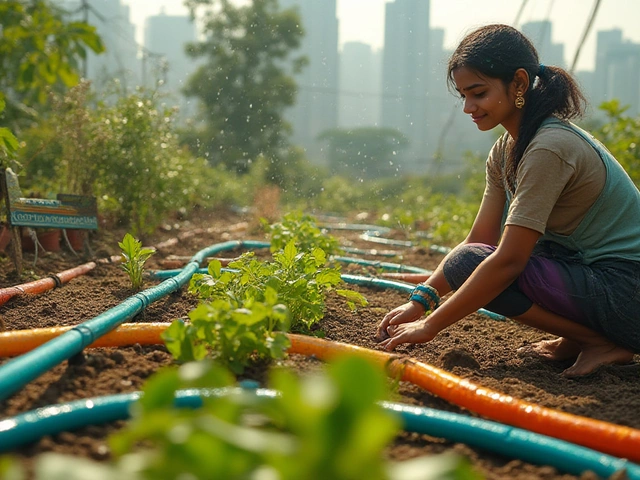
Step‑by‑Step Installation
1. Plan the layout. Sketch where rows, beds, or trees sit. Keep the tubing within 30 cm (12 inches) of the plant base for best coverage. 2. Mark the trench line. Use a garden hose or string to lay out a straight path. Avoid places with large rocks or underground utilities. 3. Dig the trench. A narrow trench 10‑15 cm wide is enough for most drip tubing. Hand‑tillers or a small shovel work fine for home gardens. 4. Lay the tubing. Unroll the drip line, connect emitters if needed, and secure the ends to a filter and pressure regulator. Make sure the tubing lies flat at the chosen depth. 5. Backfill gently. Fill the trench with the soil you removed, tamping lightly to remove air pockets but not compressing too hard. Over‑compacting can block water flow. 6. Test the system. Turn on water at low pressure. Look for even wetting along the line. If you see dry spots, adjust emitter placement or raise/lower the line.
Remember to install a filter before the system. Soil particles and tiny debris can clog emitters, especially when the line is buried and harder to clean.
Maintenance Made Easy
Buried lines need less frequent checks than surface drip, but a yearly flush is still wise. Disconnect the pressure regulator, run water through the system for a few minutes, and let it flow out the end to push any buildup out of the tubing.
If you notice uneven watering after the flush, inspect the line for pinched sections. Small animal burrows can also damage tubing, so a quick visual check after the monsoon season helps catch problems early.
When it comes to cost, buried irrigation may seem pricier upfront because of the extra labor. However, the water savings—often 30‑50 % compared to sprinklers—pay back the investment in a few seasons, especially in water‑restricted regions.
Overall, buried irrigation gives you a tidy garden, lower water bills, and healthier plants that get moisture right where the roots are. Give it a try on a small test bed first; once you see the results, you’ll want to expand it to the rest of the garden.
Drip Irrigation
0
Comments
Should You Bury Your Drip Irrigation System?
Drip irrigation offers an efficient way to save water and boost plant health, but the question remains: does it need to be buried? This article explores the pros and cons of burying drip irrigation systems, offering practical advice for gardeners. Learn why some choose to keep it above ground while others opt to bury it. Get tips on setting up your own system for optimal results.
About
Drip Irrigation
Latest Posts

Main Types of Drip Irrigation: Surface vs. Subsurface Explained for Gardeners
By Alden Thorne Jul 14, 2025
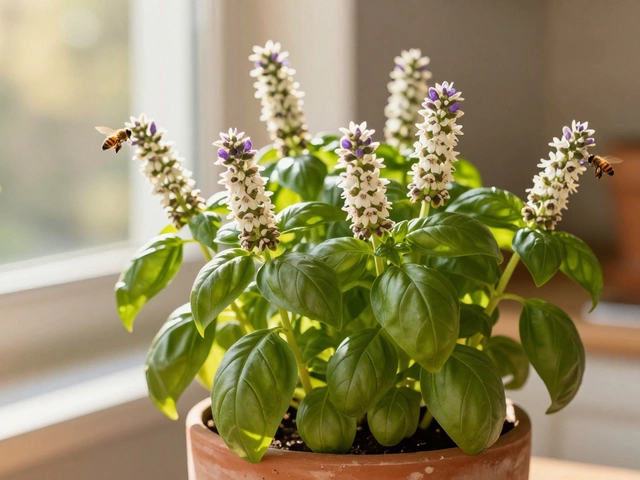
What Is the Most Underrated Flower for Kitchen Gardening?
By Alden Thorne Jan 6, 2026
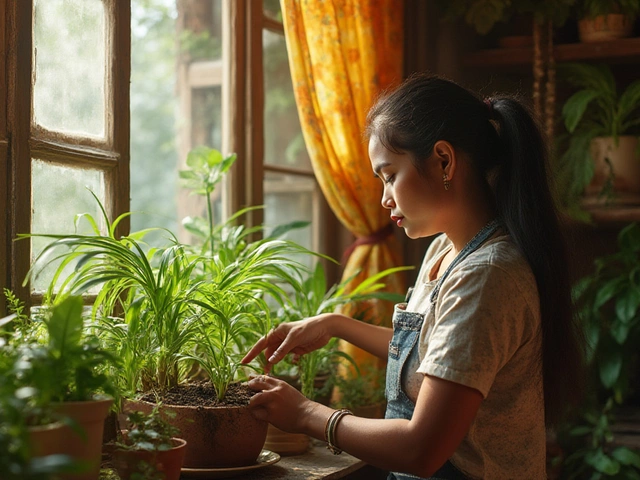
How to Stop Houseplants From Dying: Proven Tips for Thriving Indoor Plants
By Alden Thorne Jul 3, 2025
