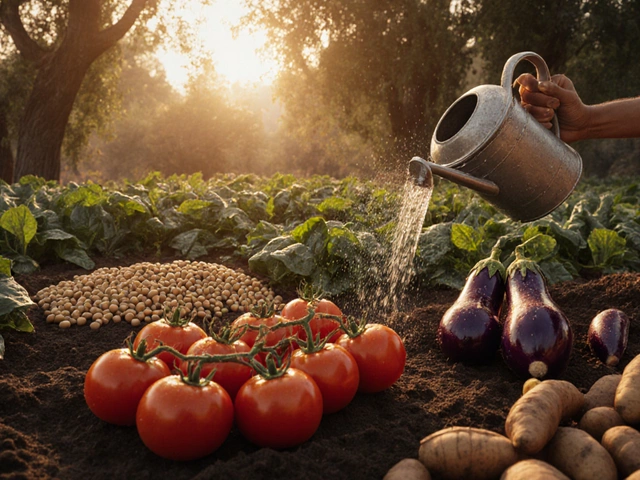
Ever felt like your plants just aren’t as happy as they used to be? You water, you fertilize, but things look tired and the soil seems flat-out exhausted. Even the pros hit this wall. After years of planting, harvesting, and walking over the same dirt, a garden bed loses pep. Plants pull out nutrients every season, and over time, the soil’s structure falls apart. Trowels start bouncing off rock-hard clumps or sinking into mucky, sticky messes. The magic? It’s in the reboot. Let’s crack open how to really refresh old garden soil, so your garden gets back to booming growth instead of stubborn bare spots.
How Soil Gets Worn Out: What’s Really Happening Underfoot?
Soil isn’t just dirt. It’s packed with life—microbes, fungi, worms—all tugging the invisible strings that keep plants healthy. When soil gets old, several things can go sideways:
- Nutrient drain: Every tomato, lettuce leaf, or tulip bulb pulls nitrogen, potassium, and other nutrients out with each harvest. Without add-backs, it’s like making coffee without ever refilling the beans. You end up with weak brews—and weak crops.
- Compaction: From heavy feet or rain, soil gets squished. Water and air stop moving well. Roots need both, but in compacted soil they suffocate, grow crooked, and never dig deep.
- Organic matter breakdown: Living things—leaves, roots, compost—rot down in a process that’s slow but constant. They turn into humus, the fluffy, black gold that holds water and nutrients. But over time, there’s less and less unless you add more.
- pH changes: Acidity or alkalinity can drift over the years. Too much rain, certain fertilizers, or even the plants themselves can tip the balance. Roots—especially for picky vegetables—struggle to find the sweet spot.
One remarkable study by the University of California found that garden soil, if left untended after five seasons, can lose more than 35% of its organic carbon stocks—the “energy bars” for soil microbes. And that’s just from routine gardening, not commercial farming!
Where to Begin: Diagnose Before You Dig
Jumping in blind means a lot of wasted time and compost. Start by knowing what your soil is telling you. Here’s a down-to-earth way to diagnose:
- Texture test: Grab a handful, squeeze. Does it break into chunky clods (clay), sift right through your fingers (sand), or hold the perfect shape (loam)? Each type needs a different fix.
- Worm count: Dig a six-inch square. If you spot more than five worms poking through, it’s a sign your soil is still lively. Less? Time to worry.
- Look for patches: Bare spots, pale leaves, or fungus growth are all flags. Don’t ignore them.
- Basic soil test: Kits from any hardware store run $10-$20 and reveal pH plus nutrient levels. It’s nerdy, but you’ll know if you need lime, sulfur, or something else specific.
- Smell test: Rich, crumbly earth should smell sweet, not sour or swampy. Funky scent means rot or compaction.
Here’s a quick cheat sheet of signs and fixes:
| What You Notice | What It Means |
|---|---|
| Spongy, waterlogged patches | Poor drainage — add sand, make raised beds |
| Hard clumps after rain | Compacted or clay-heavy — add compost, gypsum |
| Tired plants, yellow leaves | Nutrient loss — add well-rotted manure, compost, organic fertilizer |
| Lots of weeds, few worms | Depleted soil life — need organic matter boost |
Key Steps to Refresh and Rebuild Garden Soil
This is where the change happens. Think of it like tuning up an old engine—the right tweaks and some new fuel, and suddenly it’s running smoother than ever. The method works, even for the saddest patch of earth.
- Clear Debris: Yank out old roots, trash, and dead plants. Don’t compost diseased material—it might spread problems.
- Aerate the Soil: Use a broadfork, garden fork, or even a sturdy stick to poke holes without full-on rototilling (which can mess up soil layers and worm tunnels). Get air in so roots can breathe.
- Top Up with Compost: Lay down a 2-4 inch layer of finished compost. This boosts organic matter, a must for nutrition and water-holding. No homemade compost? Local yard waste facilities usually sell vetted stuff cheap.
- Check and Adjust the pH: If your test shows pH below 6 for veggies, add garden lime. Above 7.5? Use sulfur or peat moss. This gets the balance right for nutrient access.
- Add Specific Amendments: Depending on your test, you might need bone meal (for phosphorus), greensand (potassium), or even seaweed for trace minerals. Always check labels so you’re not double-dosing nutrients.
- Mulch—it’s Not Just for Looks: After planting, cover bare soil with leaves, straw, or wood chips (never dyed or chemically treated mulch). Mulch protects soil, keeps moisture in, cuts weeds, and feeds earthworms.
There’s a reason old-school gardeners rave about cover crops (like clover or winter rye): let them grow during the off-season, and when you dig them under, they deliver a power-punch of fresh organic matter and nitrogen. It’s a secret weapon!

Hands-On Tips for Fast Results
Want a quick turnaround? Try these hands-on tricks, proven by gardeners and backed by soil science.
- Use crop rotation: Don’t plant the same thing in the same spot every season. Rotate veggies—even moving tomatoes and peppers from one raised bed to another—reduces disease and pest buildup while giving soil a nutrient break.
- Try biochar: This charred wood acts like a sponge, holding nutrients and microbes. Add a couple of cups per square foot when rebuilding a bed. NASA even studied it for growing veggies on Mars—it’s that effective.
- Add earthworm castings: Even a handful in each plant hole can double growth rates, according to Ohio State University’s tests. It’s microbe-rich and plants absolutely love it.
- Break up the clay: For sticky, hard soil, mix in gypsum (calcium sulfate). Unlike lime, it loosens clay without raising pH too much. Follow package rates, since more isn’t always better.
- Soak with compost tea: Steep finished compost in water for three days (a mesh bag in a bucket works). Water your beds with this brown, slightly frothy brew. The “tea” introduces billions of beneficial microbes right where roots need them.
- Grow tap-rooted plants as soil drills: Daikon radish and subsoiling clover bust up compacted ground as they grow, then rot in place, leaving channels for water and roots next season.
- Avoid over-tilling: Too much tilling tears up fungal networks and worm homes. Once the soil is loose and rebuilt, maintain by adding compost and mulch—skip the deep digging except maybe once per year.
- Smart watering: Use drip hoses or deep soak, not shallow sprinkles. Roots go deeper and soil life thrives when water gets down to at least 6 inches, not just the top layer.
Preventing Soil Burnout: Keep Your Beds Thriving Each Year
You’ve rebuilt your beds…don’t let them slide back. Here’s how the pros keep soil in tip-top shape for seasons to come.
- Feed the soil, not just the plants: Always think about what your soil needs first. If a crop is notorious for heavy feeding (like corn), follow it the next year with a legume crop (like beans or peas) that actually adds nitrogen back.
- Keep soil covered: Bare dirt bakes in the sun, loses moisture and organic matter, and weeds move in. Keep a layer of mulch year-round. If you can’t plant, at least toss down leaves or straw as a temporary cover.
- Compost everything you can: Every leaf, grass clipping, or veggie scrap is raw material. Recycled into your beds, this stuff is pure fertilizer and structure booster. It’s free—and way more sustainable than buying bags of stuff from the store.
- Regularly test and tweak: Think of the soil test like a yearly checkup. Tweak pH or add nutrients only if needed. Too much is just as bad as too little—especially synthetics, which can build up salts and stress plant roots.
- Invite beneficial bugs and worms: Toss in a handful of native worms if your garden is lifeless. Avoid pesticides that wipe out soil insects—most are allies in building healthy, productive dirt.
- Plan a rest year: Big commercial farmers do this for a reason. Let one bed “rest” every few years with a thick sowing of cover crops and no main vegetables. Come back the next season, and the reward is lush, vibrant soil that’s bursting with life.
Here’s a look at what a sustainable soil rebuild schedule can look like:
| Step | Frequency |
|---|---|
| Add compost | Every spring and fall |
| Mulch | After every planting and before winter, year-round cover |
| Soil tests | Once each spring |
| Rotate crops | Each growing season |
| Sow cover crops | At least every other fall |
Ready for Takeoff: Watch Your Garden Soil Spring Back to Life
There’s nothing quite like poking your hands into a bed of dark, crumbly earth that smells fresh and is jumping with worms. It’s not magic—just old-school science and a few right moves. Refreshed soil doesn’t just mean bigger tomatoes or prettier sunflowers. It means less work fighting disease, fewer weeds, and soil that keeps getting better every year, not worse. You’ll spend less money hauling in bags and, before long, your neighbors will eye your lush beds and try to steal your secrets. But now you know them.
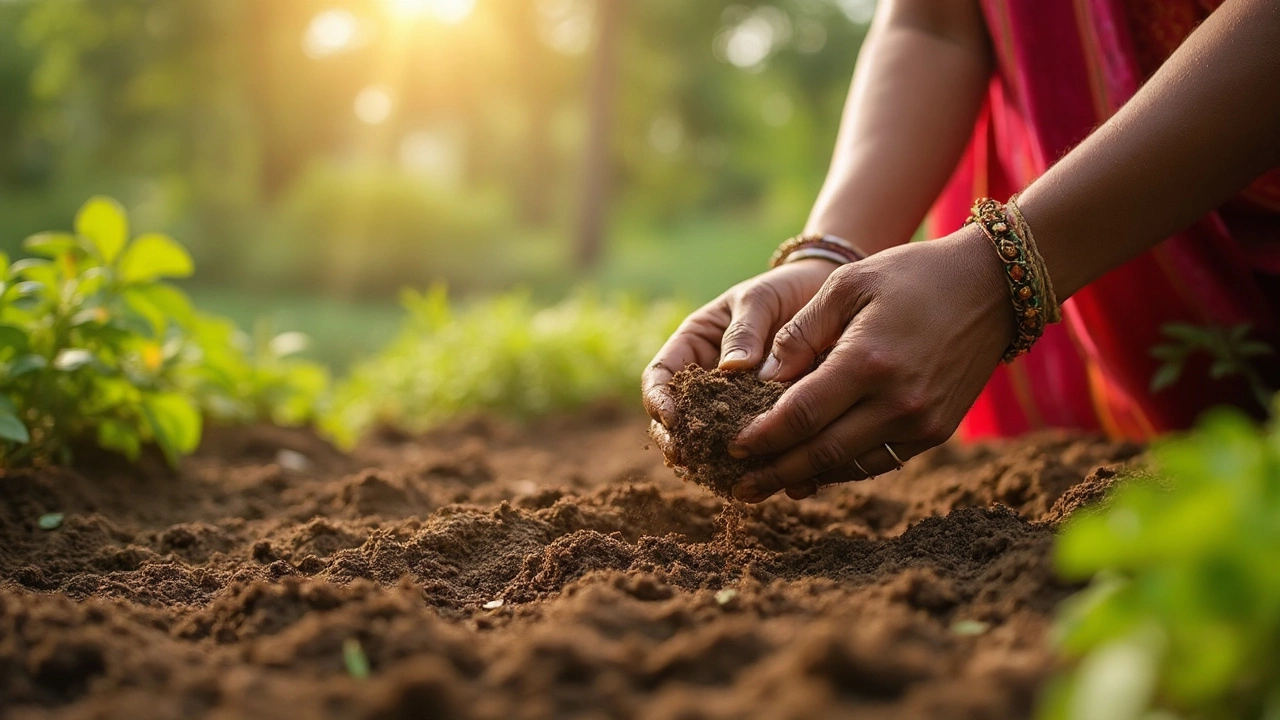
Don’t forget—every handful of healthy, refresh garden soil is really years of living things working together. Treat that patch of earth well, and your garden will reward you for seasons to come.