Soil Breaking Tool Selector
Recommended Tool
Tool Name
Slogan goes here
Why it fits
Reasoning...
Key Specs
Comparison Overview
| Tool | Best For | Effort | Size Limit | Est. Cost |
|---|
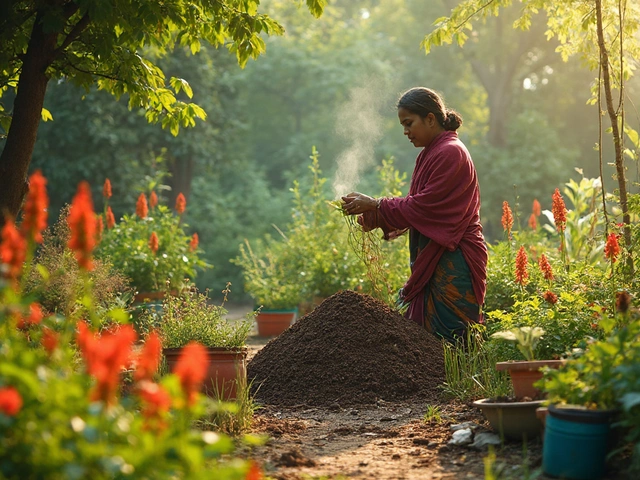
There is nothing more discouraging than digging into your garden bed only to hit a wall of compacted earth. It feels less like gardening and more like mining. If you are staring at a patch of ground that looks like concrete, you have one job: break it up. But which tool actually works? The answer depends entirely on how much space you have, how bad the compaction is, and whether you want to save your back or your bank account.
You do not need a single magic wand. You need the right leverage for the specific type of hardness you are facing. From manual forks for small patches to gas-powered tillers for acres of lawn, here is exactly what works best for breaking up hard soil in 2026.
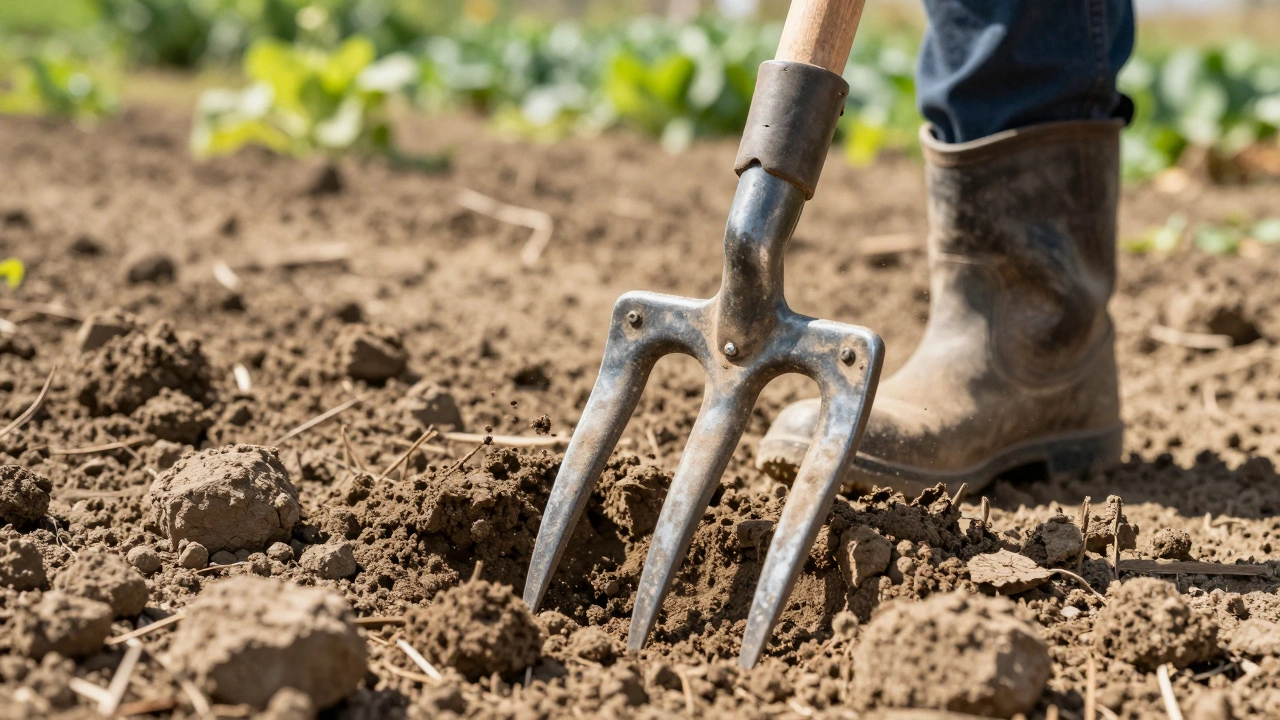
The Heavyweight Champion: The Garden Fork
If you have a manageable area-say, a vegetable patch or a flower bed under 50 square feet-the Garden Fork is the most effective manual tool for breaking up hard soil without destroying its structure. Unlike a shovel, which slices through dirt, a fork pierces it. This distinction matters because slicing can create a 'plow pan,' a dense layer of compressed soil just below the surface that stops roots from growing deeper.
To use a garden fork effectively, you do not dig. You stab. Push the tines straight down into the hardest part of the soil. Step on the handle with your boot to drive it deep. Then, rock the handle back and forth. This action leverages the weight of your body to fracture the clay or compacted earth. Once the tines are loose, pull back gently to lift and turn the soil.
- Best for: Small beds, rocky soil, and areas where you want to avoid machinery.
- Why it wins: It breaks clods rather than pulverizing them, preserving beneficial fungal networks (mycorrhizae) that help plants absorb nutrients.
- Pitfall: It is physically demanding. If you have knee or back issues, this method requires proper technique or an alternative tool.
Look for a fork with forged steel tines. Stamped steel bends when you hit a rock; forged steel flexes and returns to shape. A D-handle offers better control for rocking motions, while a T-handle is easier for driving straight down.
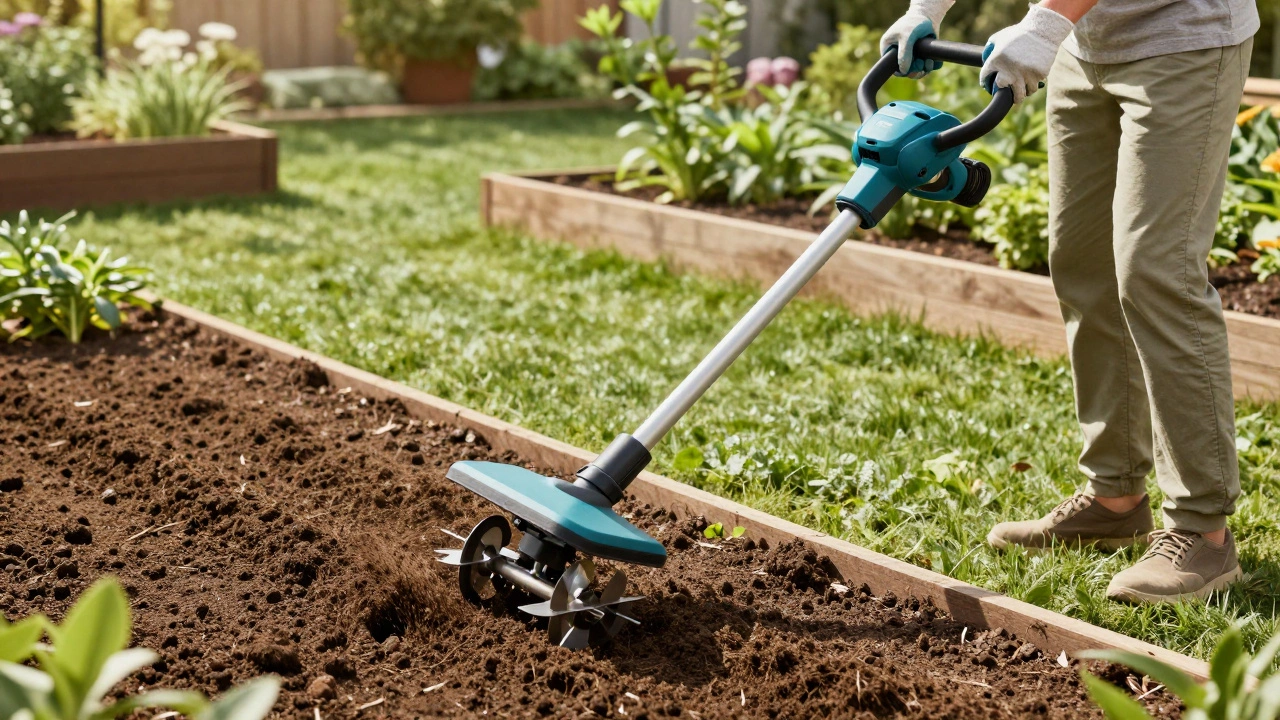
The Power Solution: Mini-Tillers and Cultivators
When the area exceeds 100 square feet, or if the soil is so hard that a fork won't penetrate past two inches, you need mechanical assistance. This is where Mini-Tillers (also known as Cultivators) come in. These are walk-behind machines with rotating tines that churn the soil. They are distinct from large rotary tillers used in farming; these are lighter, often electric or battery-powered units designed for home gardens.
In 2026, the market has shifted heavily toward high-torque cordless models. Brands like Ego, Ryobi, and Milwaukee offer 40V-80V systems that provide enough power to break new ground without the noise, fumes, and maintenance of gasoline engines. For truly hard clay, look for a model with at least 300 watts of motor power and three or four tines.
- Prep the ground: Remove rocks and debris. Tillers hate surprises.
- Set depth shallow: Start with 2-3 inches of depth. Trying to go deep in one pass will stall the machine and compact the soil further.
- Overlap passes: Move forward slowly, overlapping each pass by half a tine width.
- Deepen gradually: After the first pass loosens the top layer, increase the depth setting for subsequent passes.
A mini-tiller is ideal for established garden beds that have become compacted over time. However, be cautious with virgin soil. Tilling wet clay creates massive clods that take weeks to dry out. Always wait until the soil is moist but not muddy-like a wrung-out sponge.
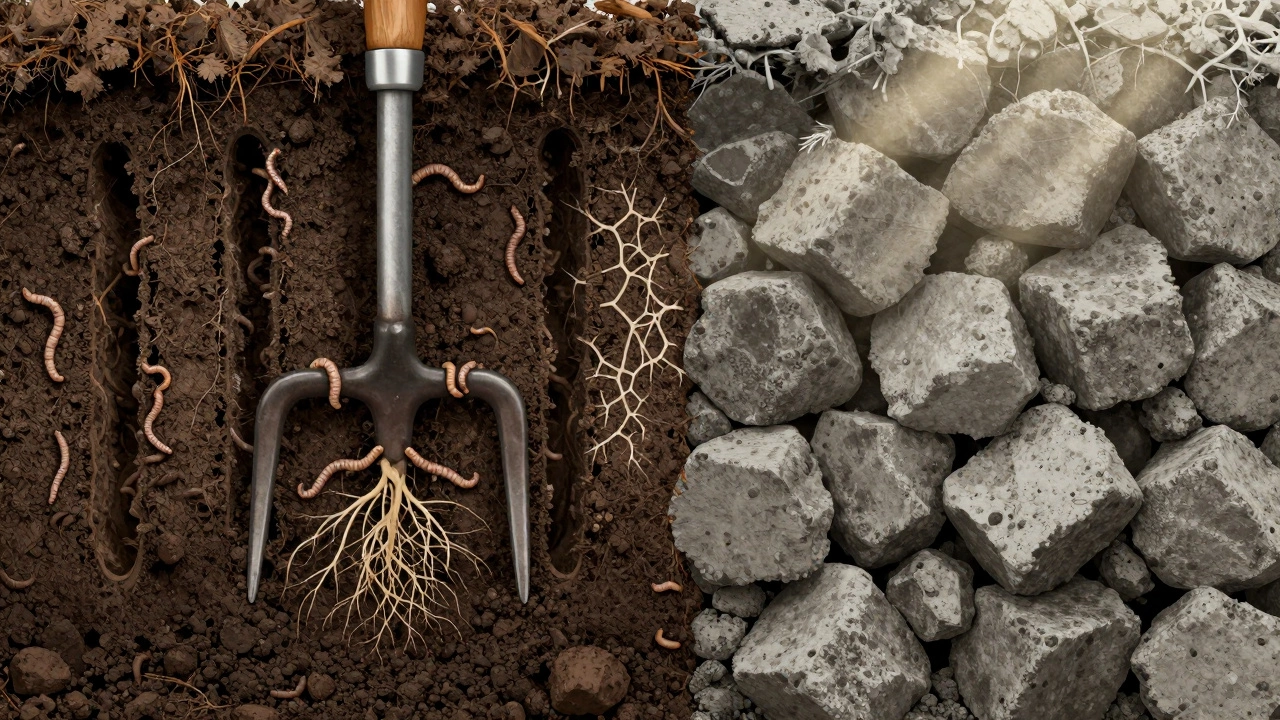
The Precision Tool: Broadforks for No-Dig Gardens
If you follow a no-dig or low-till gardening philosophy, a standard tiller is off-limits. Instead, use a Broadfork, which is a specialized aerating tool with wide-spaced tines and horizontal footrests. Invented in the late 19th century and popularized by modern permaculture advocates, the broadfork is designed to aerate soil without inverting it.
Here is how it works: Insert the tines into the soil. Stand on the footrests to push the tines deep-up to 12 inches. Rock back slightly to open the soil column, then remove the fork. Do not turn the soil over. This vertical fracturing allows water and air to penetrate deep into the root zone while keeping the microbial layers intact. Earthworms thrive in this environment, doing the mixing for you over time.
Broadforks are excellent for heavy clay soils because they create channels for drainage. Waterlogged clay is often harder than dry clay because the particles squeeze together. By opening vertical pathways, you let gravity drain excess moisture, naturally softening the earth for future planting seasons.
When to Call in the Big Guns: Rotary Tillers
For large lawns, acreage, or severely compacted construction sites, a Rotary Tiller (or power tiller) is the only practical option. These are heavy-duty machines, usually gas-powered, with aggressive chisel tines. They can break through sod, roots, and hardened clay layers that would destroy a mini-tiller.
However, rotary tillers come with significant risks. Over-tilling destroys soil structure, leading to faster erosion and nutrient loss. It also brings weed seeds from deep underground to the surface, potentially creating a weed explosion. Use a rotary tiller sparingly-ideally only once when establishing a new garden bed, then switch to no-dig methods.
| Tool Type | Best Soil Condition | Effort Level | Ideal Area Size | Cost Range (USD) |
|---|---|---|---|---|
| Garden Fork | Rocky, Small Patches | High (Manual) | < 50 sq ft | $30 - $80 |
| Mini-Tiller/Cultivator | Established Beds, Light Compaction | Low (Electric/Battery) | 50 - 500 sq ft | $150 - $400 |
| Broadfork | Heavy Clay, No-Dig Gardens | Medium (Leverage) | Any size (Slow) | $60 - $120 |
| Rotary Tiller | Virgin Soil, Large Lawns | Low (Gas-Powered) | > 500 sq ft | $400 - $1,500+ |
Critical Pre-Work: Moisture and Timing
No tool works well on bone-dry or soaking-wet soil. This is the most common mistake gardeners make. If the soil is dry, it resists penetration. If it is wet, it sticks to tools and compacts further when worked.
Test the soil before you start. Grab a handful and squeeze it. If it crumbles easily, it is perfect. If it forms a tight ball that doesn't break apart when you poke it, it is too wet. Wait two days. If it dusts off your hands, it is too dry. Water the area lightly the day before working it. Moisture acts as a lubricant, allowing tines and forks to slide between soil particles rather than crushing them.
Timing also matters. Avoid working heavy clay soil in early spring when it is still thawing and saturated. Wait until the ground has warmed up and dried out slightly. Late summer or early fall is often the best time to break up hard soil, giving nature months to settle and decompose organic matter before the next growing season.
Long-Term Strategy: Preventing Re-Compaction
Breaking up hard soil is a temporary fix unless you address the root cause. Compaction happens when soil aggregates are crushed by weight (foot traffic, machinery) or lack organic matter. To keep your soil loose:
- Add Organic Matter: Mix in compost, aged manure, or leaf mold. Organic material binds soil particles into stable crumbs that resist compaction.
- Use Cover Crops: Plant clover, rye, or vetch in off-seasons. Their roots grow deep, creating natural channels for air and water.
- Mulch Heavily: A thick layer of wood chips or straw protects the soil surface from rain impact and foot traffic.
- Avoid Walking on Beds: Create permanent paths. Never step on the planting area once it is prepared.
Think of soil health as a marathon, not a sprint. The tool you choose today breaks the immediate barrier, but consistent care keeps it open for years to come.
Can I use a shovel to break up hard soil?
A shovel is not ideal for breaking up hard soil. Shovels are designed for cutting and lifting, which tends to slice through soil layers and create a dense 'plow pan' underneath. A garden fork or broadfork is better because it pierces and fractures the soil vertically, maintaining better structure and aeration.
How do I know if my soil is too wet to work?
Squeeze a handful of soil. If it forms a tight, shiny ball that does not crumble when poked, it is too wet. Working wet clay creates massive clods that take weeks to dry and can permanently damage soil structure. Wait until the soil feels like a damp sponge that crumbles easily.
Is it better to till or use a no-dig method?
For long-term soil health, no-dig methods are superior. Tilling disrupts fungal networks and brings weed seeds to the surface. No-dig approaches, using broadforks or simply adding compost on top, preserve soil biology and improve structure over time. However, for initial preparation of very hard ground, light tilling may be necessary to get started.
What is the best tool for breaking up clay soil?
For small areas, a sturdy garden fork with forged steel tines is best. For larger areas, a broadfork is excellent for aeration without inversion. If the clay is extremely hard and covers a large area, a gas-powered rotary tiller may be needed initially, followed by heavy amendments of compost and gypsum to improve drainage.
Should I add water before tilling hard soil?
Yes, if the soil is dry. Lightly watering the area 24 hours before tilling helps lubricate the soil particles, making them easier to break apart. However, ensure the soil is moist, not muddy. Tilling wet soil causes severe compaction and clumping.