Ever put together a raised garden bed and wondered what actually goes on the bottom? You’re not alone. Most folks either toss in a bunch of random stuff or go straight for expensive bagged soil—but there’s a smarter way to build a healthy, low-maintenance foundation that pays off for years.
The bottom of your raised bed sets the tone for your soil’s drainage, keeps weeds out, and helps hold in the goodies your plants crave. If you throw just anything down there, you might end up with compacted roots, nasty drainage issues, or a never-ending war with invasive weeds. Picking the right stuff not only saves your back and your wallet, it seriously boosts your harvest.
- Why the Bottom Layer Matters
- Materials to Avoid
- Organic Options That Work
- Inorganic Choices for Special Situations
- How to Layer Everything Correctly
- Troubleshooting Common Problems
Why the Bottom Layer Matters
The bottom of your raised garden bed isn't just a throwaway zone—it's where you decide if your plants will really thrive or if you'll wrestle with problems all season long. Here’s what actually happens down there: the bottom layer helps with drainage, blocks weeds, and kickstarts the healthy breakdown of organic material that your plants need.
If you skimp on what goes at the base, water can pool and turn soil into a soggy mess. Too much water at the roots can choke your plants and lead to fungal diseases. On the flip side, the right material acts like a drain—pulling water through while keeping the bed moist, not flooded.
Another big reason for a thoughtful bottom layer? Weeds and pests. Without a barrier, weeds can sneak up from below and invade your new bed, sucking up nutrients and crowding your veggies. A good barrier also deters tunneling pests—like moles and voles—that can turn your hard work into their dinner table.
Check out this quick breakdown of what the bottom layer can do for your garden soil improvement efforts:
- Improves drainage to keep roots healthy
- Blocks weeds and invasive grasses
- Supports soil life by attracting beneficial worms and microbes if you use organics
- Prevents soil loss during heavy rain
- Discourages pests from digging in
Taking a couple of extra steps with your bottom layer sets up the rest of your soil for success long after you fill the bed. It’s the kind of small decision that pays off every time you hit a new gardening season.
Materials to Avoid
It’s tempting to grab whatever’s lying around the yard, but before you start tossing stuff in the bottom of your raised garden bed, let’s talk about what you should skip. Not everything that looks handy will help your garden grow; some things can even make things worse.
First, forget pressure-treated wood, old railroad ties, or anything soaked in chemicals. These materials might leach toxins straight into your soil, and that’s not something you want near your herbs or veggies—especially if you’re growing food for your family.
Another common mistake is lining the bottom with plastic sheets or tarps. Plastic holds back water, leading to drainage problems and even root rot. Plants need air and a bit of water flow. Trapping it just invites trouble. Instead, look for materials that let some water pass while blocking weeds.
Don’t dump gravel, rocks, or a thick layer of sand at the bottom, either. You’ve probably heard these help with drainage, but most soil science says otherwise. Water tends to pool above these layers, especially in deep beds, which can drown roots and stunt plant growth. Go for better drainage by using good soil and organic matter up top.
Steer clear of any kind of synthetic carpeting or non-biodegradable fabrics as a base. These seem like a good weed barrier but break down badly over time, leaving behind bits of microplastics and mess.
- Never use construction debris or drywall scraps—these can carry unwanted chemicals or break down into hard, clumpy patches that stop roots moving.
- Skip pure clay or topsoil dug up from another part of your yard. These can compact and stop water from moving through, which means heavy, soggy beds and unhappy plants.
Here’s a quick rundown of what to leave out:
| Material | Why to Avoid It |
|---|---|
| Pressure-treated wood/railroad ties | Toxins can leach into garden soil |
| Plastic sheeting/tarps | Kills drainage, causes root rot |
| Gravel/sand/rocks | Disrupts water movement, pools water |
| Synthetic carpet/fabric | Breaks down into microplastics |
| Construction debris/drywall | Introduces chemicals, compacts badly |
Stick to safe, natural materials for the bottom of your raised garden bed. Your plants—and your harvest—will reward you for it.
Organic Options That Work
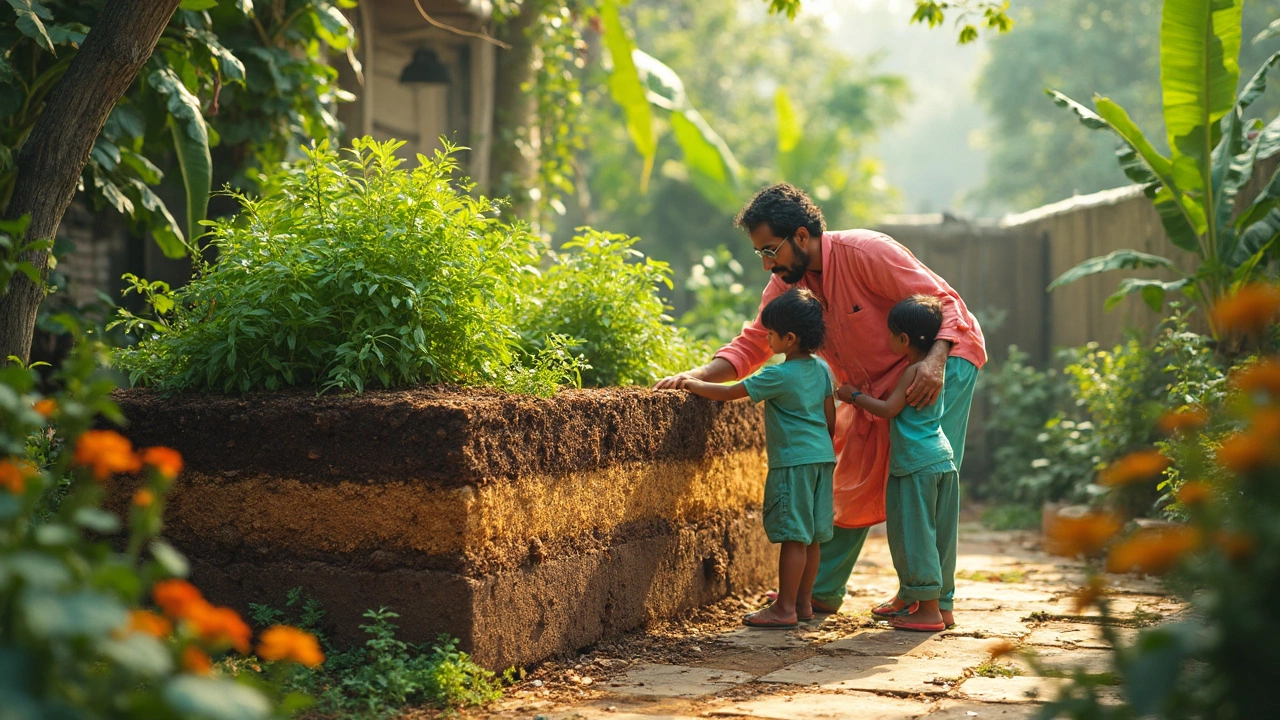
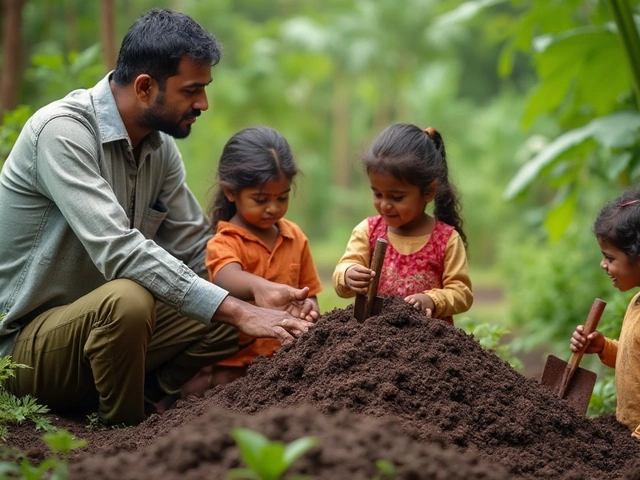
Honestly, the bottom layer of a raised garden bed is a prime spot to recycle a bunch of yard and kitchen scraps. Organic material not only saves you money, but it also jumpstarts the soil-building process right away. Plants love it, and so do the worms and microbes that make your garden soil rich and crumbly.
Cardboard is super popular—grab old boxes, peel off any tape or stickers, and lay sheets flat in the bottom. It smothers weeds and breaks down over time. Some folks even wet it down first to help it hug the ground and decompose faster.
If you’ve raked leaves in the fall, use ‘em! A thick layer of leaves adds bulk without costing a thing. Mix ‘em with grass clippings if you’ve got them (just skip anything treated with weed killer). These break down into great compost and improve soil structure, which helps drainage—something crucial in a garden bed.
Wood chips and small branches are another go-to for a lot of gardeners. They rot slow and help with drainage, but don’t use big logs—they can tie up nitrogen your plants need. Small twigs and chips? Perfect for the job. For best results, mix different sizes to fill gaps and keep things loose.
- Compost: If you’ve got a bin or pile, use finished or half-finished compost next. It brings worms by the dozens and gives your first season’s plants a strong start. Don’t worry if it isn’t perfect or fully broken down—it still adds a ton of nutrients.
- Grass clippings: Fresh or slightly dried clippings bulk up the lower layer and break down fast. Just avoid anything sprayed with herbicides. Layer them thinly to avoid a slimy mess.
- Straw or old hay: These materials keep the layers loose and airy. They break down, feed the soil, and again—skip anything moldy or loaded with weed seeds.
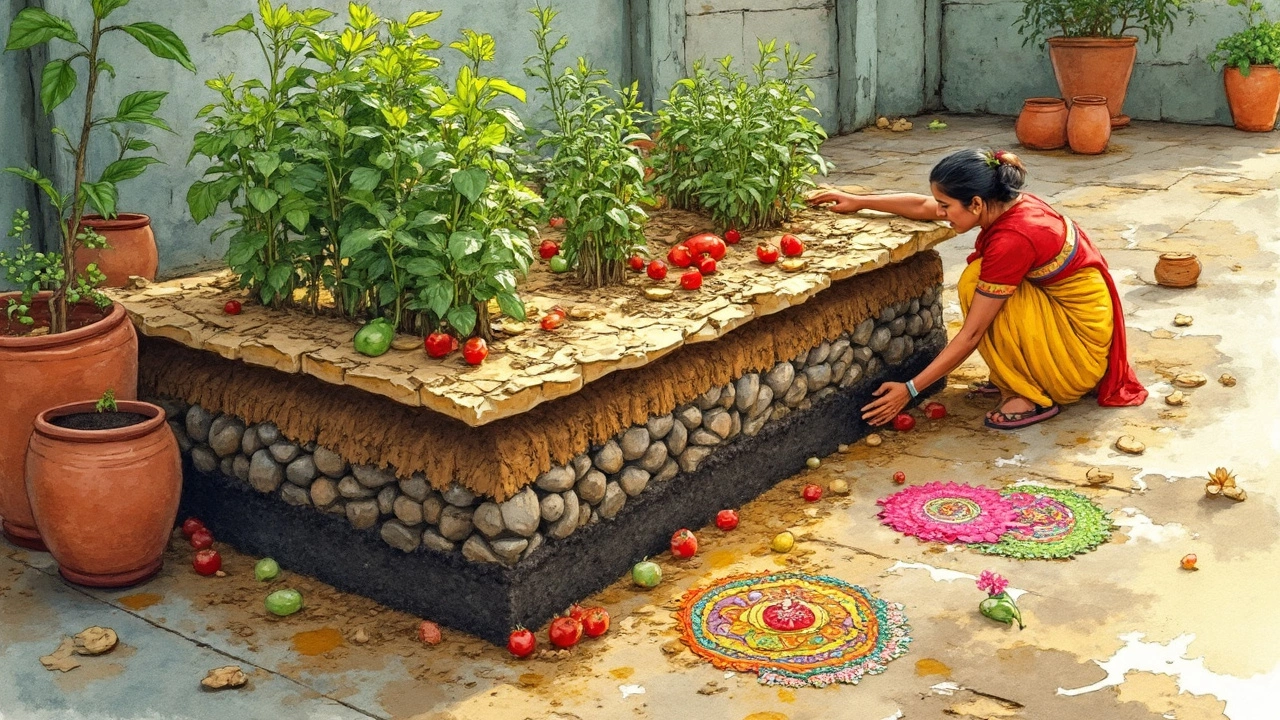
Want a simple formula? Stack cardboard, toss in a layer of woody bits (chips, twigs), heap leaves and grass next, then finish with a good 6 inches of compost. This keeps drainage strong and feeds your plants for months.
| Organic Material | Breakdown Time | Main Benefit |
|---|---|---|
| Cardboard | 3-6 months | Weed block, feeds worms |
| Leaves/Grass | 2-12 months | Adds compost, improves drainage |
| Wood Chips | 6-24 months | Keeps bed loose, slow decay |
| Compost | 1-3 months | Boosts nutrients, attracts worms |
The cool part? You can use materials you already have. And with each passing season, everything breaks down to build even better garden soil improvement for stronger, more productive plants.
Inorganic Choices for Special Situations
Sometimes, you need a little extra help at the bottom of a raised garden bed. If you’re gardening on tough clay, poor drainage, or dealing with stubborn pests, adding an inorganic layer can actually make a big difference. Not everyone is a fan of putting non-organic stuff in a garden, but there are a few cases where it’s the right call.
The most common inorganic layer is landscape fabric. It’s a thin barrier that keeps weeds from coming up while still letting water through. Go for high-quality woven fabric—cheap plastic weed barrier just rips, blocks drainage, and ends up a mess. Another option is a layer of coarse gravel or small rocks (no bigger than an inch). This boosts drainage in beds that tend to get flooded or where you’ve got super heavy soils. If you’re worried about gophers or moles, toss in a layer of hardware cloth—half-inch mesh works great and doesn’t rust out right away.
- Landscape fabric: Blocks most weeds from growing up but still allows water and roots to move through. Good for keeping your soil mix clean if you’re using urban fill or have lots of aggressive weeds like Bermuda grass.
- Gravel or rocks: Used mostly for drainage, especially in beds with no bottom or ones built over solid clay. Don’t overdo it—an inch or two is plenty, otherwise you just lose growing space.
- Hardware cloth: A solid fix if burrowing animals are a headache. Place it before adding soil, so critters can’t dig up through your precious crops.
Keep in mind, inorganic options won’t break down or add nutrients, so you can’t rely on them for garden soil improvement. They’re all about fixing special problems, not making your soil richer. If you’re mixing organic and inorganic layers, always put the inorganic stuff right at the bottom, then stack your organic materials and compost on top—the plants want their roots in the good stuff, not stuck on rocks or mesh.
For folks living in places that get dumped on with rain, a little drainage layer can save your bed from collapsing into a mucky swamp. Just don’t use stuff like construction plastic, old carpet, or any material that never lets water move—those will just kill off your roots and lead to rot.
If you really want a quick side-by-side, check out this comparison:
| Material | Purpose | Drawbacks |
|---|---|---|
| Landscape Fabric | Blocks weeds, allows drainage | May degrade over time, not eco-friendly |
| Gravel/Rocks | Improves drainage in heavy or wet soils | Can reduce soil depth; doesn’t add nutrients |
| Hardware Cloth | Blocks burrowing pests | Costly for large beds; eventually rusts |
Bottom line: Only use these things when you’ve got a specific problem to solve. Otherwise, stick with natural layers for most beds. You want that raised garden bed to thrive, not just survive.
How to Layer Everything Correctly
Getting the layers right at the bottom of your raised garden bed makes a huge difference. Don’t just wing it—there’s an order that helps roots breathe, keeps water moving, and blocks out most weeds.
- Start With a Weed Barrier: Lay down plain cardboard or a few sheets of newspaper (black ink only—skip the glossy flyers). This blocks weeds, but breaks down so earthworms can get through. Avoid carpet scraps or plastic since these mess with drainage and soil health.
- Add Chunky Organic Material: Layer in sticks, small branches, or chopped up twigs. These create air pockets for drainage and rot slowly to feed your soil. Keep this layer to about 3-4 inches deep. If you have old logs from tree trimming, laying them on the bottom works well for deep beds—kind of like "hugelkultur" style.
- Toss in Yard Waste and Kitchen Scraps: Things like leaves, grass clippings, coffee grounds, or wilted veggies go above your sticks. Don’t overdo it on the food scraps; you want this to compost nicely, not attract critters. One or two inches is usually enough.
- Top It Off With Quality Soil Mix: The top 8-12 inches should be your best garden soil improvement mix—think compost, topsoil, and maybe some coconut coir or peat moss for lightness. This is where your plant roots will grow, so go all in here. If you go shallower, plants like root veggies may struggle.
Here’s a quick breakdown of a 18-inch deep raised bed:
| Layer | Depth (inches) |
|---|---|
| Soil Mix | 8-12 |
| Yard Waste | 1-2 |
| Branches/Sticks | 3-4 |
| Cardboard/Paper | 1/4 (just enough to cover the bottom) |
Go for more organic stuff if your bed is especially deep. Always finish with your best soil mix on top—it’s what your plants will interact with. And skip gravel or rocks; proven studies from Cornell show they don’t help drainage and can even create a "water table" effect that floods roots.
It’s not rocket science, but getting these layers in the right order can be the difference between a struggling patch and a raised bed that churns out healthy, happy veggies all season long.
Troubleshooting Common Problems
No matter how careful you are setting up your raised garden bed, stuff can still go sideways. Here’s a quick guide to fixes when things aren’t going according to plan.
Problem: Water pooling at the surface or soggy soil. This usually means your drainage isn’t up to snuff. Check for heavy layers at the bottom, like old carpet or too much cardboard, that block water. The soil could be compacted, too. Try loosening the top layers and poke some holes straight down with a metal rod for a quick fix. Next time, use chunky organic material like sticks or wood chips in your bottom layer to help water flow.
Problem: Soil drying out too fast. If your plants are wilting and the soil feels bone dry, maybe there isn’t enough organic matter to hold on to water. Peat moss, coconut coir, or extra compost mixed in can help hold moisture where roots need it. If you’re in a super-hot climate, a layer of mulch on top helps slow water loss.
Problem: Weeds creeping in from below. Did you skip the weed barrier? Tough weeds love taking over raised garden beds, especially if there’s an open side or if you used thin materials. Lay down a thick cardboard or weed cloth layer at the bottom next time—and for now, keep hand-pulling, especially after a rain when it’s easier.
Problem: Pests, like burrowing critters or ants. Roots gnawed off or mysterious tunnels? Moles, voles, or even groundhogs could be calling your bed home. For the next season, add hardware cloth under the bed (about a half-inch mesh is ideal). If you spot lots of ants, your bottom layer probably has too much wood waste. Water more deeply and replace some of the wood with compost-rich soil.
If you ever wonder what issues are most common by setup, check out this recent survey of 500 home gardeners and the percent who faced them the first year:
| Issue | % of Gardeners (Year 1) |
|---|---|
| Poor Drainage | 42% |
| Drying Out | 29% |
| Weed Growth | 37% |
| Animal Pests | 22% |
Keeping the foundation in your raised garden bed healthy makes troubleshooting way easier, but don’t sweat it if things aren’t perfect. You can adjust as you go—just give yourself a bit of time to learn how your soil acts after watering and rain, and keep an eye out for sneaky problems at the bottom.
