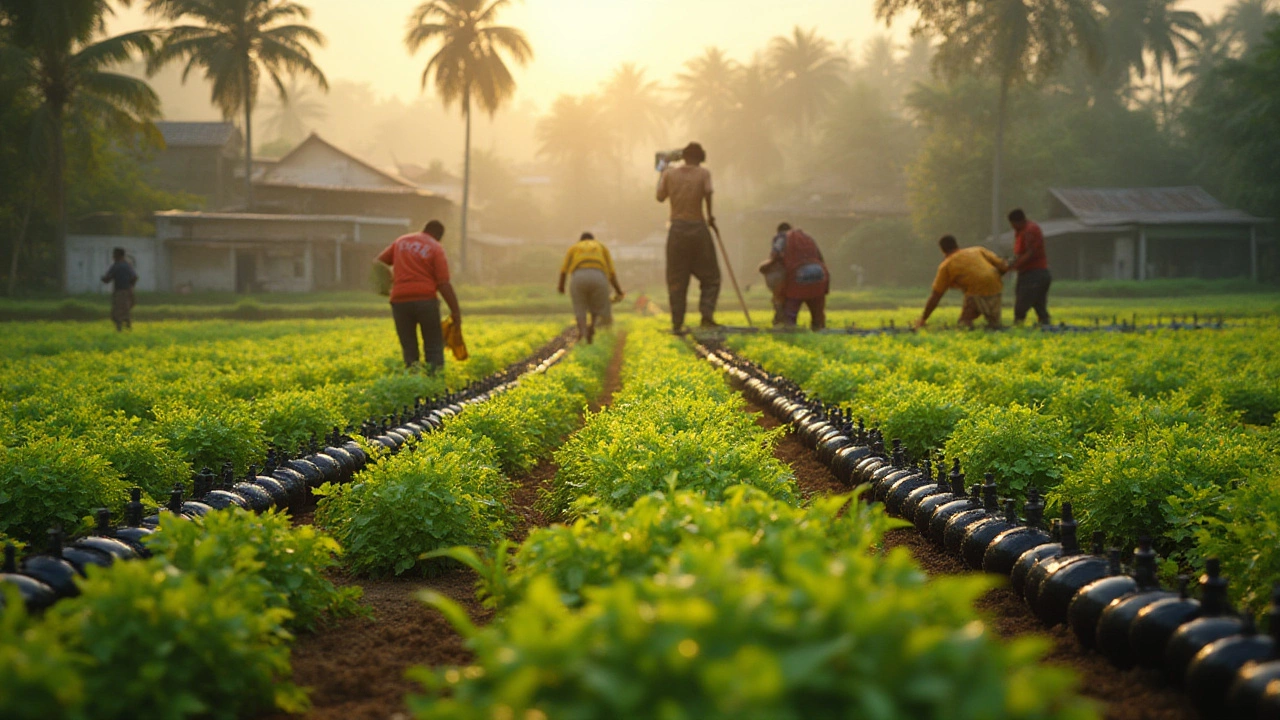
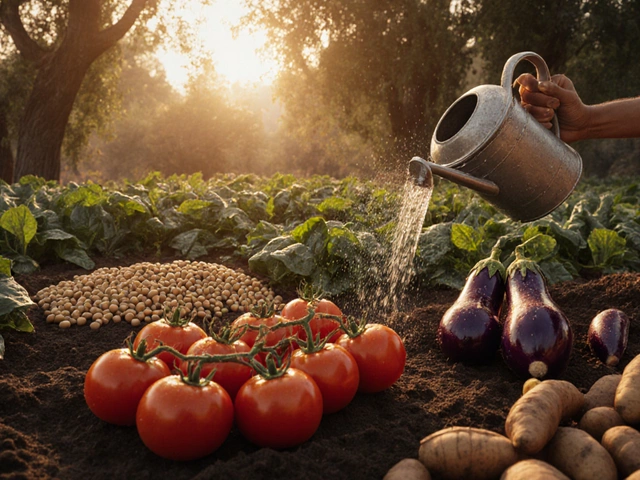
If you’ve ever priced out a drip irrigation setup for your garden or farm, your jaw probably hit the floor. Here’s the thing: Even though everyone says it’ll save you water and make your plants thrive, that first quote can feel like a punch to the wallet. People throw around phrases like “investment in the future,” but that doesn’t help the sticker shock in the present. So, what’s behind those high numbers, and can you actually make drip irrigation work without breaking the bank?
The Real Reasons Behind the Price of Drip Irrigation
When you start peeling back the layers of what you’re paying for with a drip irrigation system, it isn’t just about plastic tubes and timers. Drip irrigation is a fairly high-tech way to deliver water precisely where it’s needed. To do that, it uses a collection of parts that have to work together seamlessly—emitters, filters, valves, timers, pressure regulators, and sometimes even smart controllers. The quality of each piece matters. If you’ve ever dealt with blocked emitters or a tangled mess of tubing, you know cheap isn’t always best.
In New Zealand, prices for a small home garden setup can start around NZ$400 to NZ$700, and for larger gardens or small farms, you’re looking at several thousand dollars, especially if expert installation is involved. In the US, studies from the University of California Davis calculated between USD $1,000 and $3,000 per acre to install basic drip lines on vegetable fields, depending on complexity and source water quality. That’s just the install—maintenance is another story.
Why so costly? Raw material prices (especially plastics) have risen steadily since 2022 due in part to global supply chain hiccups. Add in smart irrigation controllers with WiFi or soil moisture sensing, and the gadget price tag goes up. High-quality filtration and pressure regulation are crucial, especially if your water supply is a bit gritty or inconsistent, which happens in many rural areas around Auckland or even just off the tank at your bach. Skimping on these pieces almost guarantees clogs or emitter blowouts, so most reputable setups just can’t cut corners.
Labour plays its part, too. This isn’t as simple as snapping together Lego bricks. For a durable layout, you need to dig trenches, make careful measurements, and sometimes handle tricky elevation changes—especially if you’ve got raised beds or are on a slope. In urban areas, hiring a pro installer in Auckland can cost at least NZ$60 per hour, and a small garden could easily eat up an entire workday.
There’s a table below listing the main cost factors for a home setup:
| Component | Estimated Cost (NZD) | Notes |
|---|---|---|
| Tubing and Emitters | $100 - $250 | Quality varies widely |
| Filters & Pressure Regulators | $50 - $100 | Crucial for reliability |
| Controllers and Timers | $100 - $300 | Range depends on tech features |
| Valves & Fittings | $50 - $120 | Multiple sizes for different beds/sections |
| Labour (Optional) | $300 - $700 | Per small home system |
If you scale up—for example, for a lifestyle block or a market garden—add multiples. It’s easy to see how the price spirals up as you expand.
How Drip Irrigation Pays for Itself—And When It Doesn’t
At face value, the cost of setting up drip irrigation looks rough, but there’s a reason some gardeners and farmers still go for it. One of the biggest selling points is water saving. Unlike sprinklers that waste a chunk of the supply on evaporation or run-off, drip systems deliver water straight to the plant roots. In regions where water’s expensive or metered (like Auckland suburbs on strict council by-laws), you might cut your water use by up to 50% or more compared to sprinklers.
That translates to lower monthly bills. For example, if you pay around NZ$3.70 per 1,000L of city water, and your thirsty garden slurps up 10,000L a month in summer, then cutting that in half over a four-month drought could essentially pay off a $740 system in just two years—if you would have used that water anyway.
Drip irrigation also helps cut back on other costs. Less water means less weed growth, so you spend (and buy) less on weeding tools and herbicides. Targeted water reduces disease, especially leaf moulds and mildews, which can flourish with overhead watering. Healthier plants means bigger yields, which matters if you’re selling veggies at the Otara or Grey Lynn farmers’ markets, or just stuffing your freezer ahead of winter. Some Otago University research found that small-scale market gardeners can boost produce quality enough with drip to fetch better prices locally, outweighing initial outlays.
But here’s the catch—not every scenario pays back the same. For folks with tiny garden beds or plenty of free rainwater off the roof, return on investment may take years. Also, if you’re not running your system efficiently—watering when it’s already rained, or not fixing leaks—you’ll burn through those savings quickly. And if you buy bargain equipment that breaks a lot, you’ll spend even more replacing parts.
Common Missteps That Drive Up Drip Irrigation Costs
It’s wild how many times I’ve seen people make simple mistakes with drip irrigation that end up costing far more than necessary. Let’s talk about a few you can dodge without much hassle—saving actual money right from the get-go.
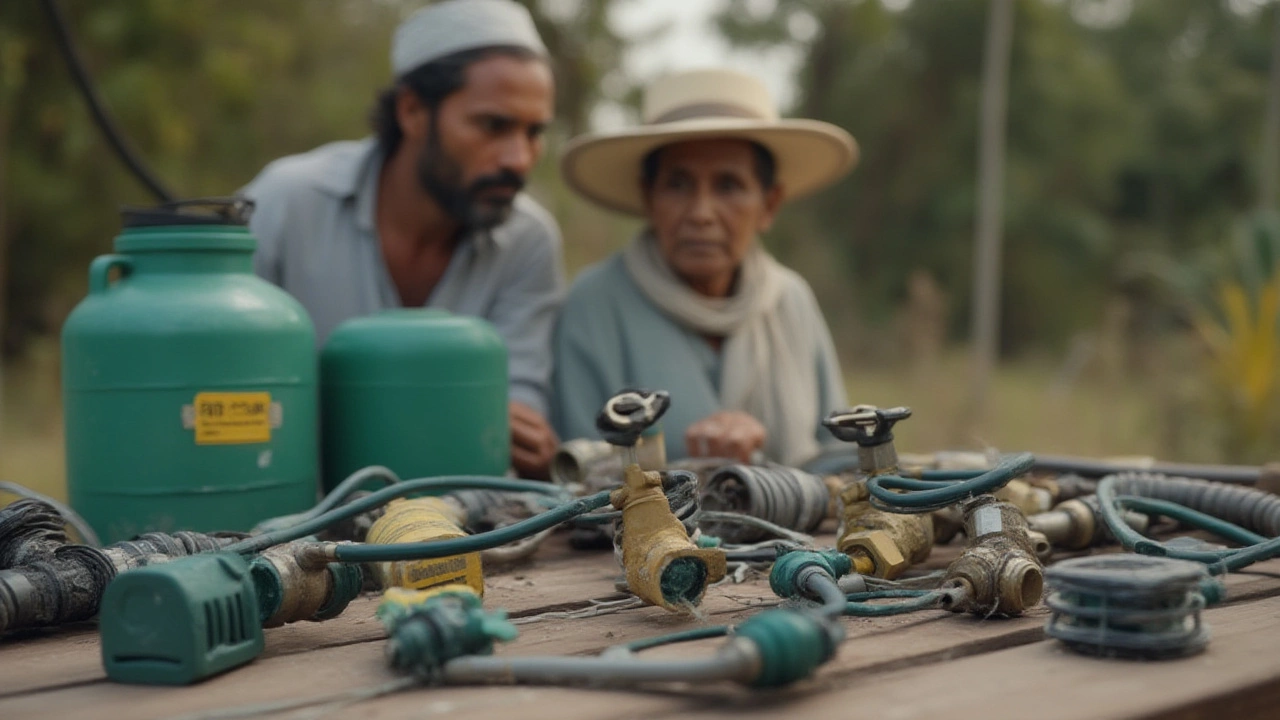
The first trap is going for the cheapest available kit, thinking all drip systems are the same. Cheap emitters often clog or leak, while poor-quality tubing gets brittle within a couple of hot Kiwi summers. You’ll pay less up front but keep reaching for your wallet in maintenance, which quickly costs more than just buying solid gear once. When in doubt, local garden centres or irrigation shops can point you to brands known to last in local conditions—trust the advice of someone who’s actually installed these systems in Auckland soils, not just an online review from the US desert.
Design mistakes come next. Too-long tube runs mean water at the far end barely trickles, especially if your yard’s not flat. Water pressure drops off, and in the end, some plants drown while others beg for a drink. Adding pressure regulators and laying out zones prevents this, but too many people skip this step. If you’re DIYing, measure carefully and use pressure-compensating emitters if you’ve got ups and downs or long beds. If you must, do a simple pressure test before final install—most NZ hardware stores loan out basic gauges.
Ignoring filtration is another big penny-dropper. Even town water might contain bits of grit, rust flakes from old plumbing, or just a bit of organic matter. Filters keep all this out of your emitters, which are notoriously finicky—one good clog and your lettuces wilt while the tomatoes drown.
Then there’s the temptation to automate too quickly. People love the idea of WiFi timers and remote apps, but stacking on the gizmos ups the price a lot. If it’s your first setup, start manual and watch for a season. Tweak timings and flow manually so you learn exactly how much water each plant needs. Then, if you want to upgrade, you’ll know the system’s quirks and won’t be disappointed if the tech doesn’t live up to the box photos.
And finally, don’t forget maintenance. Letting mineral deposits or root intrusion build up will shorten your system’s lifespan and require expensive repairs. Backflushing filters, checking for leaks each season, and cleaning the ends of your lines will keep things running smoothly without major costs down the road.
Making Drip Irrigation Affordable: Real-World Workarounds
If you’re just getting started and can’t stomach the initial price, there are ways to bring those costs down. One big tip? Reuse and recycle where you can—many garden forums in New Zealand have swap threads for used irrigation gear, and local Facebook groups often have somebody moving house and chucking old drip kits. Just check all seals for cracks or brittle spots before using.
Build in phases. There’s no law saying you need to drip every inch of your garden from day one. Focus first on the most important or water-hungry sections—your veggie beds or fruit trees. Add flower borders or lawns later as budget allows. That way, even a modest investment can pay you back sooner, while you spread out the cash outlay.
If you’re handy, you can save a mint on labour by installing yourself. Loads of Auckland-based garden centres run short courses or weekend workshops where you can learn the right way to assemble systems. Some even have demo gardens where you can see what works in your exact microclimate or soil type.
Go basic at first and only upgrade when you really need it. Start with manual valves instead of electronic timers. Skip the pricey pressure-compensating emitters unless your yard is very uneven or your water pressure is unpredictable. If your water is clean (especially straight from a rainwater tank), smaller in-line strainers might do the job for a fraction of the cost of big self-flushing filters.
Don’t forget about bulk buying or splitting packages with friends or neighbours. Pooling orders for tubing and connectors with your local gardening group can get you volume discounts—some shops in Auckland and Hamilton will happily knock a chunk off the price if you’re buying for more than one property.
And finally, figure out exactly what you need before you hit the shop. Draw a simple sketch of your yard and measure out bed lengths ahead of time, so you don’t buy extra tubing and parts “just in case.” That alone can save both money and frustration.
